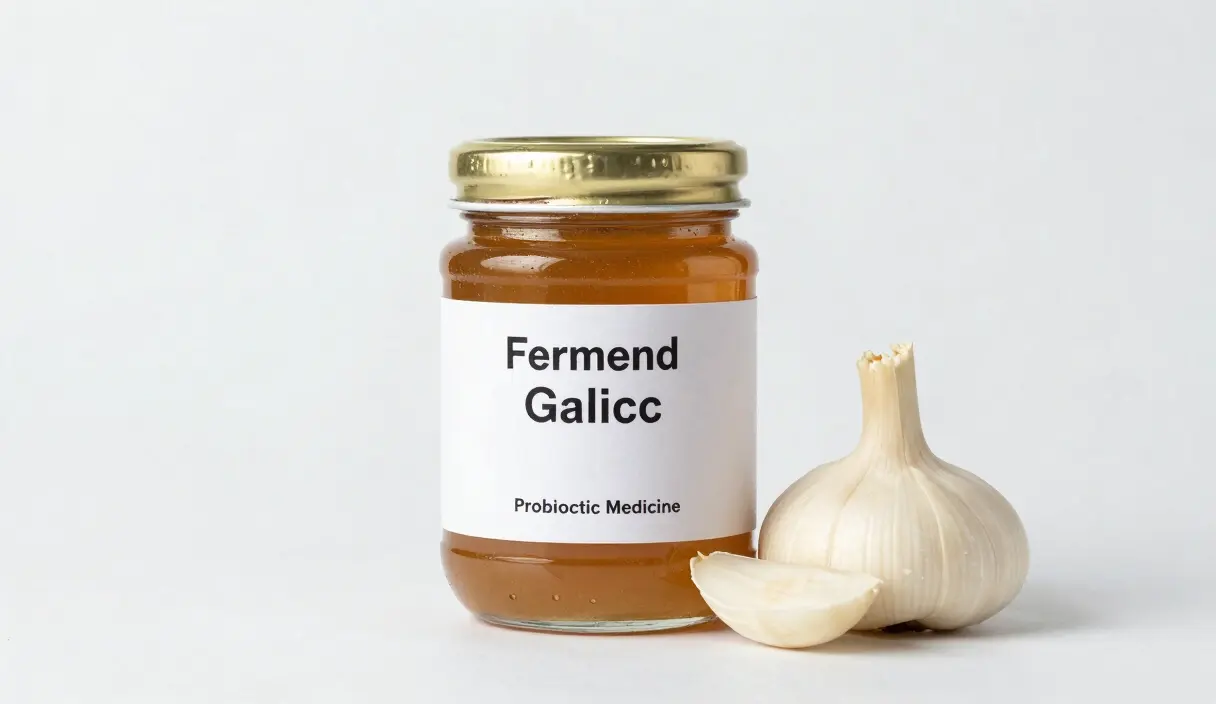
Fermented Honey Garlic: The Easiest Probiotic Medicine
Is honey garlic safe from botulism? We explore the science of honey fermentation, health benefits, and how to create a potent wellness tonic.
Contents
Raw honey and raw garlic together create one of the most beginner-friendly ferments in existence — and one of the most misunderstood. The honey doesn’t need water added; the garlic provides enough moisture on its own. And the fermented honey garlic tutorial process takes 4 weeks minimum, not the 1-week timelines you’ll find everywhere online. The shortcuts produce something edible. The full timeline produces something exceptional — a savory-sweet amber syrup with garlic cloves mellowed to soft candy and allicin stabilized by the acidic environment. Raw honey at pH 3.2-4.5 is already hostile to botulism before a single clove touches it. This guide covers the biology, the botulism facts, and the daily protocol.
The Biology of Honey Fermentation: How It Works
To understand honey garlic, you must first understand that honey is a “living” food.
Osmotic Pressure and the Sleeping Microbes
Raw honey has a very low water content. This creates massive osmotic pressure. If a bacterium lands in honey, the honey literally sucks the water out of the cell, killing it. This is why honey can remain edible for thousands of years.
The Trigger: Moisture
When you add fresh garlic to honey, you are introducing moisture. Garlic is roughly 60-70% water. As the honey draws the water out, the local concentration of water rises. Once it crosses the critical threshold, the wild yeasts and bacteria that were “asleep” in the honey wake up and begin to ferment the natural sugars.
You can watch this happen. By Day 3, the honey visibly thins around the base of each clove. By Day 7, tiny bubbles cling to the jar walls. That visible transformation — that’s not magic, it’s biology you’ve set in motion.
The Botulism Myth: Fact vs. Fiction
The botulism concern comes up in every honey garlic conversation, and it’s understandable. But the science here is straightforward. Honey’s natural pH already prevents C. botulinum germination before a single garlic clove touches it.
Is fermented honey garlic a “botulism trap”? Let’s look at the science.
The Spore Factor
Clostridium botulinum spores are ubiquitous in soil. They only become dangerous when they germinate and produce toxins in an anaerobic, low-acid, moist environment.
Why Honey is Naturally Safe
- Acidity: Most raw honey has a natural pH between 3.2 and 4.5. This is already below the magic 4.6 safety line.
- Antimicrobials: Honey contains hydrogen peroxide and various polyphenols that inhibit pathogenic growth.
- Acidification Curve: As the wild microbes wake up, they produce more acid, further lowering the pH.
Properly prepared honey garlic is one of the safest ferments you can make.
Meet the Ingredients: Raw vs. Processed
Quality is the difference between a health tonic and a jar of rot.
The Honey Requirement (Raw Only)
You must use raw, unpasteurized honey. Pasteurized honey has been heated to kill the very yeasts and enzymes we need for fermentation. Look for honey labeled “Raw,” “Unfiltered,” or “Local.” If you’re buying honey from a supermarket shelf without any of those words on the label, it won’t ferment — it’ll just sit.
The Garlic Requirement (Fresh Only)
Avoid pre-peeled garlic treated with chemicals. Organic is best, ensuring the microbial life on the cloves is healthy and active. When garlic is used in a brine-based ferment rather than honey, different troubleshooting issues arise — the fermented garlic brine troubleshooting guide covers the blue discoloration, softening, and Kahm yeast problems specific to high-allicin brine ferments.
The Master Protocol: Step-by-Step Honey Garlic
The daily flipping step feels tedious. Skip it for three days straight and you’ll find the surface cloves developing a mold colony rather than fermenting. I’ve done it. It’s not worth it. Flip the jar.
Follow this precise schedule to ensure a safe and active fermentation.
Preparation:
- Peel the Garlic: Gently smash the cloves to remove the skins. Keep them whole.
- Fill: Fill a wide-mouth glass jar about halfway with garlic cloves.
- Cover: Pour raw honey over the garlic. Leave 2 inches of headspace.
The First 14 Days (The Active Phase):
- Daily Flip: Once or twice a day, flip the jar over. This ensures the cloves stay coated in honey and prevents surface mold.
- Burping: Every 24 hours, slightly loosen the lid to release built-up CO2.
- Thinning: The honey will become much more liquid as it pulls moisture from the garlic.
The 30-Day Transition: From Sharp to Mellow
- Day 1-7: The garlic is still sharp and spicy. The honey starts to bubble.
- Day 14: The cloves begin to sink. They will turn a light brown color.
- Day 30: The peak of flavor. The garlic tastes like a savory, sweet balsamic clove. The honey has darkened into a rich amber syrup.
Health Benefits: Allicin and the Honey Matrix
The combination of garlic and honey is a nutritional powerhouse.
The Allicin Factor
When you crush or slice garlic, the enzyme Alliinase converts alliin into Allicin. This is the compound responsible for garlic’s immune-boosting properties. In honey, allicin is stabilized by the acidic environment, keeping it active much longer. A jar made at Week 1 and one made at Week 4 are chemically different products — the full timeline isn’t a preference, it’s the difference between a tonic and a condiment.
Synergistic Effects
Honey is high in antioxidants like phenolic acids. Combined with the organosulfur compounds in garlic, it creates a “synergy” where the health benefits are greater than the sum of its parts.
The pH Safety Check: Peace of Mind
If you are still worried about botulism, science provides an easy answer: Measure the pH.
As we established in our pH Safety Masterclass, C. botulinum cannot germinate below pH 4.6.
- The Check: After 2 weeks, test the liquid.
- The Result: Most honey garlic settles at a pH of 3.8 to 4.3. If your reading is above 4.6, add 1 teaspoon of apple cider vinegar to the jar to drop the pH into the safety zone.
These are the tools that ensure a professional and safe result:
Essential Honey Garlic Tools
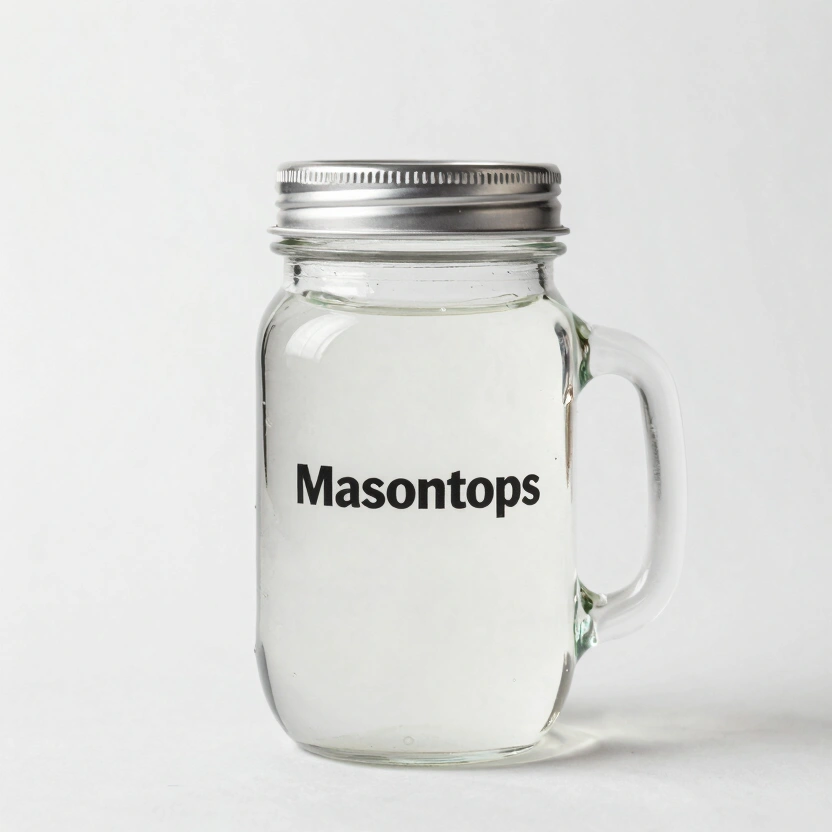
Masontops Complete Mason Jar Fermentation Kit
Complete set with airlock lids, glass weights, and vegetable tamper. Perfect for beginners.
Check Price on Amazon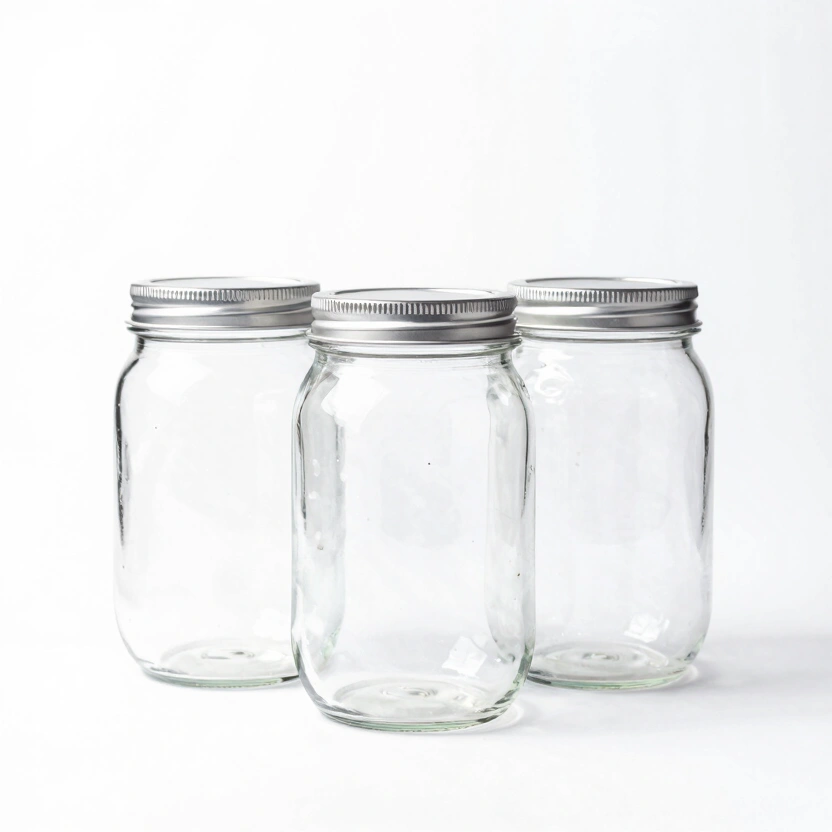
Tebery Wide Mouth Mason Jars (1.9L)
High-capacity glass jars perfect for bulk vegetable fermentation or continuous brew kombucha.
Check Price on Amazon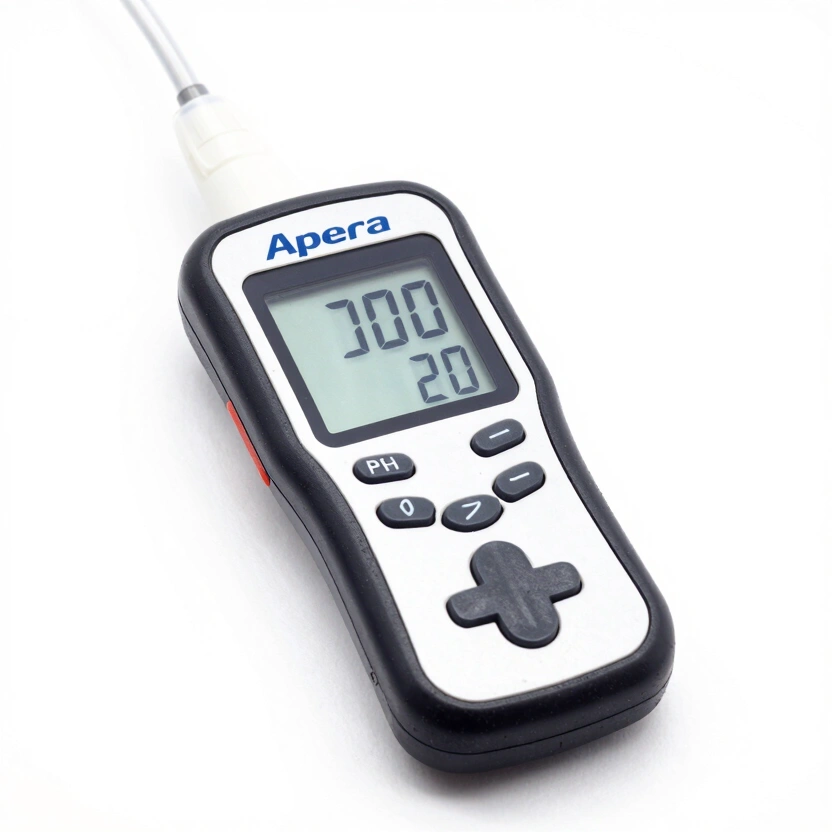
Apera Instruments PH20 pH Meter
Professional-grade digital pH tester, essential for verifying safety in low-acid ferments.
Check Price on Amazon* Affiliate links. Prices last updated March 3, 2026.
Culinary Applications: How to Use Your Medicine
Once you have a jar of amber liquid and dark garlic cloves, the possibilities are endless.
The Wellness Shot
Take one spoonful of the honey syrup and one clove of garlic at the first sign of a cold. It is powerful and warming.
Savory Glazes
The garlic-infused honey is incredible for cooking:
- Roast Chicken: Brush the honey over a chicken during the last 15 minutes of roasting.
- Salmon: Combine with soy sauce and ginger for an instant glaze.
- Pizza: Drizzle over a spicy pepperoni pizza.
The Garlic Cloves
The fermented cloves have the texture of a soft gummy candy.
- Cheese Boards: Pair a clove with sharp cheddar.
- Salads: Mince a clove and whisk it into a balsamic vinaigrette.
Long-Term Storage: Decades of Flavor
Honey is the ultimate preservative.
- Shelf Life: Fermented honey garlic will last indefinitely. Many believe the flavor peaks at the 1-year mark.
- Temperature: Store in a cool, dark cupboard. Do not refrigerate, as this causes the honey to crystallize.
- Crystallization: If it turns solid, simply place the jar in a bowl of warm water.
Thirty days. Raw local honey, organic garlic, pH confirmed below 4.3. The jar pays dividends for months — wellness shots, cooking glazes, cheese boards, and anywhere you want a complex savory-sweet note. No other ferment this simple produces this range of uses. The one thing that will ruin it is impatience. Skip the daily flip. Rush to Week 2. Crack it open at Day 10 because you can’t wait. You’ll get something decent. But you’ll miss what it becomes at Day 30 — and once you’ve tasted that, the shortcut version won’t satisfy.
Wide-mouth glass is the only sensible vessel for honey garlic — the best fermentation jars covers the Fido and Weck options that let you flip the jar daily without leaks and monitor the amber transformation through the glass.
For the full science behind the 4.6 pH safety threshold and how to test reliably, the pH Safety in Fermentation guide has everything you need.
Frequently Asked Questions
My garlic turned blue-green — is the batch ruined?
Not even close. This is a documented reaction between sulfur compounds in garlic and trace copper or iron minerals in the honey. The pigment is completely harmless. Flavor is unaffected. It happens more often with older garlic that has begun converting its sulfur compounds — fresh organic cloves tend to stay cream-colored, but even blue-green ones are fine to eat.
The honey isn’t bubbling — did I use the wrong kind?
If nothing is happening after 5-7 days, your honey was almost certainly pasteurized. Pasteurized honey lacks the wild yeasts needed to drive fermentation. Check the label: it must say “Raw” and “Unfiltered.” Local small-apiary honey is the most reliable source. Some batch variation exists even within raw honey — if your jar is completely inert at Day 7, add one tablespoon of raw apple cider vinegar with the mother to seed the fermentation.
What’s the actual botulism risk here?
Low — and the science explains why. Raw honey sits at pH 3.2-4.5 naturally, well below the 4.6 threshold where Clostridium botulinum can germinate. As fermentation proceeds, pH drops further. Measure it at Day 14 with a strip or meter. If you’re above 4.6 — unusual with proper raw honey — stir in a teaspoon of apple cider vinegar and retest after 24 hours. That’s the entire safety protocol. The pH safety guide has the full breakdown.
Can I add rosemary, thyme, or other herbs?
Yes. Rosemary, thyme, and black peppercorns infuse well over 30 days and complement the garlic-honey profile. One rule that isn’t optional: everything must stay fully submerged under honey the entire time. Surface exposure creates mold. Push herbs down with a chopstick daily, or press a small piece of wax paper flat against the honey surface to hold them under.
Related Articles
White Mold on Sauerkraut: Is it Safe or Spoilage?
Found white specks or film on your sauerkraut? We break down the difference between beneficial yeast, harmless white mold, and dangerous pathogens.
Natto Health Benefits: The Science of Nattokinase and Vitamin K2
Is it a superfood or a challenge? The science of Natto — nattokinase, vitamin K2 MK-7, and how to make it at home with precision temperature control.
Liquid Gold: The Technical Guide to Brewing Your First Gallon of High-End Mead
Master the ancient art of honey wine. Learn the science of honey, yeast management, and precision brewing for your first gallon of mead.