Fermenting Hot Peppers: Fresh vs. Dried vs. Mash Analysis
What is the best way to ferment peppers? We compare whole fresh peppers, dried chilis, and traditional pepper mashes for flavor and safety.
Contents
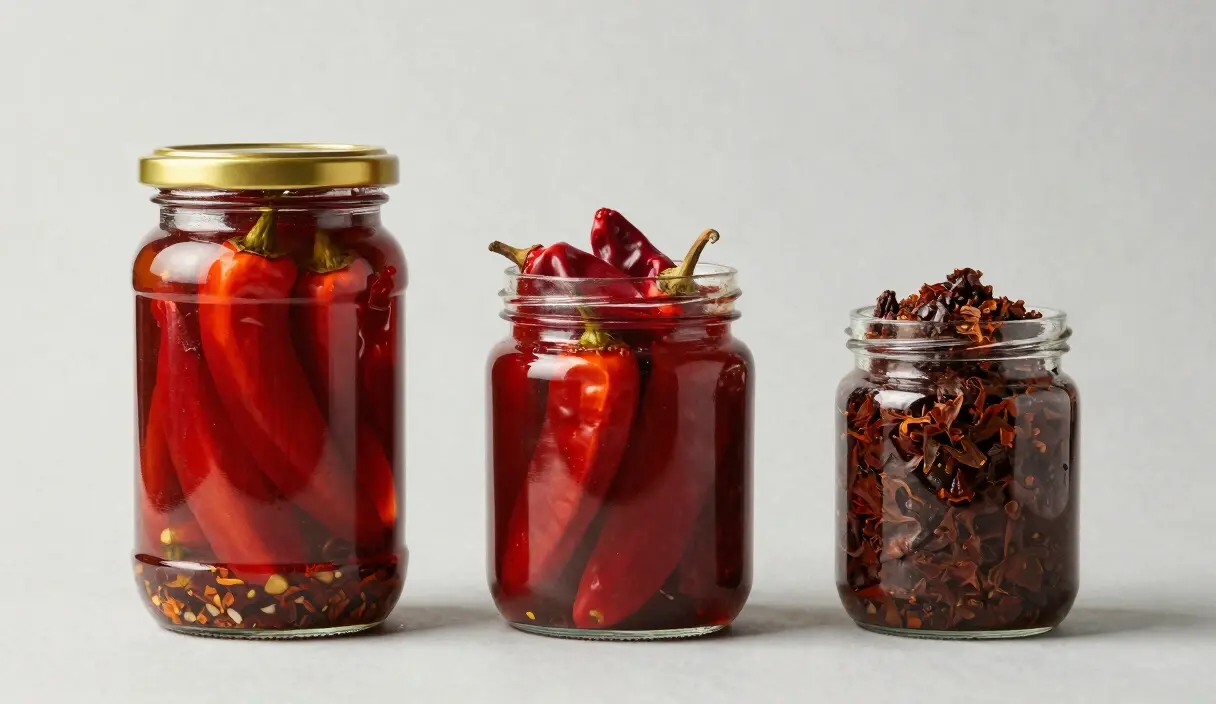
The question isn’t which pepper to ferment — it’s which pepper to ferment for what result. A habanero mash fermented for 30 days at 2.5% salt produces a completely different flavor profile than the same pepper fermented for 7 days at 3.5%. The variety matters less than the protocol. Fermenting hot peppers involves choosing between three substrate types — fresh brine, dried rehydrated chilis, and mash — each of which dictates the acidification curve, the ultimate funk, and the amount of active management the ferment requires. This comparison covers the cellular mechanics of each substrate, the Maillard reaction products in dried chilis, and the physics of anaerobic seals in thick mashes.
Substrate Anatomy: Why Texture Dictates Biology
To understand the difference between fresh, dried, and mashed peppers, we have to look at the cellular level.
The Fresh Pepper Cell
A fresh chili pepper is roughly 85-90% water. The sugars are locked inside the vacuoles. Lactic Acid Bacteria must penetrate the skin to reach this fuel.
- Advantage: Fresh peppers carry a diverse population of wild microbes on their skin.
- Goal: Preservation of brightness and citric acidity.
The Dried Chili Cell
Drying (via smoke or heat) collapses cell walls and concentrates sugars. It also introduces Maillard Reaction products, creating “raisin” or “chocolate” notes.
- Advantage: Massive concentration of flavor.
- Challenge: Dried chilis are biologically “quiet”—the heat of drying often kills wild microbes.
The Mash Environment
Grinding peppers ruptures almost 100% of the cells instantly. Juices are immediately available to the bacteria.
- Advantage: Fast fermentation and intense flavor.
- Challenge: Managing the anaerobic seal is harder in a paste than in liquid brine.
Fresh Pepper Fermentation: The Bright Path
This is the standard method. You submerge chopped peppers in a 3% brine.
The Brine Advantage
Brine dilutes sugars slightly, preventing yeasts from becoming too aggressive. It creates a liquid shield where no oxygen can reach the pepper skins.
- Flavor Profile: Citric, bright, and “zingy.”
- Best For: Habaneros and Jalapeños where you want to preserve the “fresh fruit” taste.
Dried Chilis: Fermenting the Concentrated
This is the substrate most people overlook. A rehydrated Ancho or Guajillo fermented for 5 weeks produces a dark, chocolate-rimmed sauce that has nothing in common with fresh pepper ferments. If you’ve only worked with fresh brine, you’re missing half the palette.
Fermenting dried chilis creates something much more sophisticated than simple vinegar pickling.
Rehydration and Inoculation
Because dried chilis lack active bacteria, you must “seed” the jar.
- The Starter: Adding a piece of fresh cabbage or a tablespoon of live brine is mandatory.
- The Physics: The chilis will absorb a massive amount of brine. Check the jar daily for 48 hours and refill with 3% saltwater as needed.
- Flavor Profile: Deep, earthy, smoky, and “dark.”
The Mash Masterclass: Total Extraction
A “Mash” is a chunky pulp made by blending peppers with salt. This is the secret behind legends like Tabasco.
The Science of the Mash
Grinding increases surface area for bacterial contact by thousands of percent. That speed is the mash method’s greatest advantage — and its biggest liability. Fast fermentation leaves a narrower margin for error.
- Rapid Acidification: Juices are already released, so pH drops faster than in a whole-pepper brine.
- Enzymatic Marriage: Enzymes from crushed cells “pre-digest” solids, leading to a smoother mouthfeel. (See our Science of Slime Guide).
The “Salt Cap”: Protecting the Paste
Fair warning: a mash without a salt cap or vacuum seal will develop a mold colony within 48 hours at 22°C. I’ve tried skipping it to “see what happens.” What happens is a green-gray surface crust and a wasted batch of Carolina Reapers.
In a mash, CO2 bubbles can lift solids, creating “air pockets” where mold grows.
- Traditional Defense: The “Salt Cap.” Sprinkle a layer of sea salt over the mash. It dissolves to create a high-salinity “kill zone” on the surface.
- Modern Defense: Use a Vacuum Bag to eliminate oxygen mechanically.
Safety Comparison Table: Choosing Your Risk Level
| Feature | Fresh Brine | Dried Rehydrated | Pepper Mash |
|---|---|---|---|
| Spoilage Risk | Low (Submerged) | Medium (Absorption) | High (Air pockets) |
| Speed | 2 - 4 weeks | 3 - 6 weeks | 1 - 2 weeks |
| Flavor Intensity | 7/10 | 9/10 | 10/10 |
| Microbial Prep | Wild bacteria | Must inoculate | Wild bacteria |
| Best Accessory | Glass Weights | Weights + Refill | Salt Cap or Vacuum |
Our top picks for substrate mastery:
Top Pepper Fermentation Tools

Bonsenkitchen Silver Vacuum Sealer
Affordable and powerful vacuum sealer, perfect for Noma-style bag fermentation and tempeh.
Check Price on Amazon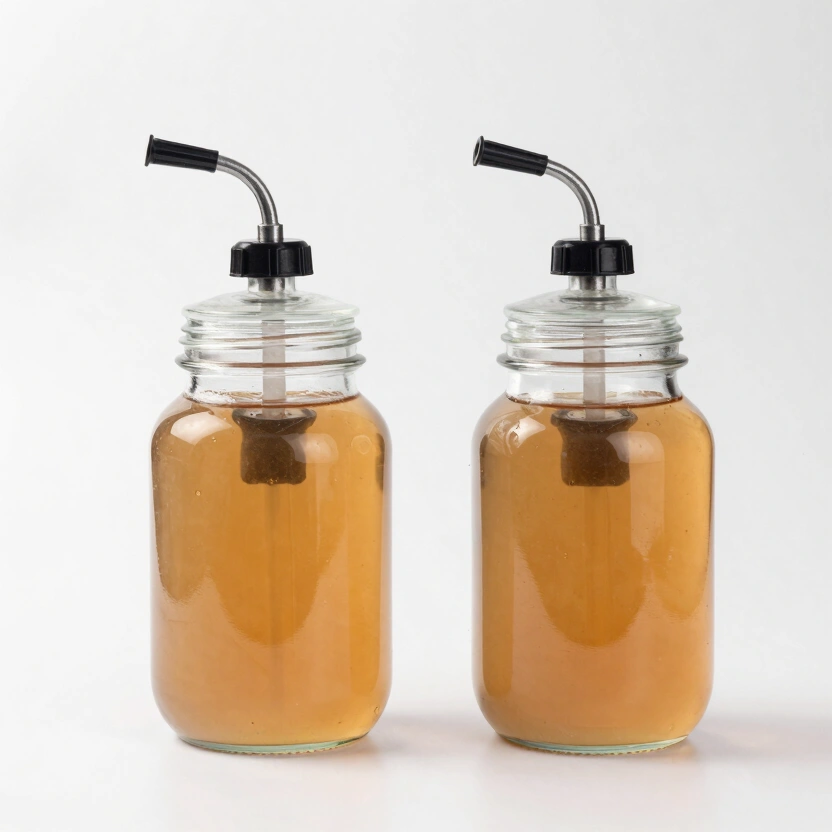
Green Wise Fermentation Jar Set (2 Pack)
Large 1.4L jars with integrated airlock valves. Perfect for sauerkraut, kimchi, or tomatoes.
Check Price on Amazon
Artcome 10-Pack Glass Weights
Bulk set of heavy glass weights with easy-grip handles for large mason jar setups.
Check Price on Amazon* Affiliate links. Prices last updated June 29, 2026.
Oxidation and Color Management
Peppers are highly sensitive to oxygen. A batch of vibrant red habanero mash can turn the color of dried mud in 48 hours if the seal fails — and once oxidized, no blending restores that color.
- In Brine: Oxidation is minimized by the liquid barrier.
- In Mash: Surface exposure turns vibrant red into dull brown.
- Prevention: Use an airlock and keep the jar in total darkness. UV light accelerates pigment degradation.
Blending Strategies: Post-Fermentation Mastery
Once your substrate reaches a pH below 3.8, it’s time to blend.
The Brine Choice
- The “Clean” Sauce: Blend solids with 50% brine and 50% apple cider vinegar for a balanced pop.
- The “Pure” Sauce: Use 100% brine for the most probiotic-dense, but saltier, option.
Texture and Emulsification
- High-Speed Blending: Essential for breaking down tough dried chili skins.
- Stabilization: Add Xanthan Gum (1/8 tsp per quart) during blending to prevent separation.
Secondary Ingredients: Adding Complexity
- Garlic and Onions: Ferment these with the peppers. They provide the prebiotic base for the initial bacterial growth.
- Fruits (Mango/Pineapple): Best added to fresh pepper brines for a bubbly, tropical ferment. The first 48 hours will be aggressive — don’t use a tight seal.
- Dried Spices: Add whole peppercorns or coriander. Lactic acid extracts aromatic oils better than vinegar alone.
Fresh peppers for wild microbes. Dried peppers for concentrated Maillard depth. Mash for maximum extraction speed. The best complex sauces often combine all three — a fresh-pepper brine base with dried Ancho added for depth and a salt cap holding the surface. That combination isn’t harder than a single-substrate ferment. It’s just deliberate. Choose your substrate based on what flavor you’re building toward, not which method looks easiest on paper. The mash is fastest but demands the most attention. The brine is slowest but tolerates neglect. Know which one you’re equipped to manage this batch.
For the blending and finishing process after fermentation is complete, the Fermented Hot Sauce Guide covers xanthan ratios, pH targets, and shelf-stability protocols.
Frequently Asked Questions
Can I mix fresh and dried peppers in the same jar?
Yes — and it’s worth doing deliberately. Fresh peppers contribute the wild Lactobacillus population that drives fermentation. Dried peppers add Maillard compounds and concentrated flavor depth that fresh brines can’t reach. A 70/30 blend of fresh Jalapeño and dried Ancho produces a complex, earthy sauce. The fresh component handles the microbiology; the dried component handles the flavor architecture.
My pepper mash is bubbling aggressively — do I stop it?
No. That’s healthy LAB and yeast activity. The danger isn’t the bubbling — it’s what bubbling does to a mash. CO2 can lift the paste above your salt cap and expose it to air. Check the jar twice daily for the first 72 hours. Push the mash back under the salt cap with a clean spoon immediately if it rises above. Don’t wait.
Why is my brine turning cloudy after 48 hours?
That’s the ferment working. Billions of suspended Lactobacillus cells cause the visual turbidity. Expect: clear at Day 1, lightly hazy by Day 2, opaque white-yellow by Day 5-7. If the brine clears again suddenly after going cloudy — investigate. Normal fermentation only gets cloudier.
I see a white film on top of the mash. What do I do?
Skim it. That’s Kahm yeast — flat, powdery, and white. Scrape it off completely, re-salt the surface if you’re working a mash, and check that your airlock is properly seated. Don’t panic, but don’t ignore it either. The Kahm yeast vs. mold guide has the visual identification you need to confirm it’s Kahm and not something worse.
Related Articles
The Scoville Scale and Fermentation: Does Heat Level Change Over Time?
Does fermentation make hot sauce hotter or milder? We explore the stability of capsaicin, pH impact on heat perception, and the Scoville scale.

Xanthan Gum and Consistency: The Technical Secret of Hot Sauce
Why does your hot sauce separate? We explore the science of emulsification and how to use xanthan gum for professional, stable results.
Fermenting Onions: Tips for a No-Stink Preparation
Do you want the probiotic benefits of onions without the kitchen smell? We explore onion chemistry and precision protocols for a no-stink preparation.