The Symbiotic Engine: A Comprehensive Guide to SCOBY Health and Maintenance
Master the art of kombucha brewing. Learn how to care for your SCOBY and create the perfect fizzy probiotic drink.
Contents
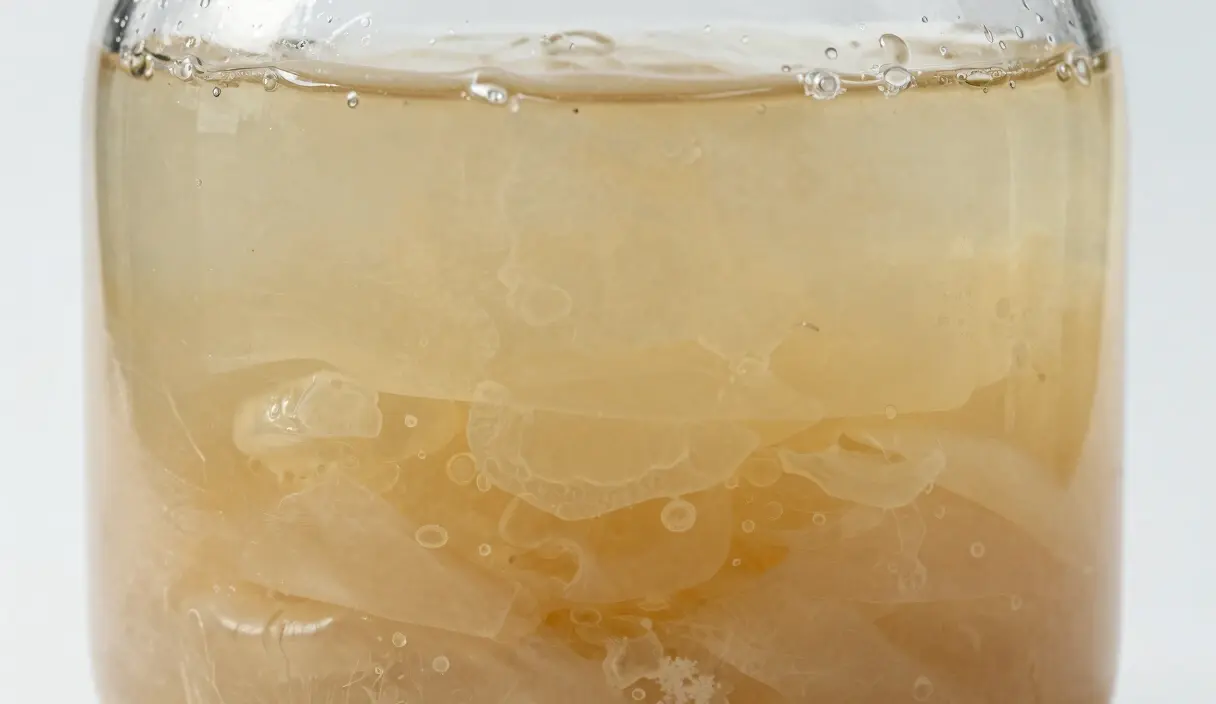
A SCOBY is not a single organism. It’s a structured biofilm housing 5 to 15 distinct bacterial species and 3 to 6 yeast species, organized in layers with specific functions. The top layer is predominantly Acetobacter. The bottom runs mostly Lactobacillus. The cellulose matrix that gives the SCOBY its physical form is produced by the bacteria — not the yeast. Most guides treat a SCOBY as a single ingredient. It isn’t.
That distinction matters because most SCOBY problems are layer-specific. A sour, vinegary overrun is an Acetobacter problem. A flat ferment with no acid development is often a Lactobacillus problem. A SCOBY that thins out over successive batches is usually a nutrient depletion problem. If you don’t know what you’re working with, you can’t diagnose what’s wrong — and you’ll keep adding starter liquid hoping something changes.
The Mystery of the SCOBY: A Symbiotic Masterpiece
What exactly is that rubbery disk? SCOBY is an acronym for Symbiotic Culture of Bacteria and Yeast. It isn’t a single organism; it is a complex colony living in a perfectly balanced ecosystem.
The Yeast Component
The yeast in your kombucha (typically strains like Saccharomyces or Zygosaccharomyces) is the first responder. Its job is to consume the sugar you’ve added to the tea and convert it into alcohol (ethanol) and CO2 gas. This is why kombucha can sometimes have a very trace amount of alcohol.
The Bacterial Component
This is where the magic happens. The bacteria (primarily Acetobacter) take the ethanol produced by the yeast and convert it into organic acids, including acetic acid, gluconic acid, and lactic acid. These acids give kombucha its signature “tang” and preserve the drink.
The Cellulose Structure
The physical disk you see is actually a byproduct of the bacteria. As they work, they weave a mat of pure bacterial cellulose. This mat acts as a lid, sealing the liquid below from airborne contaminants and regulating the exchange of oxygen. It is a biological home built by the microbes, for the microbes.
The Anatomy of a Healthy Brew
Before we dive into the brewing process, you must understand what a healthy kombucha environment looks like.
- The Liquid (The Tea): This is the fuel. Lactic acid bacteria and yeast need nutrients from tea leaves (tannins, nitrogen, and minerals) and energy from sugar to function.
- The Starter Liquid: This is “old” kombucha from a previous batch. It is highly acidic and packed with millions of microbes. Adding this to a new batch is critical because it instantly lowers the pH, protecting the tea from mold while the new SCOBY establishes itself. (For more on why pH is the #1 safety metric, see our Magic Number 4.6 Guide).
- Oxygen: Unlike many other ferments (like sauerkraut or mead), the primary fermentation of kombucha is aerobic. The bacteria need oxygen to convert alcohol into acid. This is why we cover our kombucha jars with a breathable cloth instead of a solid lid.
Tea Selection: The Science of the Leaf
You can’t just use any tea for kombucha. The SCOBY is a picky eater.
The Gold Standard: Black Tea
Traditional Camellia sinensis (Black Tea) provides the most stable environment for a SCOBY. It is high in the specific tannins and nitrogen that the bacteria need to build a thick, strong cellulose mat. If you want a SCOBY that will last for years, start with organic black tea.
The “Lighter” Choice: Green Tea
Green tea makes a lighter, more floral kombucha (often called “Jun-style” if made with honey). Green tea has fewer nutrients. A SCOBY grown exclusively in green tea may eventually become thinner and less active. Many pros use a 70/30 blend of black and green tea for the perfect balance of health and flavor.
What to Avoid
- Earl Grey / Flavored Teas: These often contain essential oils (like bergamot) that have antimicrobial properties. They can literally poison your SCOBY over time.
- Herbal “Teas” (Tisanes): Peppermint, chamomile, and rooibos don’t come from the tea plant and lack the necessary nutrients. You can use them for flavoring in the second fermentation, but never for the primary brew.
You’ve probably used the “wrong” tea at least once because someone gave you a bag and you didn’t want to waste it. That’s fine for one batch. But if your SCOBY has been thinning or the fermentation has been sluggish for three or four consecutive batches, this is the first thing to check — not the temperature, not the sugar, not the jar size.
The Master Protocol: Brewing Your First Gallon
Kombucha brewing is a two-stage process. The first stage (F1) creates the base flavor and acid profile. The second stage (F2) is for flavoring and carbonation.
Ingredients:
- 1 Gallon Filtered Water (Chlorine-free)
- 4-6 Tea Bags (or 2 tbsp loose leaf tea)
- 1 Cup Cane Sugar (Organic is best)
- 1-2 Cups Starter Liquid (Strong, plain kombucha)
- 1 Healthy SCOBY
Step-by-Step:
- Steep: Boil half the water and steep your tea for 10-15 minutes.
- Dissolve: Remove the tea and stir in the sugar until completely dissolved.
- Cool: Add the remaining half of the water (cold) to bring the temperature down. Crucial: Never add your SCOBY to hot tea (above 90°F/32°C) or you will kill the microbes.
- Inoculate: Once cool, pour the sweet tea into your fermentation jar. Add the starter liquid and then gently place the SCOBY on top.
- Cover: Cover with a tight-weave cloth (coffee filters or tea towels work great) and a rubber band.
- Wait: Store in a warm spot (72°F–80°F) for 7-14 days.
The amount of starter liquid is the variable most beginners underestimate. Use at least 1-2 cups per gallon. Skimp on starter and the pH stays high for too long, giving mold a real window to establish before the bacteria take over. And if you’ve ever opened a jar on day four to find a fuzzy green patch on the surface, low starter liquid is almost always the reason — not bad luck, not contaminated equipment, not the SCOBY’s age.
These are the tools that ensure a healthy SCOBY and perfect fizz:
Essential Kombucha Gear

myFERMENTS Kombucha Starter Set
Large 4.25L jar set with swing-top bottles — ideal for first kombucha or kefir batches.
Check Price on Amazon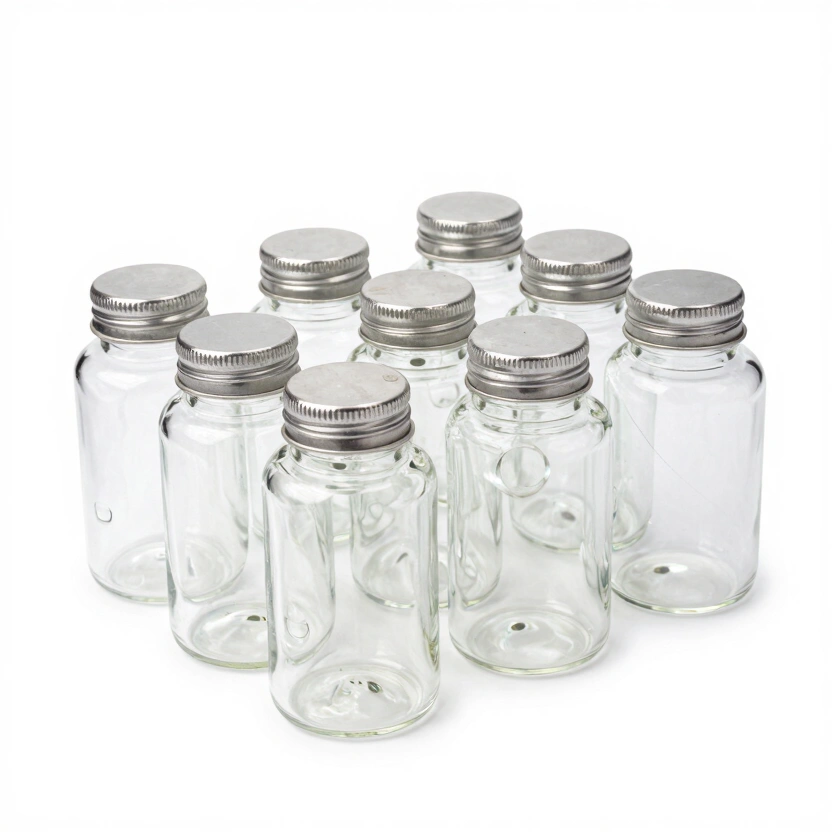
Artcome 10-Pack Glass Weights
Bulk set of heavy glass weights with easy-grip handles for large mason jar setups.
Check Price on Amazon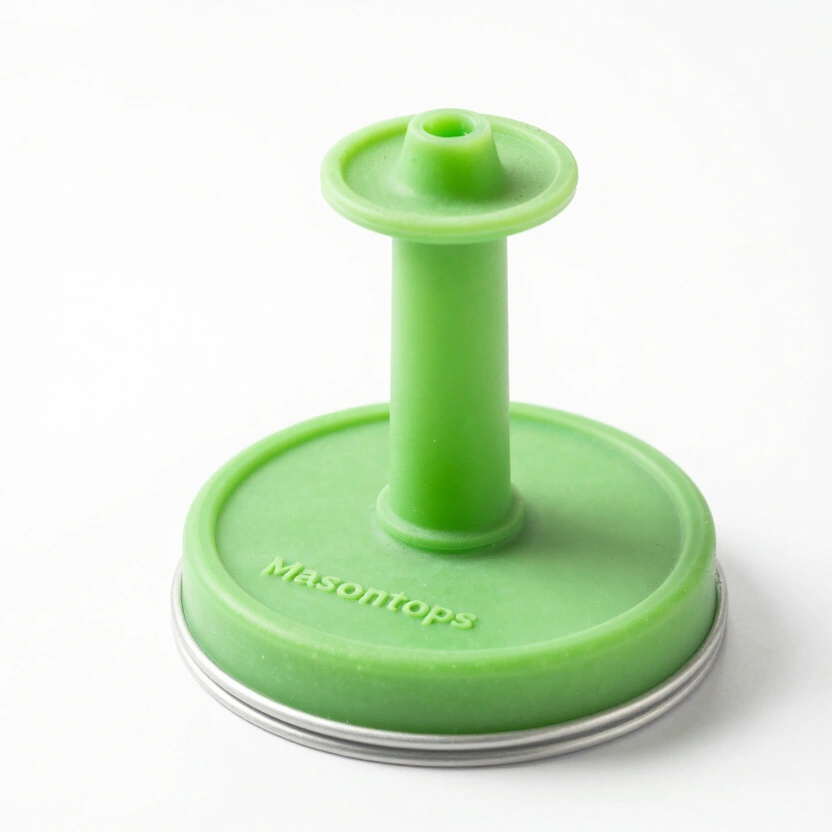
Masontops Pickle Pipe (Airlock Lids)
Waterless silicone airlock lids for easy, low-maintenance mason jar fermentation.
Check Price on Amazon* Affiliate links. Prices last updated March 3, 2026.
The Sugar Science: Why You Can’t Use Stevia
I get this question constantly: “Can I make keto kombucha with Stevia or Monkfruit?” The answer is no.
The sugar in kombucha isn’t for you — it’s for the yeast. The yeast needs real carbohydrates (sucrose, glucose, or fructose) to perform the chemical work of fermentation. Lactic acid bacteria then turn those byproducts into acids. By the time you drink the kombucha, much of the sugar has been consumed. If you use a non-caloric sweetener, the microbes will starve, the pH won’t drop, and your brew will likely develop mold.
The “SCOBY Hotel”: Long-Term Storage
What happens when you want to take a break from brewing? You need a SCOBY Hotel. This is simply a separate glass jar filled with extra starter liquid and all your “baby” SCOBYs.
- Maintenance: Keep it at room temperature in a dark spot.
- Feeding: Every 2-3 months, pour off some of the old liquid and replace it with fresh sweet tea.
- Longevity: A well-maintained SCOBY hotel can keep your cultures alive for years.
Hygiene and Cleaning: The StarSan Method
Kombucha is more prone to mold than vegetable ferments because it has a higher sugar content and a less aggressive salt profile.
- Sanitization: Always use a food-grade sanitizer like StarSan or white vinegar to rinse your jars and hands.
- Soap Warning: Never use antibacterial soap on your brewing equipment. Even a tiny residue of soap can weaken your SCOBY and lead to infection.
- The Cloth Check: Ensure your covering is tight enough to keep out Fruit Flies. Fruit flies are the #1 vector for mold and cross-contamination in home brewing.
Troubleshooting: Is my SCOBY Dying?
Kombucha can look ugly, but that doesn’t mean it’s sick. Here is how to tell the difference between “normal funk” and a crisis.
- Brown Stringy Bits: These are yeast strands. They are perfectly normal and a sign of a healthy, active brew.
- Holes or Bubbles in the SCOBY: This is trapped CO2 trying to escape. It’s a sign of a strong fermentation.
- Sinking SCOBY: It is normal for a SCOBY to sink, float, or hang sideways. As long as a new layer starts forming on top, you are fine.
- Fuzzy Spots (White, Green, or Black): This is MOLD. Unlike Kahm yeast, mold is fuzzy. If you see mold, you must throw everything away — the liquid and the SCOBY. (See our detailed mold identification guide).
Here’s the frustrating part: mold in kombucha is almost always preventable. It’s not random. It tracks directly to three choices — not enough starter liquid, too-warm initial temps, or a covering cloth with pores large enough for fruit flies. Address those three things and you may never see mold in your brew again.
Stage 2 (F2): Carbonation and Flavor
Once your base kombucha tastes tangy but not quite like vinegar (usually pH 3.0), it’s time for F2.
- Bottle: Pour your kombucha into swing-top bottles. Leave 1-2 inches of headspace.
- Flavor: Add 10-20% fruit juice or fresh fruit (berries, ginger, and lemon are favorites).
- Seal: Close the lids and leave at room temperature for 2-4 days. The yeast will eat the new sugar from the fruit and create CO2. Since the bottle is sealed, the gas is forced into the liquid, creating bubbles.
- Chill: Once carbonated, move to the fridge. Warning: Always chill before opening to prevent “kombucha volcanoes.”
A well-fed SCOBY is genuinely durable. The organisms inside that cellulose mat can survive for years — even decades — as long as you maintain three variables: pH below 3.5 at the end of F1, temperature in the 72–80°F range, and a starter liquid ratio above 10% of total volume. Those aren’t guidelines you can approximate. They’re the actual conditions the microbial community requires to stay competitive against contamination. Hit all three consistently and your SCOBY becomes difficult to kill. Miss any one of them for several consecutive batches and you’re fighting a slow decline that looks like bad luck but isn’t.
The most counterintuitive thing about SCOBY maintenance: you don’t need to protect it so much as you need to not interfere with it. The organisms do the work. Your job is mostly to not stop them.
Before you scale up, see the best kombucha starter kits — a reviewed selection of jars, airlocks, and complete setups that make the jump from first brew to consistent production straightforward.
Want to expand to a second culture? The Jun Kombucha Guide For running your SCOBY as a permanent system rather than batch-by-batch, the continuous brew kombucha guide covers the vessel setup and harvest rhythm. covers the honey-and-green-tea variant — a separate SCOBY, separate requirements, and a flavor profile that makes standard kombucha taste one-dimensional by comparison.
Frequently Asked Questions
How long does a SCOBY last if I maintain it properly?
Indefinitely. That’s not an exaggeration. A SCOBY fed with fresh sweet tea grows a new cellulose layer each batch — the mat you see thickening over time is proof the bacterial population is renewing itself. What you’re maintaining is not the physical disk but the microbial community inside it, which continues as long as there’s fuel (sugar, tannins) and the pH stays in range. The SCOBY doesn’t “age out.” It just needs to be fed.
Is stainless steel equipment safe to use with kombucha?
Brief contact is fine — stainless steel spoons, ladles, strainers. The problem is extended storage: mature kombucha at pH 3.0–3.5 is acidic enough to leach minerals from most metals over hours, not days. Glass for any vessel that holds the liquid longer than a few minutes. Stainless for tools only.
My kombucha tastes like straight vinegar after 10 days. Did I ruin it?
No. You made kombucha vinegar. It’s a real product — a useful one. Use it anywhere you’d use apple cider vinegar: salad dressings, grain soaking, marinades. Better still, use it as high-acidity starter liquid for your next batch. A half-cup of genuine kombucha vinegar will drop the pH of fresh sweet tea faster than any commercial starter, giving your new batch a running start against mold. The batch isn’t ruined. Your timing was just off.
Should I rinse or clean my SCOBY between batches?
Never. Rinsing disrupts the layered microbial ecology that makes the cellulose mat functional. If it gets thicker than an inch, peel off the older, darker bottom layers and compost them — the pale, fresh upper layers are the active ones. The only reason to handle a SCOBY with water is if you’re reviving a dried culture, and even then you use filtered water, never tap.
Do I actually need a SCOBY Hotel, or is it overkill?
You need one if you brew regularly. A SCOBY Hotel is a glass jar of extra starter liquid holding your backup cultures — it means a contaminated main brew doesn’t end your production entirely. But here’s what most people don’t mention: the liquid in a well-maintained SCOBY Hotel, aged and strongly acidic, is some of the best starter liquid you can use. It’s not just insurance. It’s a resource.
Related Articles
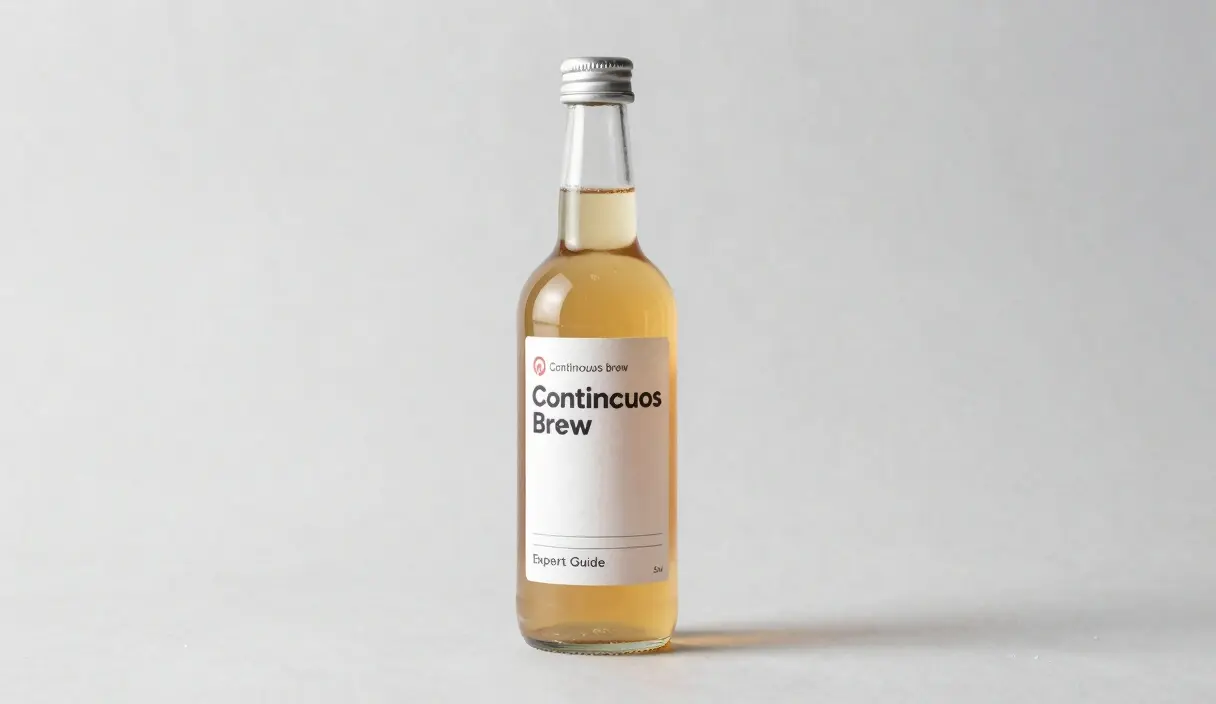
Continuous Brew Kombucha: The Expert Guide to Scaling Your Probiotics
Stop cleaning jars every week! We explore the efficiency, safety, and science of the continuous brew kombucha system.
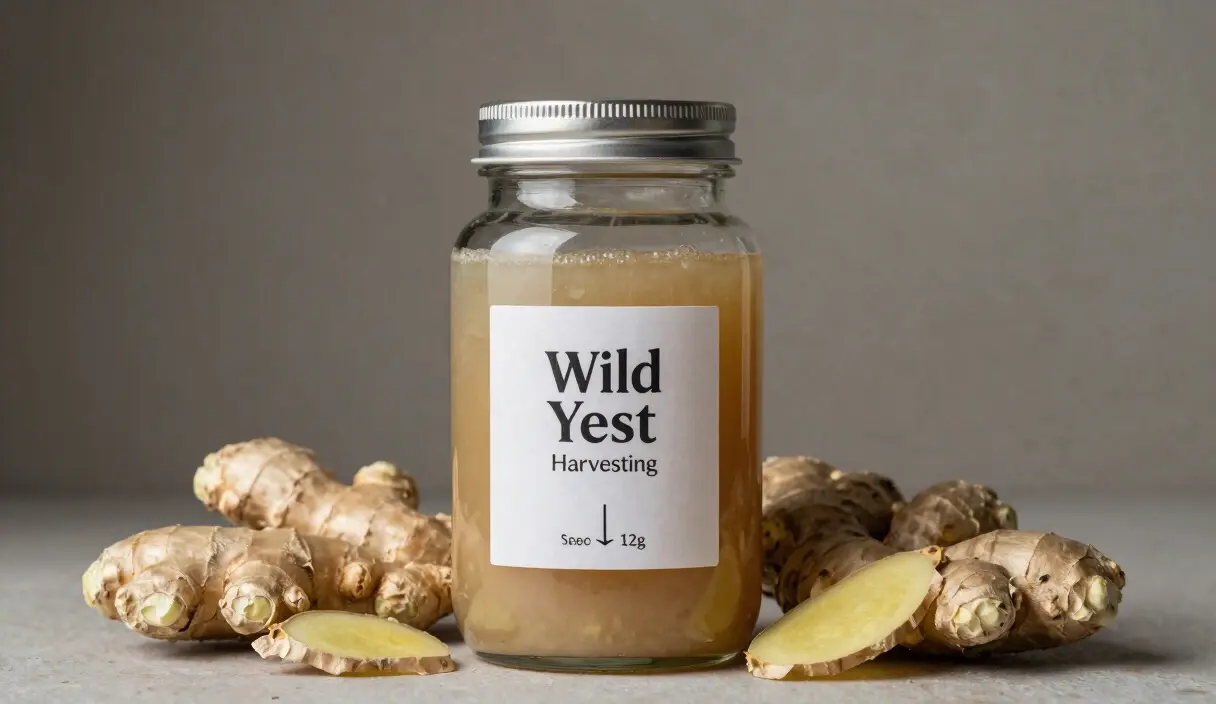
Wild Yeast Harvesting: How to Start a Ginger Bug for Natural Sodas
Ditch the commercial yeast! Learn how to capture wild yeast from ginger to create naturally fizzy, probiotic sodas at home.
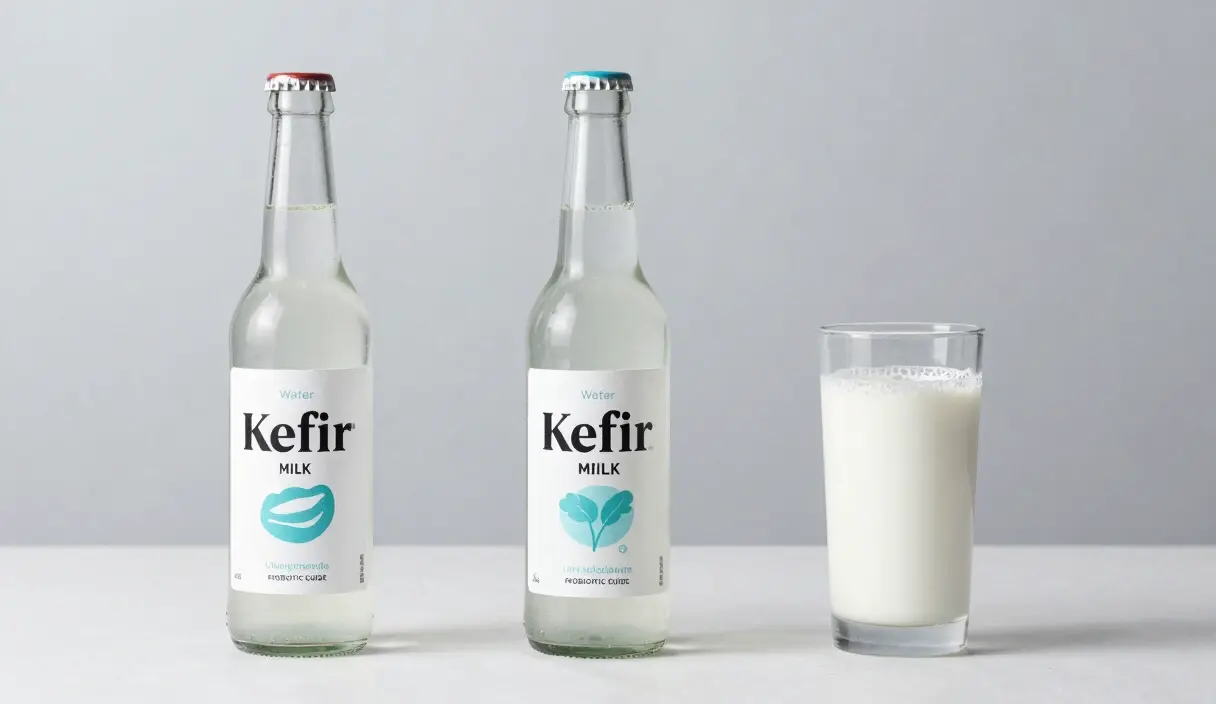
Water Kefir vs. Milk Kefir: Which Probiotic Drink is Right for You?
Choosing between dairy and water kefir? We compare the probiotics, preparation, and health benefits of these two legendary ferments.