The Milk Kefir Masterclass: Mastering the Complex Microbiome of Probiotic Dairy
Master milk kefir with our 3000+ word technical guide. Learn microbiology, troubleshooting, and advanced secondary fermentation for probiotic perfection.
Contents
Kefir grains were treated as family inheritance in North Caucasus mountain communities — more valuable than livestock in some villages. A 1906 account documents that Irina Sakharova, a chemist sent by the All-Russian Physicians’ Society to obtain kefir grains from a Karachai prince, negotiated for three months. The prince refused to sell them. Grains were given only as wedding gifts or for significant favors. These communities had figured out, empirically, that the culture was self-propagating and that its value was in its continuation, not its ingredients.
That logic still applies. What you’re maintaining when you keep kefir grains is not a product but a process — a self-renewing biological system that no supplement manufacturer can replicate in a capsule.
The practical question is why separated, curdled-looking kefir makes people throw out a batch that’s perfectly fine. Or why a slight yellowish tint on the grains triggers panic. Or why a batch that smells strongly yeasty gets discarded when it’s actually showing strong fermentation. Most kefir failures are misread successes. This guide covers what’s actually happening at each stage so you stop second-guessing results that are working exactly as they should.
The Microbial Architecture: Why Grains are Not SCOBYs
Most guides describe kefir grains as “just a SCOBY” and leave it at that. That framing loses almost everything important about how the culture actually works.
We need to clear up a common misconception that plagues the fermentation community. You’ll often hear people call kefir grains a “SCOBY” (Symbiotic Culture of Bacteria and Yeast). While technically true, it’s functionally misleading.
A Kombucha SCOBY is a cellulose mat—a byproduct of the bacteria building a physical house. Kefir grains, however, are a complex matrix of proteins, lipids, and a unique soluble polysaccharide called Kefiran. This matrix is the physical manifestation of the microbiome itself. If you lose the grains, you lose the ability to ferment indefinitely. You can’t just “grow” a new grain from the liquid in the same way you can grow a new Kombucha SCOBY.
Within these grains, dozens of species live in a vertical hierarchy. The outer layers are dominated by aerobic-leaning bacteria, while the core houses anaerobic specialists.
I spent six weeks trying to figure out why my grains kept producing thin, yeasty kefir — and the answer turned out to be three words: ultra-pasteurized milk. The processing strips the protein structure that Lactobacillus kefiranofaciens needs to build Kefiran. The grains didn’t grow. The ferment ran fast and watery. Nothing else I changed made any difference until I switched milk.
The Heavy Hitters of the Kefir Jar: A Microbiological Deep-Dive
To truly master kefir, you must understand the “cast of characters” living in your grains. This isn’t just academic fluff; it’s the key to diagnosing flavor shifts.
- Lactobacillus kefiri: The namesake and dominant resident. It’s responsible for the majority of the lactic acid production that preserves the milk. It thrives in the mid-range of the grain’s structure, shielded from too much oxygen.
- Leuconostoc mesenteroides: The flavor architect. This bacterium produces diacetyl—the same compound that gives high-quality butter its rich, creamy scent. If your kefir tastes particularly “buttery,” your Leuconostoc is happy.
- Acetobacter fabarum: These bacteria produce acetic acid, giving kefir that characteristic “sharp” bite. They live on the surface of the grains where oxygen is plentiful. If your kefir smells like vinegar, your surface bacteria are overactive.
- Kluyveromyces marxianus: A yeast species that can actually metabolize lactose. It produces a tiny amount of ethanol and CO2, which is why authentic milk kefir often has a subtle, pleasant “fizz.” This is the yeast that allows lactose-intolerant individuals to enjoy kefir.
- Saccharomyces turicensis: Another yeast that adds to the complex aromatic profile, contributing to the “yeasty” or “bread-like” scent of a healthy ferment. It works in tandem with the Lactobacillus to break down complex proteins.
When you drink kefir, you aren’t just getting “probiotics.” You are ingesting an entire ecosystem that has evolved over millennia to survive the harsh winters of the Caucasus.
The Physics of the Ferment: Understanding the pH Curve
Most home fermenters look for “thickness” as the only sign of success. But thickness is just a side effect of a complex chemical transition. To master the craft, we have to look at the Isoelectric Point of Casein.
Milk is a colloid—tiny protein balls suspended in water. These balls have a negative charge, so they repel each other. As the bacteria eat lactose, they excrete lactic acid (hydrogen ions). These ions neutralize the negative charge on the proteins.
- pH 6.7 (Fresh Milk): Maximum repulsion. The milk is liquid.
- pH 5.2 (The Thickening Point): The proteins begin to lose their charge and slow down. The milk starts to feel “heavy.”
- pH 4.6 (The Isoelectric Point): The magic number. At this pH, the milk proteins have zero net charge. They stop repelling each other and “lock” together into a gel. This is the moment your kefir becomes thick.
- pH 4.0 and below (The Collapse): The acidity becomes so high that the proteins shrink and pull away from each other, squeezing the water out. This is why “over-fermented” kefir looks like cottage cheese floating in yellow water (whey).
By tracking this curve (using a high-quality pH meter like the EZTOCH Food pH Meter), you can decide exactly when to pull your grains. For a mild, drinkable kefir, aim for a pH of 4.5. For a tart, thick kefir that’s better for cooking, let it hit 4.2.
The 7-Day Grain Revitalization Program
I’ve killed grains twice by rinsing them in tap water without thinking. The chlorine takes out the surface Acetobacter first — you won’t notice for two or three batches, and then suddenly everything stops fermenting properly. Dechlorinated water is not optional.
Look, we’ve all been there. You forgot the jar in the back of the pantry for three weeks. Your grains look like tiny, sad, shriveled raisins. They aren’t dead—they’re in “stasis.” Most people throw them away at this point. Don’t. Use this 7-day protocol to bring them back to life.
Days 1–2: The Rinse and Reset
Remove the grains from the old, sour milk. Rinse them gently in a bowl of dechlorinated, filtered water. Do NOT use tap water; the chlorine will kill the remaining Acetobacter on the surface. Place them in a small amount of fresh, whole milk—just enough to cover them. Change the milk every 12 hours, regardless of whether it looks fermented.
Days 3–4: The Nutrient Boost
Double the amount of milk. Add a single teaspoon of heavy cream to the jar. The extra fat provides a buffer for the rebuilding Kefiran matrix. Again, change the milk every 12 hours. You might notice the milk looks thin and smells like “spoiled milk” rather than kefir. This is normal; the yeasts are waking up faster than the bacteria.
Days 5–6: The Temperature Spike
Move the jar to a slightly warmer spot (around 74°F / 23°C). The warmth encourages the Lactobacillus to start producing lactic acid again. By day 6, you should see the first signs of the “gel” forming around the grains.
Day 7: The Stability Test
Run a standard 24-hour ferment. If the milk is thick and the pH has dropped below 4.6, your grains are back. They may not produce a perfect flavor for another week, but the ecosystem is stable.
Choosing Your Base: The Milk Spectrum and Beyond
Your choice of milk is the single biggest variable in the flavor and health of your grains. Look, I get it. We want to be inclusive. But your grains have an opinion, and they usually prefer cow’s milk.
Cow’s Milk (The Standard)
If you are using standard supermarket milk, go for Whole Milk. The fat content provides a buffer for the acidity and leads to a creamier mouthfeel. However, if you can find A2 Milk (which contains only the A2 beta-casein protein), many people find the resulting kefir much easier to digest. A1 milk, which is what most Holsteins produce, can lead to more bloating in sensitive individuals.
Goat and Sheep Milk
Goat milk produces a much thinner kefir because it lacks the same protein structure as cow’s milk. It has a “goaty” or musky undertone that pairs beautifully with savory preparations. Sheep milk is the secret weapon of the pros—it has nearly double the fat and protein of cow’s milk, resulting in a kefir so thick you could almost eat it with a fork.
The Raw Milk Debate
Honestly, raw milk is the gold standard for kefir. It contains its own native enzymes and bacteria that play nice with the kefir grains. However, it carries a higher risk of competing with the grains if your grain-to-milk ratio is too low. If you’re using raw milk, keep your batches small and fast.
The 24-Hour Cycle: Physics and Chemistry in a Jar
Most beginners treat kefir like a “set it and forget it” project. That’s how you end up with a sour, separated mess. The fermentation of milk kefir follows a non-linear curve.
For the first 12 hours, almost nothing seems to happen. The bacteria are waking up, sensing the lactose, and beginning to acidify the environment. Around the 18-hour mark, the pH drops below 4.6 (the critical safety limit). At this point, the milk proteins (caseins) begin to lose their charge and clump together. This is the Coagulation Phase.
By hour 24, at room temperature (around 70°F/21°C), the ferment should be thick, like a drinkable yogurt. If you wait until hour 30, the acidity becomes so high that the protein matrix collapses, squeezing out the whey. This is the “separation” that scares everyone.
Pro-Tip: If your kefir separates into clear liquid (whey) and white clumps (curds), don’t throw it out. Just shake it back together or strain it. It’s still safe; it’s just more tart.
I threw out three separated batches before I understood what was happening. That’s a week of fermentation and a full liter of whey — arguably the most nutritionally dense liquid in the jar — poured down a drain because the visual looked wrong. The biology was fine. The problem was entirely in my interpretation of it.
Best Milk Kefir Starter Kits

myFERMENTS Kombucha Starter Set
Large 4.25L jar set with swing-top bottles — ideal for first kombucha or kefir batches.
Check Price on Amazon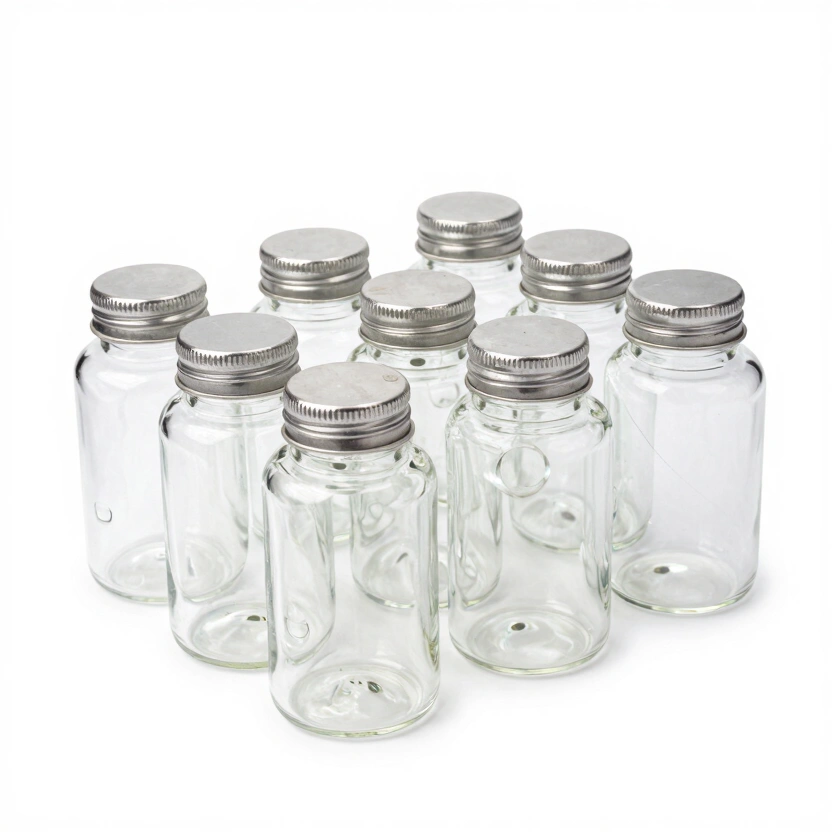
Artcome 10-Pack Glass Weights
Bulk set of heavy glass weights with easy-grip handles for large mason jar setups.
Check Price on Amazon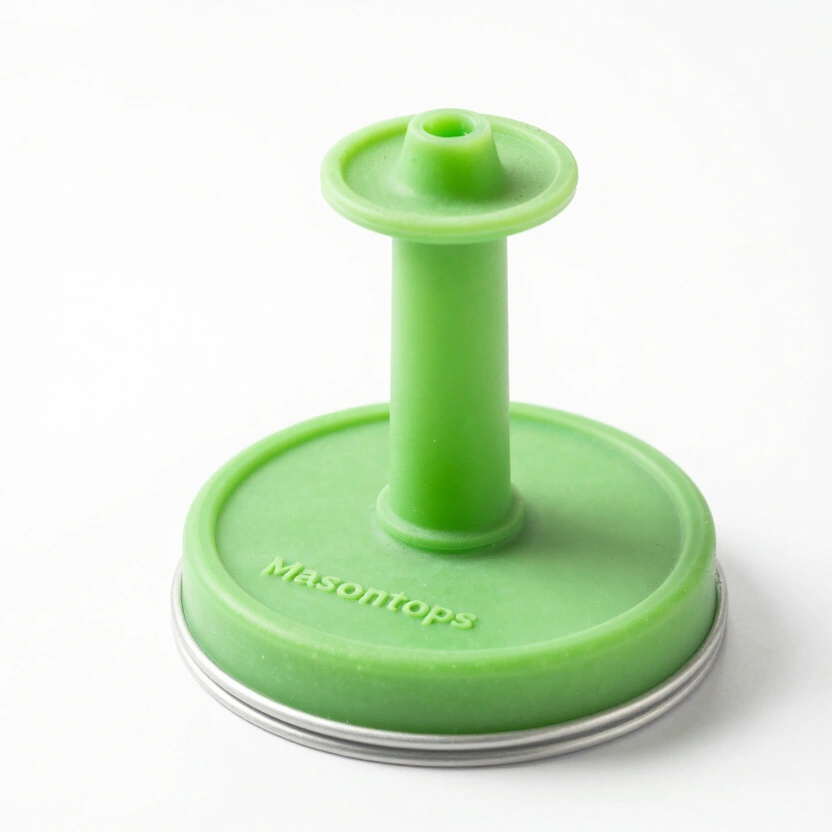
Masontops Pickle Pipe (Airlock Lids)
Waterless silicone airlock lids for easy, low-maintenance mason jar fermentation.
Check Price on Amazon* Affiliate links. Prices last updated March 3, 2026.
Separation Anxiety: Troubleshooting Your Batch
Why is my kefir thin? Why does it smell like old socks? Let’s dive into the most common failures.
Issue 1: The “Grain-to-Milk” Mismatch
Most people use too many grains. If you have 2 tablespoons of grains in 2 cups of milk, they will eat through the lactose in 8 hours. By the time you wake up, it’s a separated mess.
- The Fix: Use a ratio of 1:20 by volume. One tablespoon of grains per two to three cups of milk.
Issue 2: Temperature Swings
Kefir is a creature of habit. If your kitchen hits 80°F (27°C) in the afternoon, the yeast will go into overdrive. This leads to a “yeasty” or “bready” taste and lots of bubbles, but very little thickness.
- The Fix: Find a cooler spot, or use more milk to slow down the process.
Issue 3: Sluggish Grains
If your grains are small, orange-ish, or haven’t grown in weeks, they are stressed. Usually, this is due to “residual cleaning chemicals” on your jars or using ultra-pasteurized milk.
- The Fix: Give them a “spa day.” Put them in fresh, high-quality whole milk and change the milk every 12 hours, even if it hasn’t fermented. Do this for 3 days.
Microbial Synergies: The Architecture of Cross-Feeding
One of the most fascinating aspects of milk kefir is that it doesn’t just “contain” different microbes; those microbes actively cooperate to survive. This is known as Cross-Feeding or syntrophy.
For instance, many of the Lactobacillus species in the grains are actually unable to synthesize certain B-vitamins or amino acids that they need to grow. The yeasts (Kluyveromyces and Saccharomyces) act as tiny biological factories, producing these vitamins and excreting them into the milk matrix. In return, the bacteria produce lactic acid, which lowers the pH and protects the yeasts from competing with harmful molds or putrefactive bacteria.
This is why a balanced grain is so resilient. If you try to ferment milk with just a single strain of laboratory-grown Lactobacillus, the culture will eventually tire and die out. But the symbiotic relationship within the grain allows it to adapt to different milks, temperatures, and environments for decades, even centuries.
The Science of Grain Growth: Cultivating Kefiran
If your grains aren’t growing, your microbiome is stagnant. Growth is the primary indicator of health. The grains increase in size primarily through the production of Kefiran, the unique, clear, slippery polysaccharide mentioned earlier.
Kefiran is produced by Lactobacillus kefiranofaciens. This specific bacterium is highly sensitive to the mineral content of the milk. And it’s the first thing to suffer when you switch to filtered, mineral-stripped water for rinsing — a detail I discovered after my grains stopped growing for two months despite otherwise perfect conditions. If you find your grains have stopped growing, it’s often because they are mineral-deficient.
How to Accelerate Grain Growth:
- Mineral Supplementation: If you use filtered water for everything, your milk might be lacking trace minerals. Adding a tiny pinch of unrefined sea salt (like Celtic Sea Salt) to a quart of milk once a week can provide the trace magnesium and calcium needed for kefiran synthesis.
- Agitation: Gently shaking the jar 2–3 times a day prevents “local exhaustion” of nutrients. It ensures that the grains are always in contact with fresh lactose and minerals.
- Low Temperature, Long Ferment: Interestingly, grains often grow faster at slightly cooler temperatures (65°F / 18°C) than at warm ones. While the ferment takes longer, the bacteria spend more energy building the physical matrix (the grain) and less energy on rapid reproduction in the liquid.
Secondary Fermentation: The Flavor Frontier and Carbonation Physics
If you’re only drinking “first-stage” kefir, you’re missing out on 50% of the benefits. Secondary fermentation happens after you remove the grains. This is where the physics of carbonation comes into play.
When you remove the grains, the yeasts remain in the liquid. If you seal this liquid in a pressure-rated bottle (like a flip-top bottle), those yeasts will continue to consume any remaining lactose or added sugars, producing CO2. Because the gas has nowhere to escape, it is forced into the liquid—this is Carbonation.
The F2 Masterclass:
- The Sugar Boost: Add 1 teaspoon of fruit juice or a small piece of dried fruit. This gives the yeast a concentrated burst of fuel.
- The “Burping” Rule: If you are using a standard glass jar, you MUST burp it every 12 hours. If you are using pressure-rated bottles, you can let it go for 24 hours for a champagne-like fizz.
- Temperature Control: F2 should happen at room temperature. Once the desired carbonation is reached, move the bottle to the fridge immediately. Cold temperatures increase the solubility of CO2, making the bubbles smaller and more refined.
Kefir Whey: The Liquid Gold of the Kitchen
When your kefir separates, don’t look at it as a failure. Look at it as an opportunity. The clear yellow liquid is Whey, and it is arguably the most versatile tool in a fermenter’s kitchen.
Culinary Applications for Kefir Whey:
- The Sourdough Shortcut: Use half water and half kefir whey for your next sourdough loaf. The extra enzymes and lactic acid will lead to a much more dramatic “oven spring” and a softer crumb.
- Vegetable Fermentation Starter: If you are fermenting carrots or cucumbers and want to ensure a fast start, add 2 tablespoons of kefir whey to your brine. It acts as an “inoculant,” flooding the jar with beneficial bacteria before the wild strains can even wake up.
- Grain Soaking: If you cook oats, quinoa, or beans, soak them in water with a splash of kefir whey for 12 hours. The enzymes in the whey help break down phytic acid—an “anti-nutrient” that can block mineral absorption in the gut.
- Probiotic Lemonade: Mix 1 cup of whey with 1 quart of water, the juice of 3 lemons, and a bit of honey. Let it sit for 24 hours on the counter. You’ll have a fizzy, probiotic lemonade that is far superior to anything in the store.
Longevity: How to Take a Holiday
One of the biggest barriers to entry is the “pet factor.” You have to feed it every day. But what if you want to go to Hawaii for two weeks?
- The Refrigerator Method (1–3 weeks): Put your grains in a pint of fresh milk and put them in the back of the fridge. The cold slows the metabolism to a crawl. They will be fine for up to 21 days.
- The Drying Method (6 months+): Rinse your grains with filtered (dechlorinated) water. Pat them dry. Place them on a piece of parchment paper and let them air dry for 3–5 days until they are hard, yellow crystals. Store them in a bag with some powdered milk in the freezer.
The Verdict: Why Milk Kefir is Non-Negotiable
Milk kefir costs pennies per batch, requires no electricity, and delivers a broader spectrum of beneficial organisms than any probiotic supplement on the market. But the practical argument for making it isn’t the economics or the microbiology — it’s the control. A pH meter and a basic understanding of the casein coagulation curve give you more precision over the final product than anything a commercial manufacturer can offer, because they have to pasteurize after fermentation to extend shelf life. That step kills what you’re paying for.
Pull your grains at pH 4.5 for a mild, drinkable kefir. Let it drop to 4.2 for something thick enough for cooking or straining into kefir cheese. The difference between those two pull points is the difference between two entirely different products — and it’s a difference you control exactly, with a tool that costs less than a bag of flour.
FAQ: Frequently Asked Questions about Milk Kefir
How much lactose actually survives a 24-hour ferment?
Roughly 20–30% of the original lactose remains after a standard 24-hour ferment at 70°F. The bacteria and yeast consume the rest — particularly Kluyveromyces marxianus, which specifically targets lactose as its primary fuel source. Most people with lactose sensitivity tolerate finished milk kefir without issue. But if you’re highly intolerant, let it ferment the full 24 hours before judging; an 18-hour batch has significantly more lactose remaining than a 24-hour one.
Can I ferment coconut milk or sugar water with milk kefir grains?
You can, for a batch or two. But milk grains are built around Kefiran — a polysaccharide matrix that requires the protein and fat structure of dairy to maintain integrity. In sugar water they starve within a few batches. In coconut milk they’ll work for several cycles and then degrade; you need to “recharge” them in whole cow’s milk every few batches to maintain grain structure. If you want a dairy-free kefir permanently, get water kefir grains — a different biological community designed for exactly that environment.
My grains look yellowish. Is that contamination?
A yellow or slightly amber cast is normal, especially in older or recently dried grains. It’s not a problem. What you’re watching for is a different set of signals: slimy texture combined with bright orange or pink coloration — that’s Serratia marcescens contamination and it warrants discarding everything. When in doubt, smell the grains directly. Healthy grains have a clean, yeasty-sour smell. Chemical, putrid, or strongly rotten odors mean something has gone wrong.
What grain-to-milk ratio prevents separation?
1 tablespoon of grains per 2–3 cups of whole milk — a roughly 1:20 ratio by volume. This gives the grains enough lactose to ferment at a pace that produces a smooth result at the 24-hour mark. Too many grains in too little milk and you’ll exhaust the lactose in 8 hours. The separation you’re seeing isn’t a failure of the ferment; it’s a ratio problem. Fix the ratio and the separation stops.
How do I store grains during a two-week break without killing them?
Refrigerator storage handles up to three weeks: submerge in fresh whole milk, place in the back of the fridge, change the milk once a week. For breaks of a month or longer, use the drying method — rinse in filtered water, air-dry on parchment for 3–5 days until the grains are hard yellow crystals, then store in a sealed bag with a pinch of powdered milk in the freezer. Grains dried this way have been successfully revived after six months using the 7-day reactivation protocol in this guide.
Pro-Grade Kefir Equipment
myFERMENTS Kombucha Starter Set
Large 4.25L jar set with swing-top bottles — ideal for first kombucha or kefir batches.
Check Price on AmazonArtcome 10-Pack Glass Weights
Bulk set of heavy glass weights with easy-grip handles for large mason jar setups.
Check Price on AmazonMasontops Pickle Pipe (Airlock Lids)
Waterless silicone airlock lids for easy, low-maintenance mason jar fermentation.
Check Price on Amazon* Affiliate links. Prices last updated March 3, 2026.
If you’re deciding between milk and water kefir, the Water Kefir vs. Milk Kefir Comparison covers microbial populations, maintenance requirements, and failure modes for both — so you can choose based on what actually fits your kitchen routine.