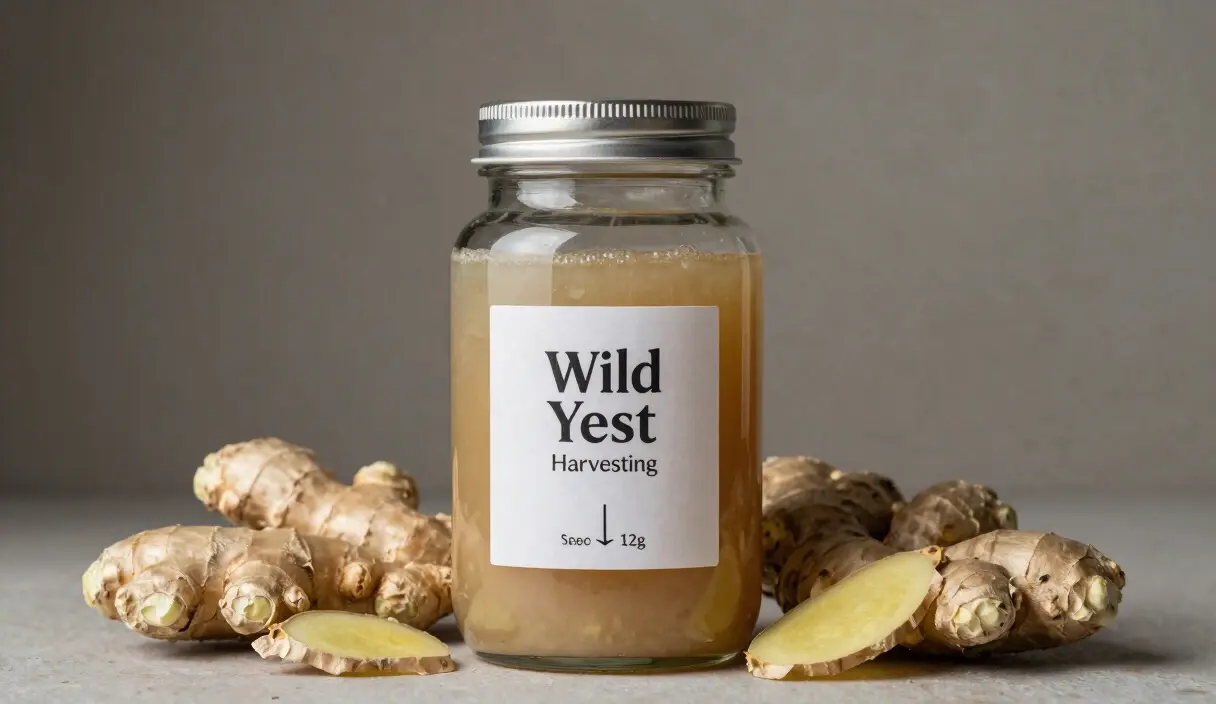
Wild Yeast Harvesting: How to Start a Ginger Bug for Natural Sodas
Ditch the commercial yeast! Learn how to capture wild yeast from ginger to create naturally fizzy, probiotic sodas at home.
Contents
Every piece of unwashed organic fruit you’ve ever held was covered in thousands of wild Saccharomyces cells — invisible, dormant, and waiting for sugar water. A ginger bug is simply a systematic way to capture and concentrate them. No lab required. No purchased cultures. Just ginger, sugar, water, and two weeks.
The biology is what most tutorials skip. The skin of an organic ginger root carries a population of wild Saccharomyces yeasts and Lactic Acid Bacteria adapted to the root’s environment. Feed them correctly and you get a fizzing colony that can carbonate a liter of juice in 48 hours. Use irradiated conventional ginger and you get a jar of rotting root in sugar water. The difference is the microbial viability of the skin — and that’s entirely determined by how the ginger was grown before it reached your kitchen.
What is a Ginger Bug? The Biological Engine
A ginger bug is a liquid starter culture, similar in philosophy to a sourdough starter, but designed for liquids rather than flour.
The Microbial Symbiosis
A healthy ginger bug is an ecosystem consisting of two primary groups:
- Wild Yeasts: Primarily strains from the Saccharomyces family. Their job is to consume sugar and release CO2 (bubbles) and trace amounts of alcohol.
- Lactic Acid Bacteria (LAB): Beneficial bacteria that live alongside the yeast. They produce mild acidity that protects the bug from mold and adds a refreshing tang to the final soda.
Why Ginger?
Ginger is unique among roots because its skin is rich in wild yeast. It also contains natural antimicrobial compounds that help “filter” the microbial world, encouraging the “good” yeasts to grow while inhibiting many common spoilage organisms.
Organic vs. Conventional: The Irradiated Truth
If you want a successful ginger bug, your choice of raw material is the most critical variable.
The Irradiation Problem
Most conventional ginger found in large supermarkets is irradiated. This is a process where the root is exposed to low-level radiation to kill bacteria and pests.
- The Consequence: Irradiation also kills the wild yeast on the skin. If you try to start a bug with irradiated ginger, it will simply sit in the jar and rot.
Why Organic is Mandatory
Organic ginger is not irradiated. The skin is “alive” with the microbial life of the soil it was grown in. For a thriving bug, you must use organic ginger. (For more on why the quality of your base material matters, see our Water Quality Guide).
The Science of the Skin: Don’t Peel!
One of the most common beginner mistakes is peeling the ginger before adding it to the bug.
- The Yeast Habitat: The vast majority of the yeast colonies live on the surface of the root, tucked into the crevices of the skin.
- The Protocol: You should scrub your ginger under cold filtered water to remove dirt, but never peel it. Grating or finely mincing the unpeeled ginger provides the maximum surface area for the yeast to migrate.
Picture the jar on Day 1: a pale liquid, a few flecks of ginger, nothing moving. Then Day 3 — you stir it and tiny bubbles stream upward, faster than you expected. That moment doesn’t get old.
The 5-Day Startup Protocol: From Zero to Fizz
Creating a ginger bug is a daily commitment for the first week. Follow this precise schedule to wake up your wild microbes.
Day 1: The Foundation
- Jar: Use a clean 1-quart glass jar.
- Liquid: Add 2 cups of filtered, chlorine-free water.
- Fuel: Add 1 tablespoon of organic cane sugar.
- Inoculum: Add 1 tablespoon of finely grated, unpeeled organic ginger.
- Stir: Stir vigorously with a wooden spoon to aerate.
- Cover: Cover with a breathable cloth and a rubber band.
Day 2 through Day 5: The Daily Feed
Every 24 hours, add another 1 tablespoon of grated ginger and 1 tablespoon of sugar. Stir vigorously for 1 minute.
This is the step most people do once and forget: stirring vigorously for a full minute each day matters. Aeration prevents the wrong microbes from establishing at the surface. One lazy day at Day 2 or 3 can tip the balance toward mold instead of yeast.
The whole enterprise takes about 90 seconds of daily attention. 90 seconds. Some people can’t commit to that and wonder why their jar smells wrong by Thursday.
Signs of a Healthy Bug: What to Look For
By Day 3 or Day 4, you should begin to see signs of life.
- The Fizz: When you stir the jar, you should see active bubbles rising to the surface. It should sound like a freshly opened soda.
- The Look: The liquid will become cloudy. This is a good thing — it’s a cloud of active microbes!
- The Smell: It should smell yeasty, ginger-spicy, and slightly sweet.
- The Tap Test: Tap the side of the jar. If tiny bubbles rush to the top, your yeast colony is strong enough.
A counter in January. Cold kitchen. The bug took 6 days instead of 4 — the colder air slowed everything down. When it finally fizzed on Day 6, it smelled exactly right: sharp ginger, a little yeasty, nothing off. Worth every extra day.
Harvesting the Magic: Making Your First Soda
Once your bug is active (bubbly and cloudy), it is time to harvest the liquid to create a natural soda.
The Ratio
For most recipes, use 1/2 cup of strained ginger bug liquid for every 1 quart (4 cups) of sweetened juice or herbal tea.
The Workflow
- Strain: Strain out the amount of liquid you need through a fine-mesh sieve.
- Mix: Add the liquid to your sweetened base (e.g., sweetened lemon water, hibiscus tea, or fruit juice).
- Bottle: Pour into high-pressure swing-top bottles.
- Second Fermentation: Leave at room temperature for 2-4 days. The yeast from the bug will eat the sugar in your juice and create carbonation.
- Recharge: Replace the liquid you took from the bug jar with fresh filtered water and a fresh tablespoon of sugar/ginger.
These are the tools that ensure a bubbly success:
Essential Ginger Bug Tools
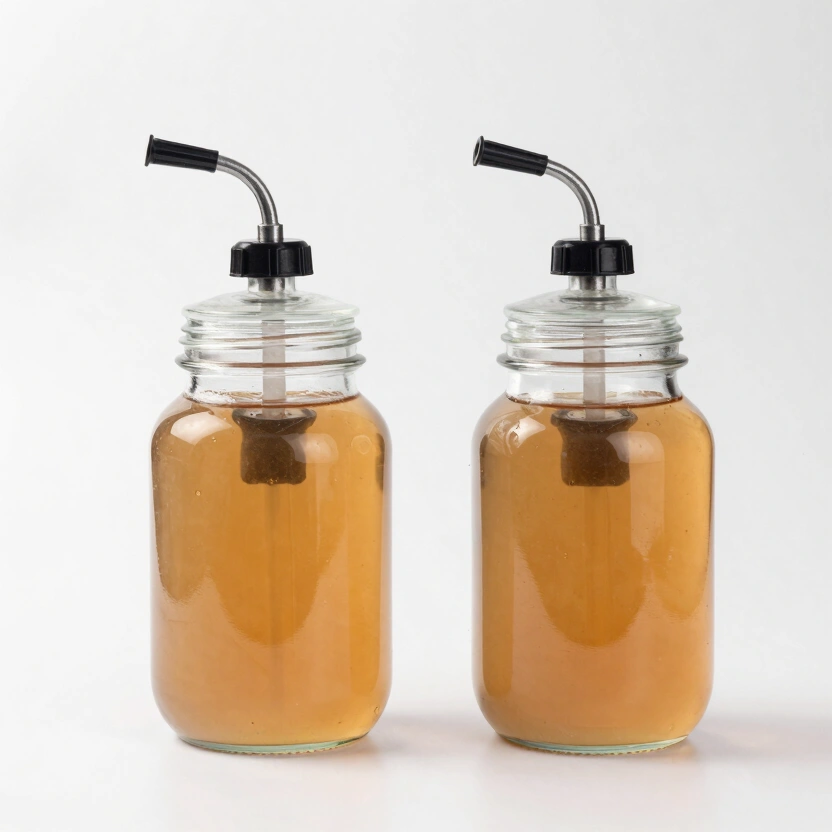
Green Wise Fermentation Jar Set (2 Pack)
Large 1.4L jars with integrated airlock valves. Perfect for sauerkraut, kimchi, or tomatoes.
Check Price on Amazon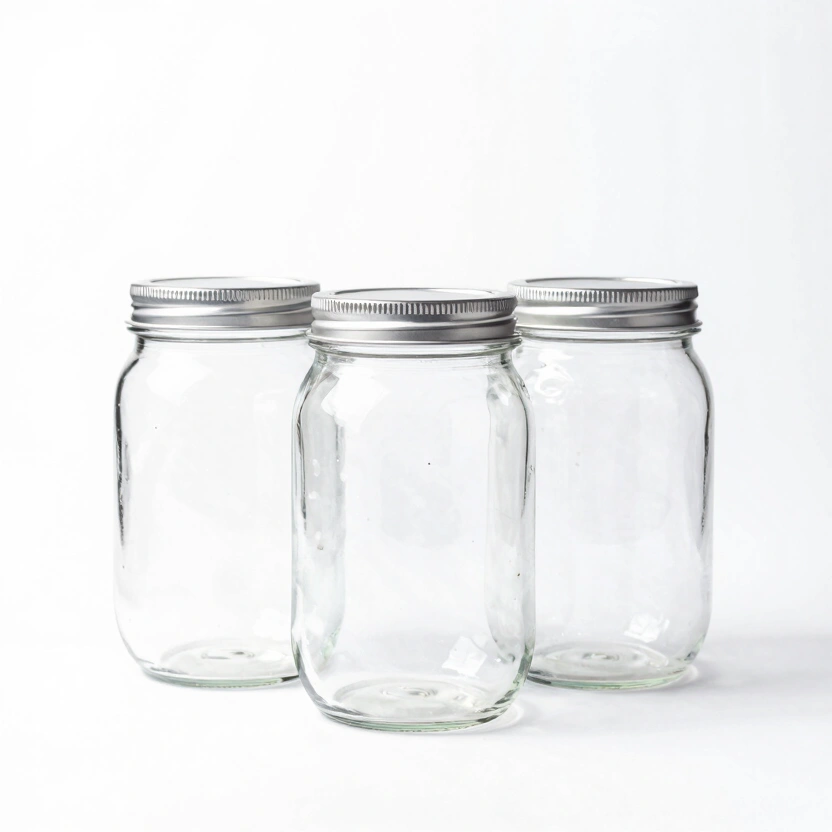
Tebery Wide Mouth Mason Jars (1.9L)
High-capacity glass jars perfect for bulk vegetable fermentation or continuous brew kombucha.
Check Price on Amazon
myFERMENTS Kombucha Starter Set
Large 4.25L jar set with swing-top bottles — ideal for first kombucha or kefir batches.
Check Price on Amazon* Affiliate links. Prices last updated March 3, 2026.
Long-Term Maintenance: The “Vacation” Mode
A ginger bug can live forever if you treat it like a pet.
- Counter Mode: If you brew daily, keep it on the counter and feed it 1 tsp of ginger/sugar every day.
- Fridge Mode: If you only brew once a week, keep it in the refrigerator. Feed it 1 tablespoon of ginger/sugar once a week.
- Reactivating: Take it out of the fridge 24 hours in advance and give it a “double feed” to wake the yeast up.
I’ve had the same ginger bug running for 14 months. It lives in the fridge between brew weeks and gets a double feed on Sunday evenings. By Tuesday morning it’s ready to harvest. The older a bug gets, the more complex the yeast community becomes — older bugs produce a notably more layered flavor than fresh ones.
Troubleshooting: When Your Bug Stalls
- The Chlorine Kill: Use filtered or spring water only.
- Temperature Hibernation: If your kitchen is cold, move the jar to a warmer area.
- The Sugar Overload: Stick to 1 tablespoon per day to avoid osmotic stress.
- The Irradiated Ginger: If zero activity after Day 7, buy organic ginger from a new source.
Ginger Bug vs. Kombucha SCOBY: Which is Better?
- Diversity: A ginger bug contains a wild, fluctuating population. A SCOBY is a more stable culture.
- Ease of Use: A ginger bug is much easier to start from scratch.
- Flavor: Ginger bugs add a spicy, root-based depth. Kombucha is focused on tea and acetic acid.
A ginger bug is not a lesser alternative to kombucha — it’s a different tool. The wild yeast community it captures is geographically specific. Your bug reflects the microbial terroir of your local environment. That’s something no commercial starter can replicate. A Kveik packet from a Norwegian strain library does not do what a jar of yeast captured from Peruvian organic ginger root does. Different organisms. Different flavors.
But the practical ceiling for a ginger bug is only as high as your bug is strong. A weak, under-fed culture produces flat soda. An active, 14-day-old bug with visible carbonation when you stir it will turn a quart of lemon-ginger tea into something legitimately impressive in 48 hours at 72°F. The Homemade Ginger Ale Guide covers the complete two-stage bottling process — ratios, headspace, the PET test bottle method, and exactly when to move everything to the fridge.
For the hardware side, the best jars for wild fermentation Pineapple rind works on the same wild-yeast principle — the tepache fermentation guide is the natural next project after a stable ginger bug. covers which vessels handle continuous feeding cycles, secondary carbonation, and the daily stirring a ginger bug needs without risking a failed seal.
For a comparison of wild fermentation versus stable cultures, see our breakdown of Kombucha SCOBY Health and Maintenance.
Frequently Asked Questions
Do I need to discard ginger solids from the bug over time?
Yes. Every 2–3 weeks, strain out the accumulated ginger pieces and replace them with fresh grated organic ginger. The spent solids have surrendered most of their surface microbes and start breaking down in the liquid — which creates off-flavors you don’t want. Keep the liquid. That’s where the active culture lives by week two. The ginger pieces are just a delivery mechanism for new microbes; once they’ve served that role, they’re done.
Can I use frozen ginger to start or feed a bug?
No. Freezing ruptures cell walls and kills the wild yeast on the skin — the same mechanism that makes irradiated conventional ginger useless. Fresh, unpeeled organic ginger only. Dried ginger powder provides zero viable yeast. And powdered ginger from a spice jar has been processed and heat-treated. None of it works.
What is the white sediment at the bottom of my jar?
Lees. Spent yeast cells that have settled after producing CO2. Healthy sign — it means your colony is active and reproducing. Stir it back in every time you feed. Those settled cells break down and release nutrients that feed the living yeast above them.
My ginger bug smells like alcohol but isn’t fizzing much. What’s wrong?
Temperature. Below 65°F, Saccharomyces yeast slow down dramatically — they’ll still produce small amounts of alcohol but CO2 output drops off. Move the jar somewhere warmer. A spot near the oven, on top of the refrigerator, or inside a slightly warmed oven with just the light on can add 5–8°F and often restart visible activity within 12 hours. Target 72°F–75°F for fastest establishment.
Can I use Stevia or monk fruit sweetener to feed the bug?
No. Wild yeast metabolize real carbohydrates — sucrose, glucose, fructose. Non-caloric sweeteners provide zero fermentable energy. The bug will stall and die. Stick to organic cane sugar for feeding. Honey works as a feed only after the bug is fully established (5–7 days of active, visible fizzing) — raw honey has mild antimicrobial properties that can suppress a young culture.
Related Articles
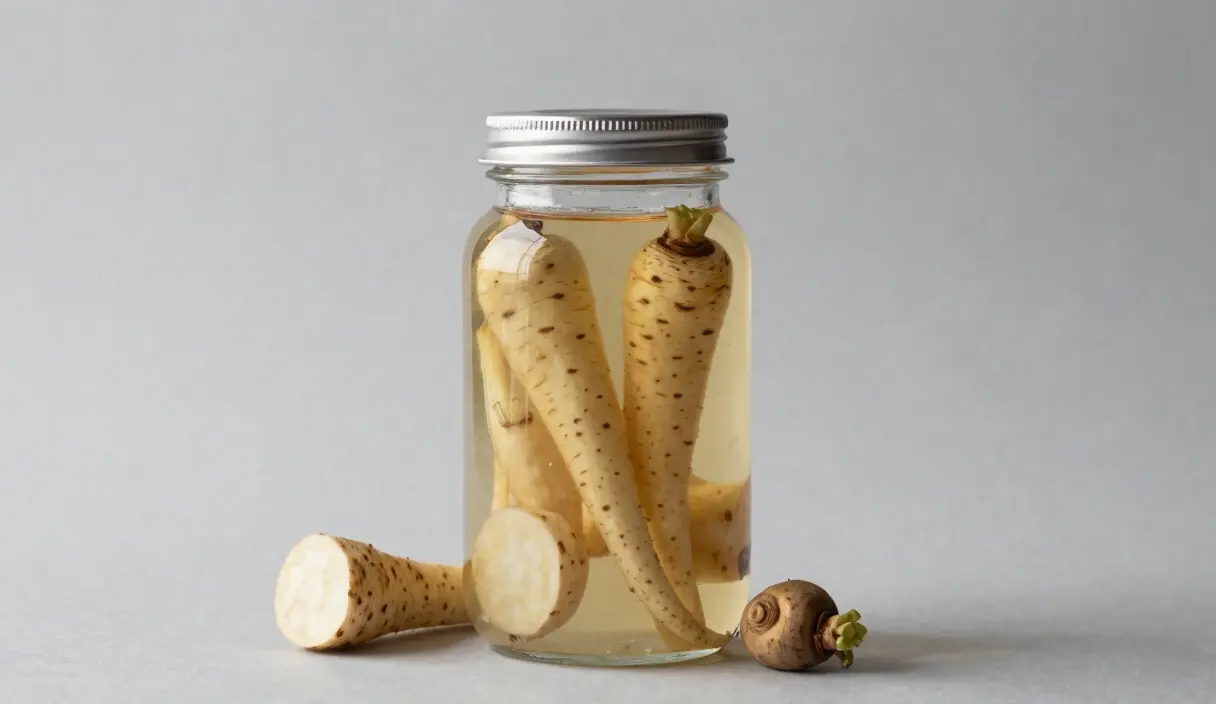
Fermenting Parsnips and Turnips: Mastering the Forgotten Roots
Why are parsnips and turnips the secret weapons of the crock? We explore the science of starchy root fermentation, sweetness, and savory depth.
The Visual Masterclass: Distinguishing Kahm Yeast, Mold, and Biofilms
Is that white film on your sauerkraut mold or just harmless kahm yeast? Learn how to identify and prevent fermentation failures.
Koji-Kin: The 'National Fungus' and its Enzymatic Power
Master the foundation of Japanese fermentation. We explore the science of Aspergillus oryzae and how to grow koji at home.