The Kimchi Masterclass: Authentic Baechu-Kimchi for Beginners
Learn how to make authentic Korean Baechu-Kimchi at home. From salting the Napa cabbage to mastering the fermentation cycle—your ultimate technical guide.
Contents
Around 535 AD, the Chinese agricultural manual Qi Min Yao Shu documented salt-fermented vegetables in precise technical detail — moisture control, vessel selection, brine concentration. That knowledge crossed the Yellow Sea via trade routes to the Korean peninsula, where it met a different soil, a different climate, and a different culinary instinct entirely. By the Goryeo period (918–1392 AD), Korean court records describe deliberate cultivation of baechu — napa cabbage grown specifically for fermentation, not raw consumption. The monks and court cooks who refined those early salted crocks over the following six centuries were not preserving food out of necessity alone. They were building something: a living system with 50-plus regional variations, complex paste chemistry, and a communal ritual called Kimjang that UNESCO would eventually classify as intangible cultural heritage. The authentic kimchi recipe you’ll make today is the product of that 1,500-year refinement.
You have tools those Goryeo cooks never touched: a digital pH meter, a temperature-controlled refrigerator, iodine-free sea salt measured to the gram. What hasn’t changed is the biology. Lactobacillus strains still need salt, exclusion from oxygen, and time. This masterclass covers authentic Baechu-Kimchi — the classic Napa cabbage variant — ingredient by ingredient and step by step, with the science behind why each element matters.
The Science of the “Funk”
Kimchi is a living food. During fermentation, beneficial bacteria, primarily strains of the genus Lactobacillus, convert natural sugars in the vegetables into lactic acid. This process lowers the pH level (remember the critical limit of pH 4.6?), preserves the vegetables, and creates the characteristic sour-spicy flavor known as “the funk.”
Beyond taste, kimchi is a probiotic powerhouse. It supports your gut microbiome, strengthens the immune system, and provides ample Vitamin C and K. To succeed, you need to control the environment — salt concentration, temperature, and oxygen exclusion.
The Anatomy of Ingredients: No Compromises
This is the section most kimchi guides rush through. Don’t. The ingredient choices here aren’t tradition for tradition’s sake — each one has a measurable effect on fermentation chemistry and final flavor.
Never substitute standard chili powder for Gochugaru. Not even once. The oil content and capsaicin concentration are entirely different, and a batch ruined at the paste stage cannot be recovered — you’ve already invested six hours in the salting.
For authentic kimchi, you cannot cut corners. Every component serves a specific biological or culinary function.
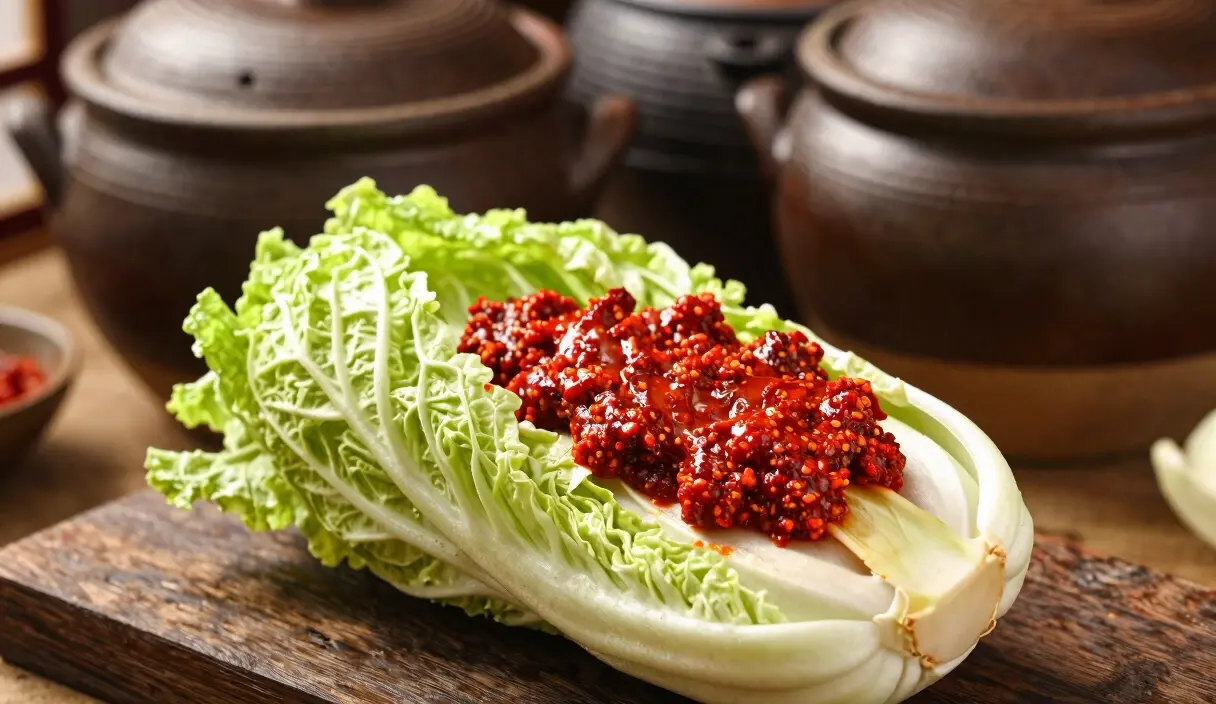
1. The Cabbage (Baechu)
Use only fresh Napa cabbage. Its texture is designed to hold the paste. Salting the cabbage is the most critical step: it draws out moisture, softens cell walls, and creates a selective environment where only “good” bacteria can thrive.
2. Gochugaru (The Soul of Kimchi)
There is no substitute. Gochugaru are Korean chili flakes, sun-dried and ground without seeds. They provide a bright red color and a complex, smoky sweetness without overwhelming heat. Standard chili powder is often too hot or contains oils that can interfere with fermentation.
3. The Glutinous Rice Porridge
Many beginners skip this—it’s a mistake. The porridge (rice flour + water) acts as the “glue” for the paste and provides the initial fuel for the bacteria. It ensures the flavors cling to every leaf.
4. Aromatics and Umami
Garlic, ginger, and onions are the base. For that authentic umami profile, traditional recipes use fish sauce or salted shrimp (Saeujeot). Pro-Tip for Vegans: Replace fish sauce with a high-quality soy sauce or a reduction made from dried Shiitake mushrooms and kelp.
Equipment: Traditional Crock or High-Tech?
While Onggi — the earthenware crocks used in traditional Kimjang communal batches — are the authentic vessel, modern kitchens usually rely on glass jars or specialized fermentation containers.
Essential Kimchi Gear
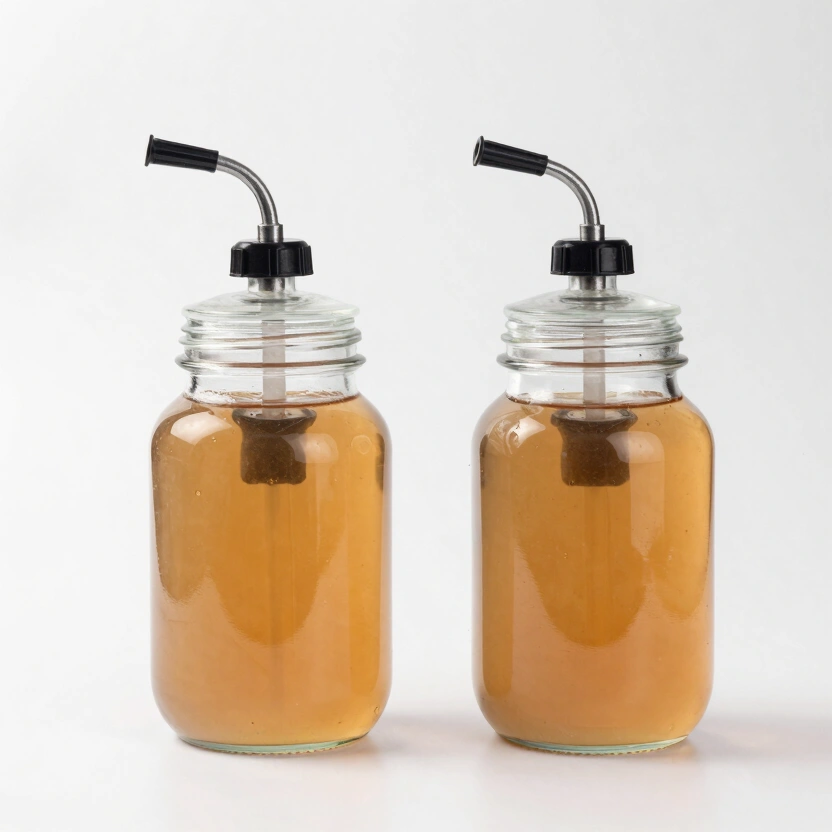
Green Wise Fermentation Jar Set (2 Pack)
Large 1.4L jars with integrated airlock valves. Perfect for sauerkraut, kimchi, or tomatoes.
Check Price on Amazon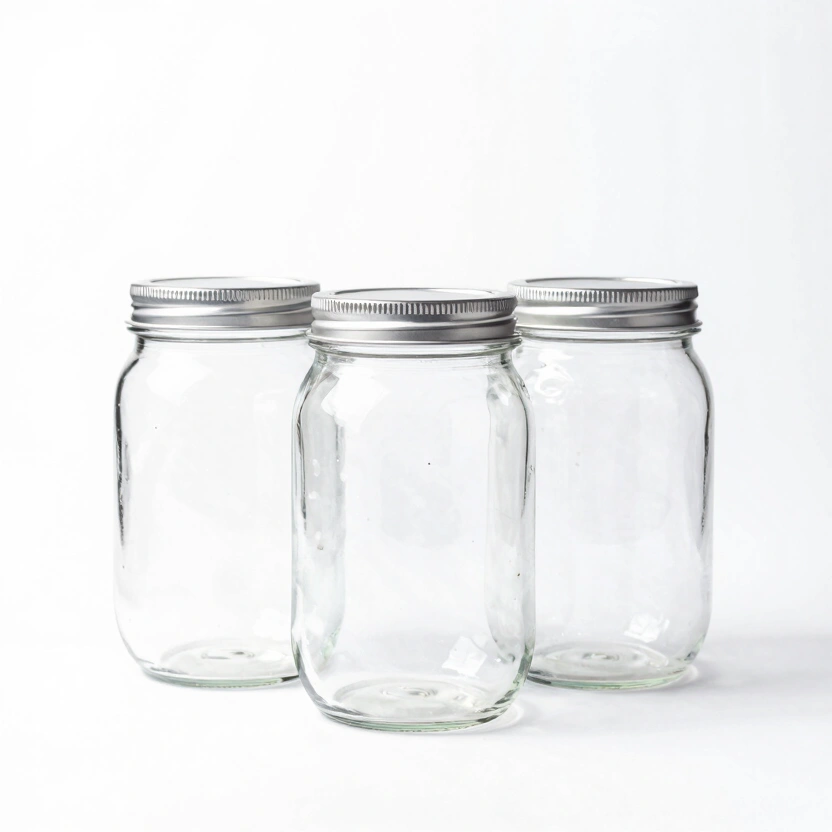
Tebery Wide Mouth Mason Jars (1.9L)
High-capacity glass jars perfect for bulk vegetable fermentation or continuous brew kombucha.
Check Price on Amazon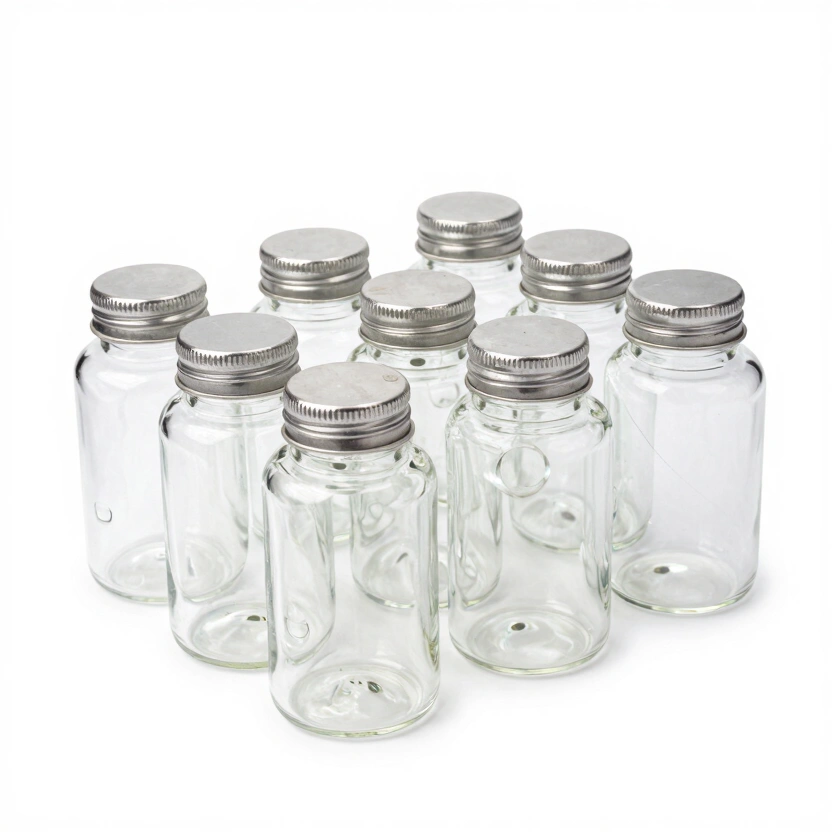
Artcome 10-Pack Glass Weights
Bulk set of heavy glass weights with easy-grip handles for large mason jar setups.
Check Price on Amazon* Affiliate links. Prices last updated March 3, 2026.
E-Jen containers are particularly effective because they feature an inner vacuum lid that excludes oxygen. Oxygen is the enemy: it promotes mold and makes the cabbage mushy.
The Masterclass Process: Step-by-Step
I’ve made this process more complicated than it needs to be in previous batches by trying to rush the salting step. Six hours is six hours. The cabbage stem that can bend without snapping is the only reliable indicator — not the clock.
Step 1: The Salting (The 6-Hour Rule)
Quarter the cabbage lengthwise. Dip it briefly in water, then rub coarse sea salt between every single leaf, focusing on the thick white stems. Let it sit for 4 to 6 hours, turning it every 2 hours. The cabbage is ready when the white stem part can bend easily without snapping. Crucial: Rinse the cabbage 3 times in cold water to remove excess salt.
Step 2: The Paste
Boil 2 tablespoons of glutinous rice flour with 1 cup of water until it forms a thick paste. Let it cool. Mix in Gochugaru (about 100g per head), minced garlic, grated ginger, a pinch of sugar, and your fish sauce.
Step 3: The Stuffing
Thinly slice green onions, carrots, and optionally Korean radish (Mu). Mix them into the paste. Now the handwork begins. Rub each leaf thoroughly with the paste — not a smear, a coating. Always wear gloves — Gochugaru stains and the capsaicin accumulates fast.
Don’t rush the stuffing. Every leaf that gets a thin or missed patch becomes a pocket for oxygen — and oxygen is where the mold starts. Thirty seconds of extra attention per quarter-head pays for itself on day ten.
Step 4: The Packing
Pack the cabbage tightly into your container. Ensure there are no air pockets between the leaves. Leave about 2 inches (5cm) of headspace at the top, as the kimchi will produce CO2 gases and the liquid level will rise. If you are using a jar fitted with an airlock, the headspace is less critical — the airlock vents excess pressure automatically.
Fermentation Strategy: Patience vs. Flavor
Counter to what most quick-kimchi recipes suggest, cold fermentation isn’t the slow, inferior option — it produces noticeably more complex flavor. The 2-3 week timeline in the fridge lets secondary bacterial strains develop that 48 hours at room temperature simply cannot replicate. Aged kimchi — the kind used in Kimchi Jjigae stew — requires at least 4 weeks of cold fermentation to develop that characteristic sour depth.
Now, the microbes take over. You have two paths:
- Room Temperature (Fast): Leave the kimchi out for 24 to 48 hours. Once you see tiny bubbles and smell a sour aroma, move it to the fridge.
- Cold Fermentation (Slow Food): Put it in the fridge immediately. It will take 2 to 3 weeks, but the flavor development gains layers that the fast method cannot produce — and the cabbage stays crunchier.
Safety-Check: Press the cabbage down daily with a clean spoon. As long as it’s submerged in its own brine, it is safe. If you are using a jar with an airlock, CO2 venting is automatic — but the daily press still matters to keep leaves below the brine line.
Skip the daily press even once and the top layer dries out. Dried-out kimchi above the brine line is not “probably fine.” It is where Kahm yeast and surface mold establish themselves. Set a phone reminder if you have to.
Troubleshooting: What If…?
My kimchi is too salty! Don’t panic. Slice a few pieces of raw radish or Asian pear and tuck them between the leaves. They will absorb excess salt.
It smells intensely strong! That’s normal. Sulfur compounds in garlic and onions volatilize hard in the first 48 hours. Strong funk is expected. Putrid smell — like actual garbage, not just pungent — means discard it.
The juice is overflowing! This is a sign of active fermentation. Simply place the jar on a plate to catch the overflow.
Two paths. Different results. The 24-48 hour room-temperature route gives you a punchy, sour kimchi ready now. The 2-3 week cold method gives you something with actual depth — the kind used in Kimchi Jjigae because it can hold its own in a broth without dissolving. Neither is wrong. But if you have the patience, the fridge wins. At the 4-week mark, taste a leaf. That shift from bright-sour to complex-sour is the flavor the Goryeo court cooks were building toward. The authentic kimchi recipe is the easy part. That flavor is the reward.
The Lactobacillus strains doing the work in your kimchi jar are the same ones studied in clinical gut-health research. The Science of Probiotics and Gut Health guide covers which strains are present at each fermentation stage and why the fermented-vegetable route outperforms most probiotic supplements.
Frequently Asked Questions
What happens to the Lactobacillus population as kimchi ages past 4 weeks?
The microbial community shifts. Early fermentation (days 1-7) is dominated by Leuconostoc mesenteroides, which produces the initial CO2 burst and rapid acidification. As the pH drops below 4.0, Lactobacillus plantarum and Lactobacillus brevis take over — they’re acid-tolerant and responsible for the deeper, more complex sour flavor in aged kimchi. At 8+ weeks in the fridge, you’re eating a completely different microbial product than week-one kimchi. Both are safe. Neither is better; they’re distinct.
My kimchi smells intensely of garlic after two days. Is something wrong?
Nothing wrong. Raw garlic contains allyl sulfide compounds that volatilize aggressively in the first 48-72 hours as fermentation heats up. The smell peaks around day two and drops by roughly 70% by day five. If the smell shifts from garlic-forward to genuinely putrid — think garbage, not just strong — that is a contamination signal. Strong garlic funk is normal. Rotten smell is not. The difference is obvious.
Can I make vegan kimchi that actually tastes authentic?
Yes, with one condition: the umami replacement needs to be intentional. Fish sauce contributes approximately 1,500-2,000 mg of glutamates per tablespoon. A direct replacement requires either Sempio brand vegan fish sauce (specifically engineered for kimchi fermentation) or a 48-hour kelp-shiitake reduction reduced to the same volume. Simple soy sauce alone is thinner in glutamate profile and produces a noticeably flatter paste. The fermentation itself is identical — Lactobacillus doesn’t care about the umami source.
My jar is overflowing onto the shelf. How do I stop this?
You packed too tightly or left insufficient headspace. During active room-temperature fermentation, Leuconostoc mesenteroides produces substantial CO2 — enough to push brine through a standard jar lid and across your shelf. Two fixes: leave at least 3 cm of headspace above the packed kimchi, or move to cold fermentation immediately after packing and skip the room-temperature phase entirely. The fridge doesn’t stop CO2 production; it slows it to a manageable rate.
How do I know when kimchi has gone bad versus just aged?
Four reliable indicators: visible surface mold in colors other than white (pink, black, or green mold signals contamination, not age), a putrid rather than sour smell, a slimy texture throughout the jar rather than just on the surface, or a pH reading above 4.6 on kimchi that has been refrigerated for weeks. White surface film alone is often Kahm yeast — unpleasant but not dangerous. When in doubt, the pH and Safety in Fermentation guide covers the 4.6 threshold and what it means for vegetable ferments specifically.