Refractometer vs. Hydrometer: The Ultimate Fermentation Showdown
Confused by Brix and Specific Gravity? We compare refractometers and hydrometers for accuracy, speed, and long-term brewing success.
Contents
In precision brewing, data separates a lucky guess from a repeatable, perfect batch. Whether you’re brewing a 15% ABV Mead, a sharp Kombucha, or monitoring the sugar attenuation in a Hot Sauce Mash, you need a way to measure what you can’t see: the concentration of dissolved sugar in your liquid. That measurement — Specific Gravity (SG) or Brix — is the heartbeat of your ferment. It tells you when your yeast are active, when they’re stalling, and exactly when fermentation is done.
The choice between a Hydrometer and a Refractometer comes down to physics, batch size, and how much you’re willing to lose to sampling. This guide dissects the fluid dynamics of buoyancy against the optics of refraction, walks through the Alcohol Correction Factor, and explains the real-world impact of temperature on density — so you can pick the tool that actually fits your setup.
The Physics of Density: Why Measurements Matter
Most guides treat measurement tools as an afterthought — you shouldn’t. Getting this choice wrong means either wasting 20% of a small batch on samples or chasing corrected readings you don’t know how to trust.
Before we compare tools, we must understand what we are actually measuring.
Specific Gravity (SG)
Specific Gravity is the ratio of the density of your liquid to the density of pure water.
- Water = 1.000: Since sugar is denser than water, a sweet “must” or wort will have an SG higher than 1.000 (e.g., 1.090).
- The Drop: As the microbes eat the sugar and replace it with lighter alcohol and CO2, the SG drops. Tracking this drop is the only way to prove fermentation is happening.
Brix and Plato
While brewers often use SG, winemakers and commercial food producers use Brix (measured in degrees). 1 degree Brix is roughly equal to 1 gram of sucrose in 100 grams of solution.
- The Conversion: For a rough estimate, you can multiply Brix by 4 to get the “points” of gravity (e.g., 10 Brix ≈ 1.040 SG).
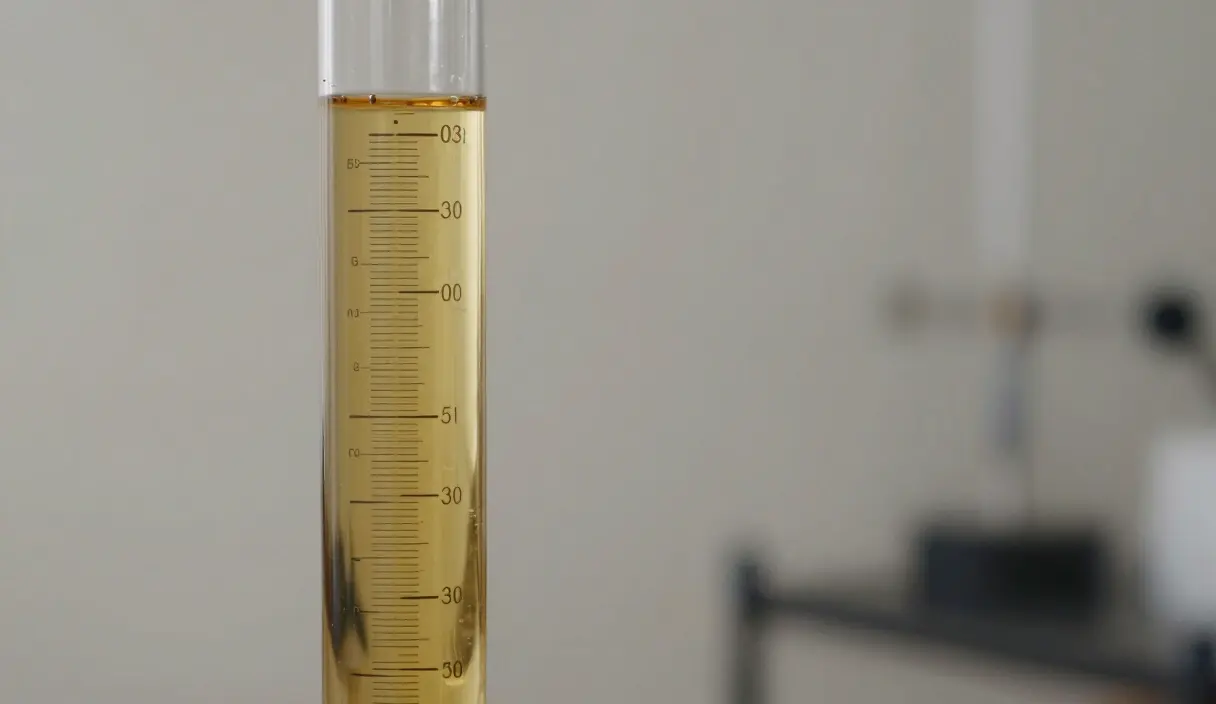
The Hydrometer: The Buoyancy Benchmark
The hydrometer is a weighted glass tube that uses Archimedes’ Principle to measure density.
How it Works
The denser the liquid, the more “push” it exerts upward on the hydrometer. In a high-sugar liquid, the hydrometer floats high. As the sugar disappears, the hydrometer sinks deeper.
- Pros: It is a direct measurement. It measures the physical density of the liquid, which means it is unaffected by alcohol. This makes it the only reliable tool for measuring Final Gravity (FG).
- Cons: It requires a large sample (typically 100-200ml). If you are only making a small half-gallon batch of mead, you might waste 10% of your product just taking measurements. It is also made of very thin, fragile glass.
The Refractometer: The Optical Innovator
A refractometer uses Snell’s Law to measure how much light bends when it passes through your liquid.
How it Works
Sugar molecules change the refractive index of water. By placing just two drops of liquid on the prism, you can read the sugar concentration instantly through the eyepiece.
- Pros: Incredible speed and efficiency. You can test your ferment every day without losing any product. It is also more durable than a glass hydrometer.
- The Fatal Flaw: Alcohol also bends light, but in a different way than sugar. Once fermentation has started and alcohol is present, the refractometer reading becomes meaningless unless you use a complex mathematical correction formula.
Our top picks based on ratings, price, and real-world reviews:
Top Measurement Tools
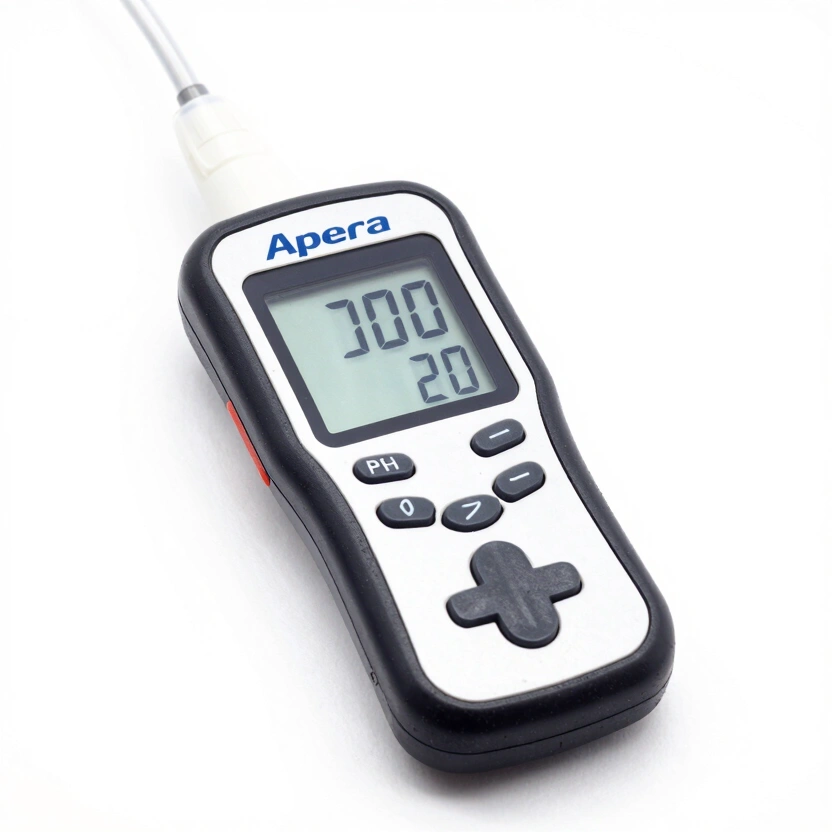
Apera Instruments PH20 pH Meter
Professional-grade digital pH tester, essential for verifying safety in low-acid ferments.
Check Price on Amazon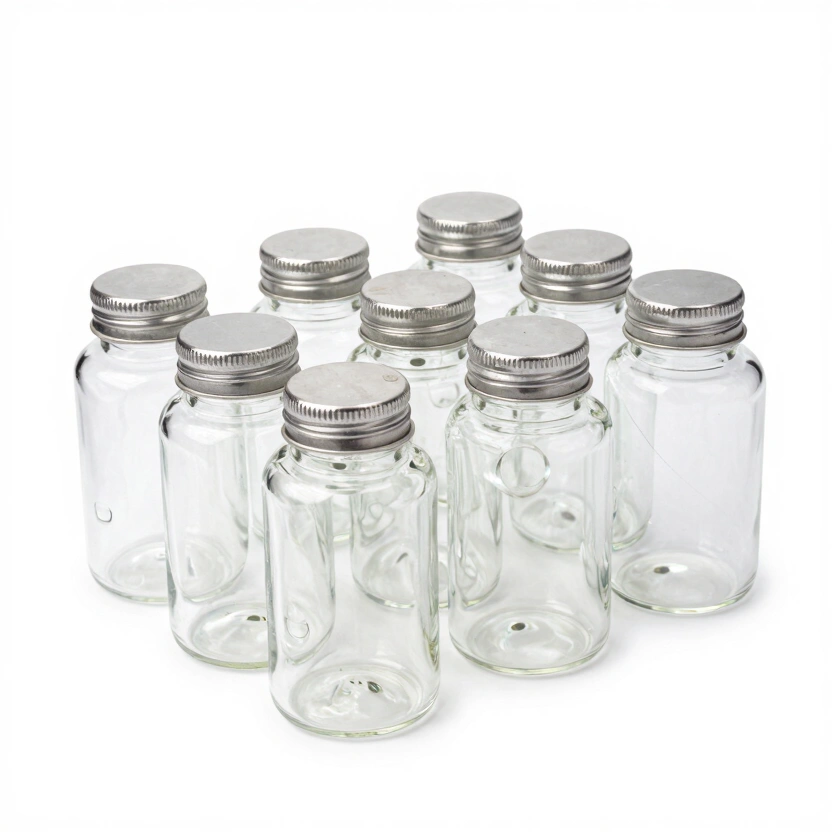
Artcome 10-Pack Glass Weights
Bulk set of heavy glass weights with easy-grip handles for large mason jar setups.
Check Price on Amazon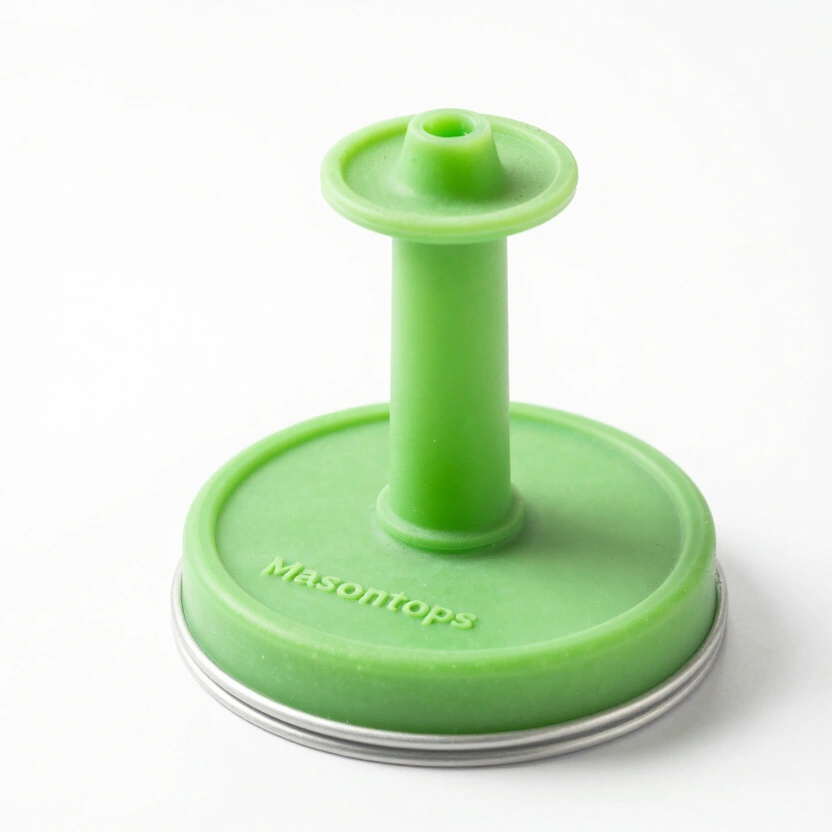
Masontops Pickle Pipe (Airlock Lids)
Waterless silicone airlock lids for easy, low-maintenance mason jar fermentation.
Check Price on Amazon* Affiliate links. Prices last updated March 3, 2026.
The Alcohol Correction Protocol: Solving the Optical Error
This is the most technical part of using a refractometer. Because alcohol has a different refractive index than sugar, your refractometer will give you an artificially high reading once fermentation has begun.
The Mathematics of Correction
To get an accurate Final Gravity (FG) with a refractometer, you must use a formula that incorporates your Original Gravity (OG).
- The Formula:
Current Brix = (1.53 * Actual Brix) - (0.59 * OG Brix) - Expert Recommendation: Do not try to do this math in your head. Use an online “Refractometer Calculator” (like the ones found on Brewer’s Friend).
- The Lesson: A refractometer is a “monitoring” tool during fermentation, but for your final legal or precision reading, you should always verify with a hydrometer.
ATC (Automatic Temperature Compensation): Science of the Shift
Most fermenters assume ATC means they never have to think about temperature. That is wrong. ATC on a refractometer operates within a specific compensation window — typically 50°F to 86°F (10°C to 30°C). Outside that range, the bimetallic correction strip cannot keep pace with the shift in refractive index. If you are measuring freshly-poured wort at 100°F or a sample pulled from a cold-crashed vessel at 38°F, your ATC-equipped refractometer is still giving you a bad number. Let samples equilibrate to room temperature regardless of what the device label says.
Density changes with temperature. Most modern measurement tools include ATC.
- The Calibration Point: Standard hydrometers are calibrated at 60°F (15.5°C) or 68°F (20°C). If your mead is 80°F, your hydrometer will sink deeper, giving you an incorrectly low reading.
- How ATC Works: A refractometer with ATC uses a tiny bimetallic strip inside the device that shifts the scale as the temperature changes, automatically correcting for the error.
- The Warning: ATC has limits. It usually only works between 50°F and 86°F. If you are measuring boiling wort or ice-cold brine, you must still let the sample reach room temperature.
Durability and Lifecycle: Glass vs. Metal
I’ve snapped two hydrometers in a single brew session — one into the sink, one off the edge of a table. Fair warning: if you work on a hard countertop, keep a spare or switch to a trial jar.
When equipping your lab, you must consider the “replacement cycle” of your gear.
The Hydrometer Death Cycle
Almost every experienced brewer has broken at least one hydrometer. They are made of thin, non-tempered glass and are top-heavy. One slip in the sink, and you are buying a new one.
- The “Backup” Rule: Always keep two hydrometers in stock. If you break one on brew day, you are blind without a backup.
The Refractometer Longevity
Refractometers are built like laboratory instruments. They feature a heavy metal body and a solid glass prism. With basic care (keeping the prism clean and avoiding drops), a single refractometer can last for decades.
The “Waste” Calculation: Is it Worth the Sips?
The conventional wisdom is that a $10 hydrometer is the obvious budget choice over a $35–50 refractometer. Run the numbers on a 1-gallon mead batch with 5 readings: 5 x 150ml = 750ml lost to sampling, or roughly 20% of your total product. At the scale most home fermenters actually work, the refractometer’s $25 price premium pays for itself by the second batch. The hydrometer is only cheaper if you brew in volumes large enough to make 150ml irrelevant.
Here’s the thing most people don’t calculate until after they’ve done it: five hydrometer pulls from a 1-gallon batch means you’ve poured roughly 750ml down the drain — that’s not trivial when you’re working small.
For small-batch fermenters (1 gallon or less), the “cost” of taking measurements is high.
- Hydrometer Cost: Each reading requires approx. 150ml. If you take 5 readings during a 1-gallon (3.8L) mead ferment, you have wasted 20% of your total volume.
- Refractometer Cost: Each reading requires approx. 0.1ml. You could take 1,000 readings and not lose a single glass of mead.
Decision Matrix: Which Tool is for You?
Choosing between these two tools depends entirely on your fermentation volume and your level of technical comfort.
Buy a Hydrometer if:
- You brew large batches: 5 gallons (19L) or more. The 150ml sample size is irrelevant to your total volume.
- You want direct accuracy: You don’t want to mess with mathematical correction formulas for alcohol.
- Budget is a concern: A standard hydrometer and test cylinder can be purchased for under $20.
Buy a Refractometer if:
- You are a small-batch maker: 1 gallon or less. You cannot afford to waste product on measurements.
- You are a frequent monitor: You want to check your gravity every 24 hours just for fun (or data collection).
- You value speed: You can get a reading in 10 seconds without having to fill a test cylinder and wait for bubbles to settle.
Consider the Tilt Hydrometer if:
- You run multiple batches simultaneously and want continuous gravity data without opening vessels. The Tilt is a sealed floating probe that transmits live SG readings to your phone via Bluetooth — no sampling, no product loss, no lid disruption. At $130–180, the cost is hard to justify for occasional brewers. For data-driven fermenters tracking 3+ simultaneous batches, it eliminates the entire sampling workflow.
The Tilt is often dismissed as a luxury gadget. It is not — it is a different category of tool. A hydrometer or refractometer measures a snapshot. The Tilt measures a continuous curve. If you have ever missed a fermentation stall because you only sampled every 3 days, the Tilt’s continuous data would have flagged the stall within 12 hours. That is not a luxury for a brewer who cares about repeatability.
The Professional Calibration Protocol
Regardless of which tool you choose, it is useless if it isn’t calibrated.
Hydrometer Calibration:
- Distilled Water: Place your hydrometer in a cylinder of distilled water at 60°F.
- The Reading: It should read exactly 1.000.
- The Correction: If it reads 1.002, you must subtract 0.002 from every future reading you take with that specific tool.
Refractometer Calibration:
- Clean the Prism: Use a soft cloth and a drop of distilled water.
- Zeroing: Place 2 drops of distilled water on the prism.
- Adjust: Looking through the eyepiece, use the small screw on the top of the device to align the blue line with the 0.0 Brix mark.
Calibrate both tools with distilled water before your first use. Two minutes with a soft cloth, two drops of distilled water on the prism, and the adjustment screw on the refractometer — that is the entire protocol. A refractometer that has never been zeroed will read consistently wrong in a way that is impossible to catch without a reference point. For the hydrometer: place it in distilled water at 60°F and confirm it reads 1.000. If it reads 1.002, subtract 0.002 from every future reading. These checks take four minutes combined. They are the difference between data you can trust and data that feels precise but isn’t.
If you’re building out your full measurement setup, the ABV Calculator pairs directly with hydrometer OG/FG readings to give you accurate alcohol by volume without guesswork.
Frequently Asked Questions
Can I use my Brix refractometer to check brine salinity?
No. A standard Brix refractometer measures dissolved sugar, and it will produce meaningless numbers in a salt brine because NaCl has a different refractive index profile than sucrose. You need a dedicated salinity refractometer calibrated for NaCl concentration. Different scale, different prism optics, different device. For brine ratio guidance, see the Science of Fermentation Brine Ratios guide.
Why does my hydrometer give different readings at different temperatures?
Because density is temperature-dependent. Standard hydrometers are calibrated at 60°F (15.5°C) or 68°F (20°C). At 80°F, warm liquid is less dense, so the hydrometer sinks deeper and gives you a falsely low reading. Always pull a sample and let it cool to calibration temperature before reading, or apply a published temperature correction table. Do not assume your ATC refractometer solves this for the hydrometer — they are separate instruments.
Is the refractometer correction formula actually necessary?
Yes, once fermentation has started. Before pitching yeast or adding culture — during the OG measurement — a refractometer gives you a clean, accurate reading. Once alcohol is present, the correction formula is not optional. Without it, a refractometer reading during active fermentation will consistently show higher apparent sugar than is actually present. Use an online Brewer’s Friend calculator for the correction; do not attempt the math manually.
What batch size makes a refractometer worth buying over a hydrometer?
At 1 gallon, a refractometer pays for its price premium by batch 2–3. Five readings from a 1-gallon batch costs roughly 750ml of product with a hydrometer. With a refractometer, five readings costs under 1ml. The crossover point where a hydrometer becomes more economical is around 5 gallons (19L), where 750ml is under 4% of total volume.
Is the Tilt Hydrometer worth $130–180 for a home brewer?
For occasional single-batch brewing, no. For anyone running 3+ simultaneous batches or any ferment longer than 3 weeks where monitoring frequency matters, it changes the workflow entirely. The Tilt transmits continuous gravity data via Bluetooth — no sampling, no lid-opening, no product loss. A stalled fermentation shows up as a flat line on your phone within 12 hours. That capability is not available from a bench hydrometer at any price.
Related Articles
Precision Brewing: Mastering ABV Calculations and Sugar Attenuation
Calculate the Alcohol by Volume (ABV) of your mead and kombucha. Master the formula and learn how to use your hydrometer like a pro.
Sugar Types in Fermentation: Brown, White, or Honey?
Which sugar is best for your SCOBY or your yeast? We explore the science of carbohydrates and metabolic efficiency in fermentation.
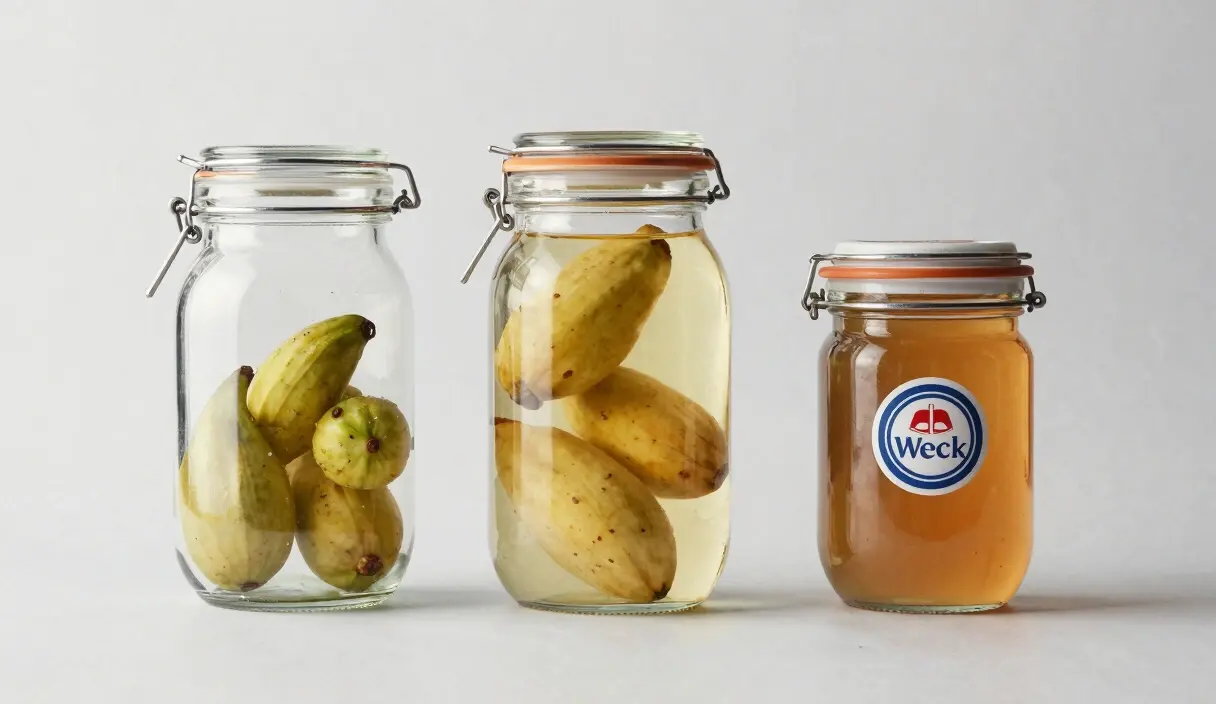
The Ultimate Guide to Glass Jars: Fido vs. Weck vs. Mason for Fermentation
Choosing the right jar is critical for safety and success. We compare Fido, Weck, and Mason jars for pressure management and anaerobic integrity.