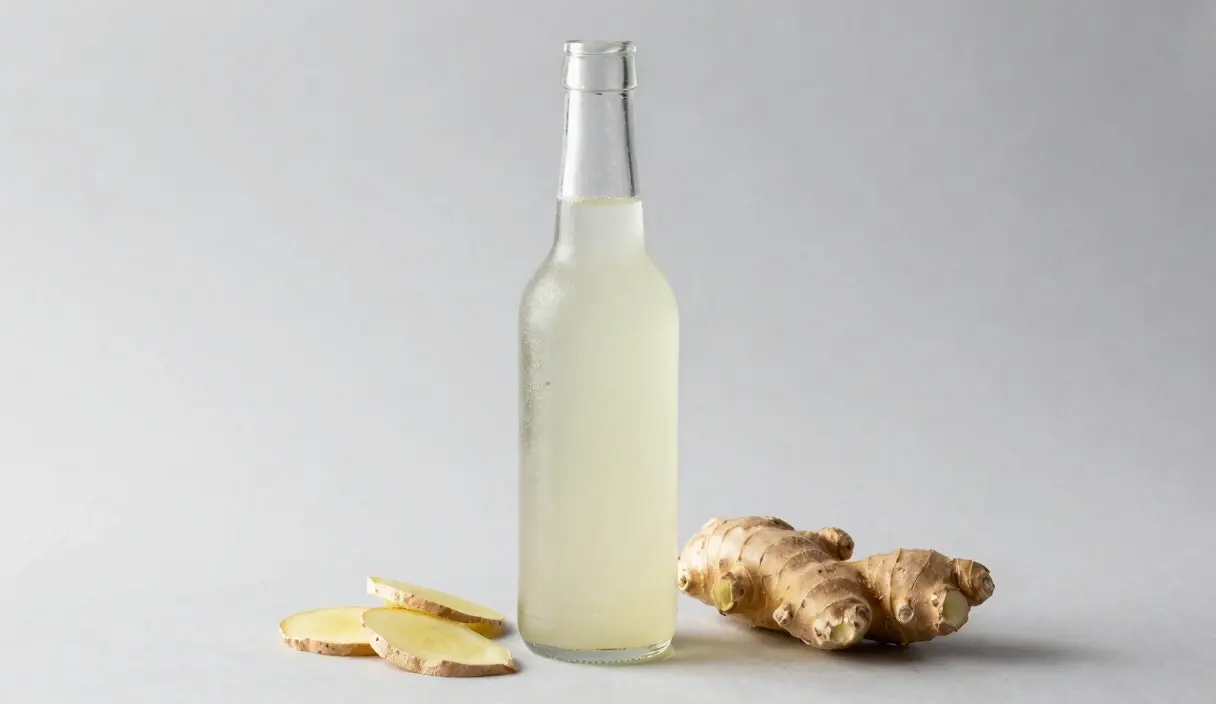
Homemade Ginger Ale: Master Natural Carbonation with a Ginger Bug
Ditch the store-bought soda! We explore the science of natural carbonation, ginger extraction, and how to brew the perfect probiotic ginger ale.
Contents
Victorian England, 1850s. Ginger beer plants — a living culture of yeast and bacteria — were kept as household items in working-class kitchens the way we keep sourdough starters today. Families passed them between neighbors, named them, and used them to produce a cheap, slightly carbonated drink that was safer than Thames water and cheaper than tea. The practice disappeared within a generation as commercial ginger ale replaced it. Most modern “homemade ginger ale” recipes use commercial yeast and miss the entire point.
This is the real version. The carbonation builds from inside the bottle as wild yeast consume sugar and exhale CO2 that has nowhere to escape. The ginger chemistry shifts depending on whether you boil the root or leave it raw. And the probiotic complexity of a healthy ginger bug puts any single-strain commercial yeast packet to shame.
The Philosophy of the “Bug Soda”
To make a great ginger ale, you must first understand that you are not just “flavoring water.” You are creating a biological habitat.
The Two-Stage Process
- Stage 1: The Engine (Ginger Bug): You must have a healthy, active Ginger Bug already bubbling on your counter.
- Stage 2: The Fuel (Ginger Tea): You create a concentrated tea of ginger and sugar. This provides the flavor and the fuel for the yeast from the bug to consume once they are mixed.
Why Not Use Commercial Yeast?
While you can make ginger ale with champagne yeast, the result is often one-dimensional. A ginger bug introduces a diverse community of local wild yeasts and Lactic Acid Bacteria. This community produces a more complex flavor profile and significantly more probiotic benefits.
Every recipe blog that tells you to “use a packet of active dry yeast for convenience” is optimizing for speed at the expense of the entire reason to make this at home. Commercial yeast gives you CO2. That’s all. You could achieve the same result by shaking a sealed bottle of juice.
The Chemistry of Carbonation: Trapping the Gas
Carbonation is the process of dissolving Carbon Dioxide (CO2) into a liquid.
The Pressure Equation
In an open jar, CO2 simply escapes. To get bubbles, we must force the fermentation to happen inside a sealed bottle. As the yeast eat the sugar, they release CO2. According to Henry’s Law, the gas is forced into the liquid until an equilibrium is reached.
- The Result: A sparkling, fizzy beverage.
- The Risk: If there is too much sugar or if the bottle is too weak, the internal pressure will exceed the tensile strength of the glass.
Gingerol and Zingerone: Extracting the Spice
The “heat” of ginger comes from Gingerol.
The Heat Transformation
When you boil ginger, gingerol transforms into Zingerone, which is sweeter and milder. If you dry ginger, it turns into Shogaol, which is much spicier.
- The Master Strategy: For the best results, use a combination of boiled ginger (for depth) and fresh, raw ginger juice (for the bright, spicy “kick”).
Most recipes pick one. Boil it all, or keep it all raw. Both are wrong. The boiled ginger (100g, 15 minutes) builds the mellow base. The raw juice from the remaining 50g hits you on the back of the throat. Neither alone gets you there.
The Master Recipe: Probiotic Ginger Ale
Ingredients:
- 2 Liters Filtered Water
- 150g Fresh Organic Ginger (unpeeled)
- 200g Organic Cane Sugar
- 1/2 cup Active Ginger Bug Liquid
- 2 tbsp Fresh Lemon Juice
Step 1: The Ginger Decoction
- Chop: Mince 100g of the ginger.
- Boil: Simmer the ginger, sugar, and 1 liter of water for 15 minutes.
- Cool: Let the mixture cool completely to room temperature. Warning: Adding bug liquid to hot tea will kill the yeast.
Step 2: The “Fresh Kick”
- Juice: Grate the remaining 50g of fresh ginger and squeeze the juice into the cooled tea.
- Inoculate: Stir in the lemon juice and the ginger bug liquid. Add the remaining 1 liter of cold water.
The Mixing Ratio: Finding the Balance
- The 1:8 Rule: 1 part ginger bug to 8 parts ginger tea is the safest ratio for beginners.
- The Sugar Variable: If your soda is too sweet, reduce the sugar in your next batch. If too sour, increase it.
This is the step most people skip — tasting the tea before inoculation to set the sweetness baseline. Your bug is going to eat some of that sugar. Know where you’re starting from.
The instinct is to add more sugar thinking it makes a better soda. It doesn’t. Above 200g per 2 liters at 72°F, you’re building pressure you can’t control. Bottle bombs aren’t dramatic in the movies. They’re a mess, a waste, and occasionally dangerous. Measure exactly.
Secondary Fermentation (F2): Bottling for Fizz
- Vessels: Use only high-pressure Swing-Top Bottles.
- Fill: Leave exactly 1.5 inches of headspace. Too little headspace increases explosion risk.
- Seal: Move to a dark spot at room temperature (70°F-75°F).
Temperature Management: The 48-Hour Curve
The speed of carbonation is a function of heat.
- The Test Bottle: Always fill one small Plastic PET Soda Bottle. When the plastic bottle feels rock-hard, your glass bottles are carbonated and ready for the fridge.
These are the tools that ensure a safe and bubbly outcome:
Top Carbonation Gear
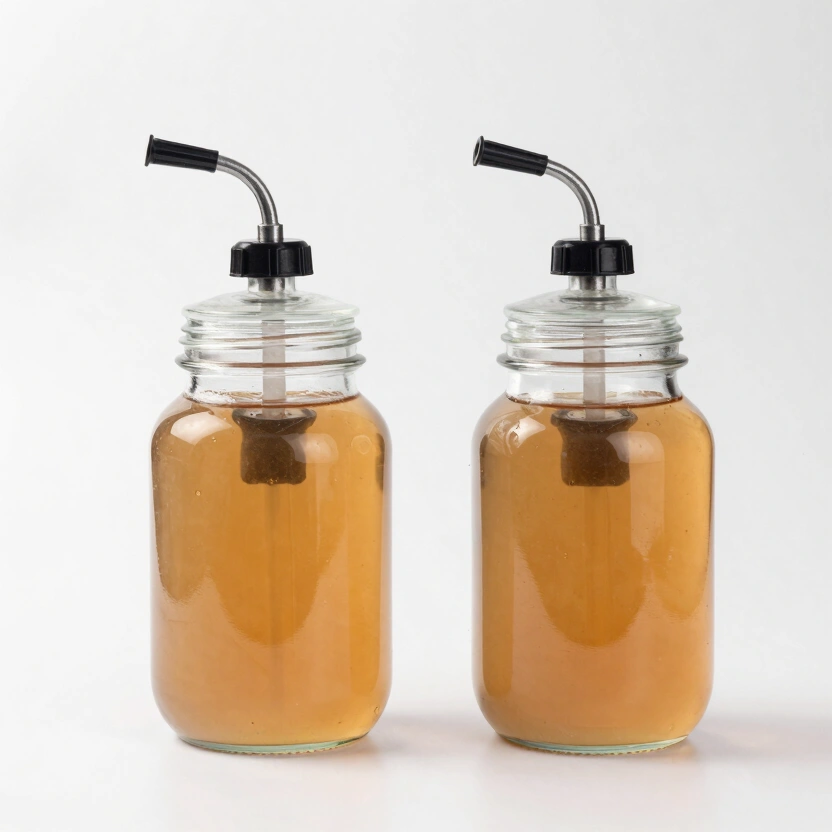
Green Wise Fermentation Jar Set (2 Pack)
Large 1.4L jars with integrated airlock valves. Perfect for sauerkraut, kimchi, or tomatoes.
Check Price on Amazon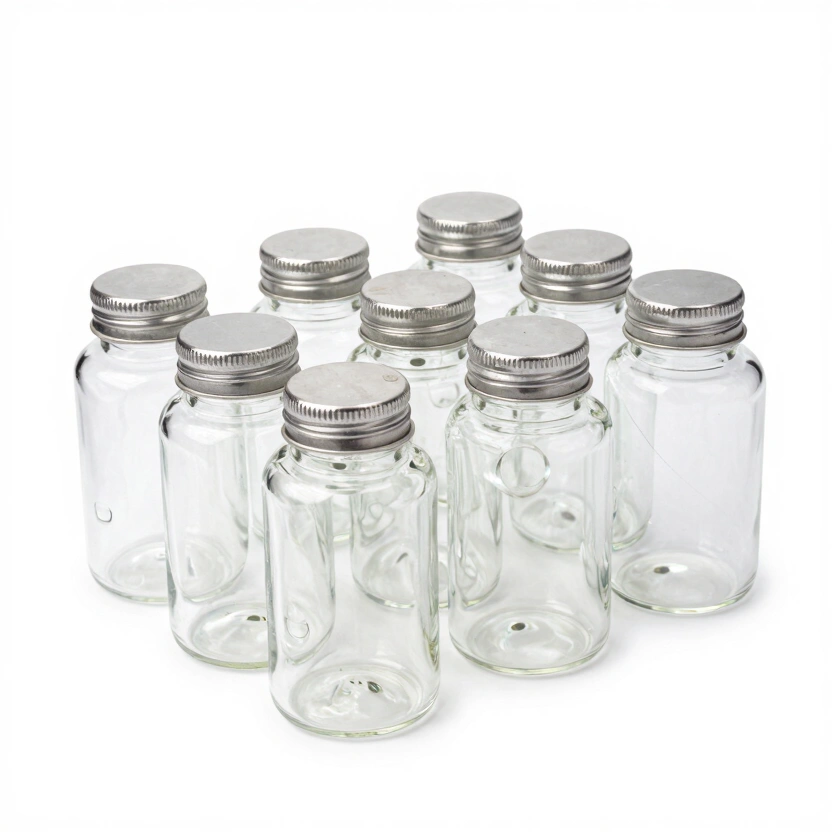
Artcome 10-Pack Glass Weights
Bulk set of heavy glass weights with easy-grip handles for large mason jar setups.
Check Price on Amazon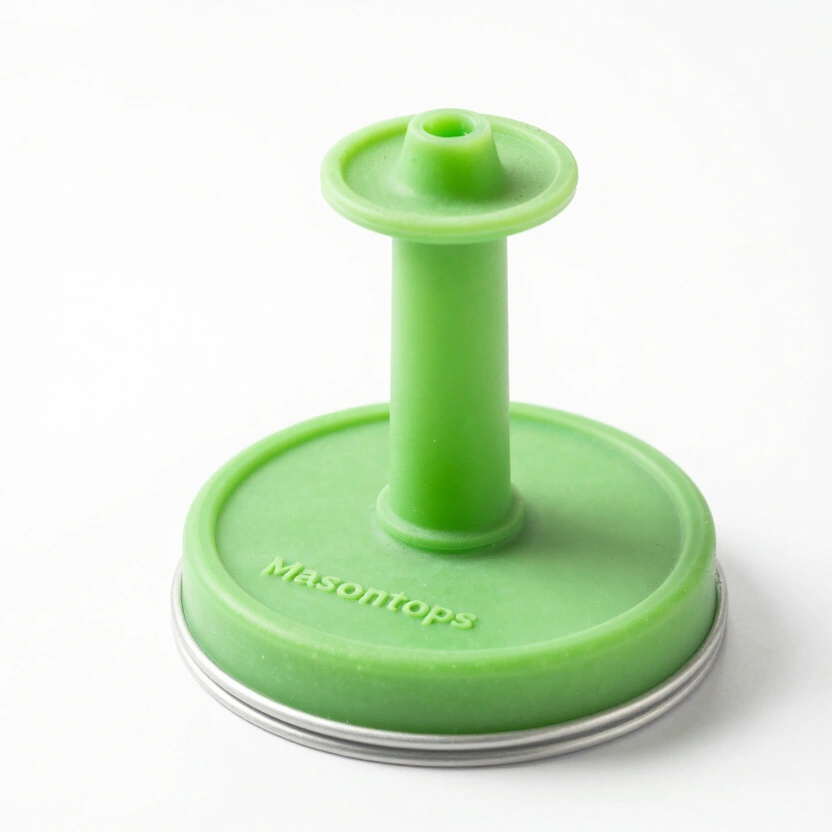
Masontops Pickle Pipe (Airlock Lids)
Waterless silicone airlock lids for easy, low-maintenance mason jar fermentation.
Check Price on Amazon* Affiliate links. Prices last updated March 3, 2026.
Safety First: Preventing “Bottle Bombs”
The Cooling Requirement
Once carbonated, you must move bottles to the refrigerator. Cold temperatures send the wild yeast into hibernation, stopping further CO2 production.
CO2 Absorption
Cold liquid absorbs gas much more efficiently. Chilling for 24 hours results in smaller, more elegant bubbles.
I learned about bottle explosions the expensive way — a swing-top bottle I’d left at 78°F for three days blew its cap at 2 AM. Now I always use a PET test bottle. When the plastic goes hard, everything goes into the fridge immediately.
Storage and Shelf Life: The Living Soda
- Longevity: Best consumed within 2 to 4 weeks.
- The Dry Shift: Even in the fridge, yeast will slowly consume residual sugar. Over time, your sweet ale will become a dry ginger beer.
Your ginger ale is only as good as the bug that powers it. A weak bug produces flat soda. An overfed, overactive bug at 78°F will blow a swing-top cap at 2 AM. Neither is what you want. The PET test bottle is not optional — it’s the only honest signal you have that tells you when to refrigerate.
But when it works — when you crack a cold bottle and the carbonation hisses out clean, the ginger hits sharp and then warm, the lemon rounds it out — you’ll understand exactly why those Victorian families kept these cultures alive and passed them to their neighbors. It’s not complicated. It’s just a process that most people get wrong because they skip the biology. Check your bug’s health before every batch using the fizz-and-smell test in the Wild Yeast Harvesting Guide — if the bug isn’t ready, the ale won’t be either.
For the swing-top bottles and wide-mouth jars that handle secondary fermentation pressure safely, the best fermentation jars covers the glass vessels purpose-built for natural carbonation projects like this one.
Want to understand why your carbonation is inconsistent between batches? The Fermentation Temperature Control Guide explains exactly how ambient temperature drives CO2 production rates.
Frequently Asked Questions
Why isn’t my ginger ale carbonating at all?
The most common answer isn’t what you think. It’s not the recipe — it’s the bug. A ginger bug that looks active in its jar (a few bubbles when you stir) is not necessarily active enough to carbonate a sealed bottle. You need visible spontaneous bubbling, a clearly yeasty-spicy aroma, and a liquid that fizzes immediately when you tap the jar. If those three signals aren’t present, the bug needs another 2–3 days of feeding before you harvest. Second possibility: your kitchen is below 65°F. Wild yeast stop working meaningfully at lower temperatures. Move the bottles somewhere that holds 72°F–75°F and give them another 24 hours.
How much alcohol is actually in fermented ginger ale?
Typically 0.5%–1.5% ABV. Comparable to commercially sold “non-alcoholic” beverages. A 24-hour F2 at 72°F with 200g of sugar per 2 liters stays toward the lower end. Extend the fermentation to 48+ hours and let the temperature climb toward 75°F and the ABV edges higher. If you’re serving this to children or anyone avoiding alcohol, keep F2 short and cold-crash immediately.
Can I use honey instead of cane sugar in the ginger tea?
Yes. Increase the amount by roughly 20% by weight — honey is about 80% fermentable sugar against cane sugar’s near-100%, so 200g of cane sugar becomes 240g of honey. The flavor shift is real and worth it: the floral character of a good wildflower honey integrates with ginger in a way cane sugar can’t replicate. One warning: don’t switch to honey if your bug is young or weak. Raw honey has antimicrobial properties that can stall an already-fragile culture.
My ginger ale is thick and ropy. Is it ruined?
No. Temporary Pediococcus phase. Certain lactic acid bacteria produce exopolysaccharides when the culture is under conditions that favor their growth — the result is a “slimy” or viscous liquid that looks alarming. It’s not unsafe. Bottle it, refrigerate immediately, and check after 48 hours. The acidity built up during F2 usually breaks down the slime. Cleared in the fridge? Drink it. Still thick after a week? Discard and restart.
What’s the difference between ginger ale and ginger beer — in the fermented, traditional sense?
Ginger beer is stronger. More ginger per liter, longer fermentation, typically higher carbonation and higher ABV (up to 3%–4% in traditional versions). Ginger ale in the Victorian tradition was lighter — a daily drink, not an occasional one. The recipe here is closer to the ale tradition: 150g of ginger per 2 liters, short F2, consumed fresh within 2–4 weeks. If you want the beer version, double the ginger and extend the secondary fermentation to 3–4 days at 72°F.
Related Articles
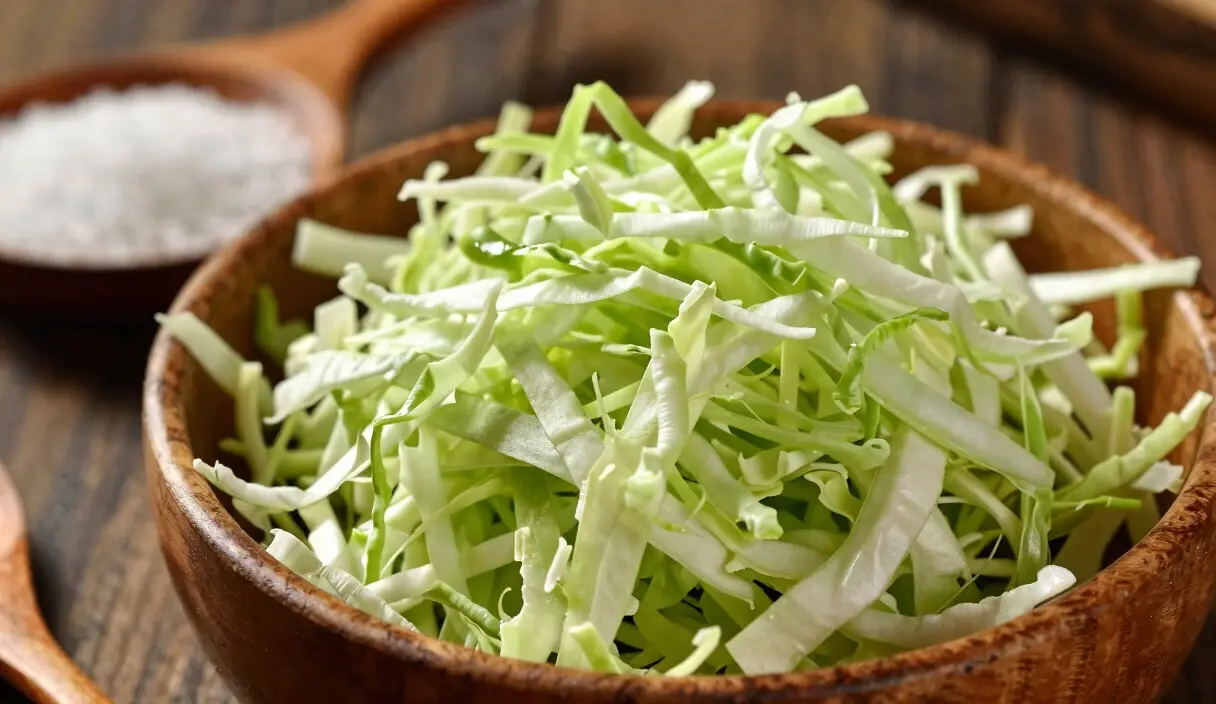
The Sauerkraut Masterclass: Achieving the Perfect Crunch with Precision Ratios
Master the ancient art of sauerkraut. Learn the science and step-by-step techniques to create the perfect crunchy, probiotic-rich kraut at home.
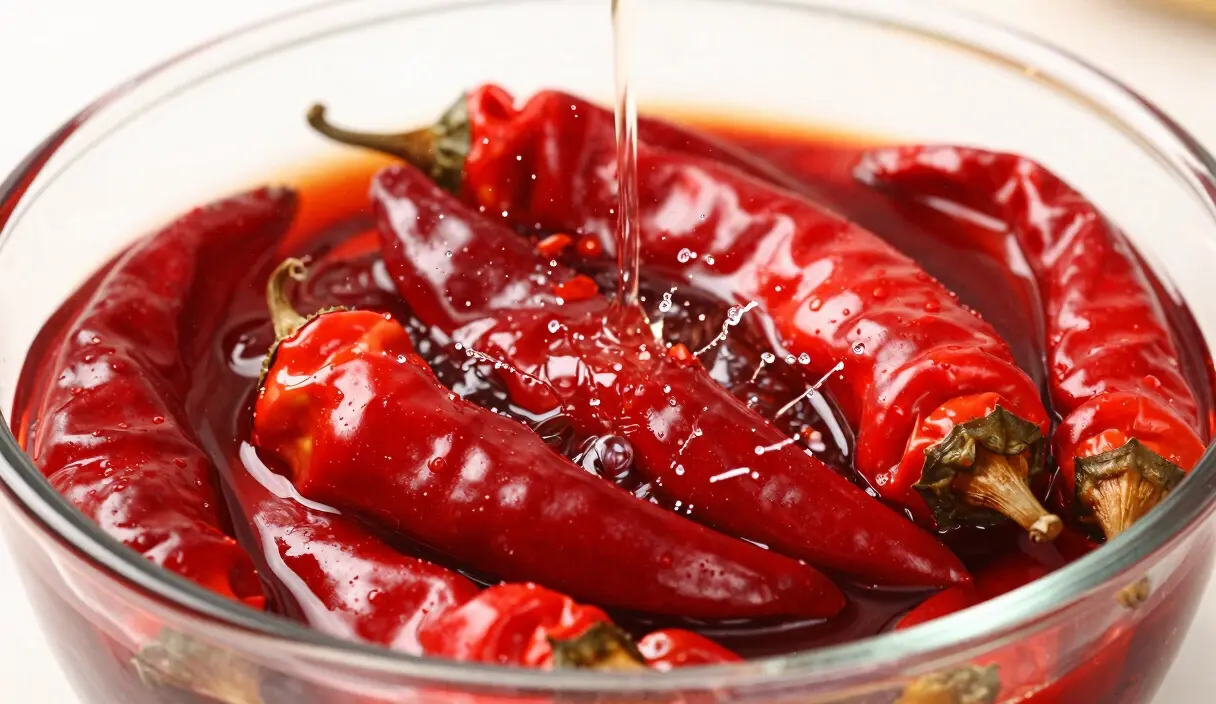
The Signature Burn: Advanced Techniques for Professional-Grade Fermented Hot Sauce
From pepper selection to professional finishing. Learn the science and art of creating high-end fermented hot sauces at home.
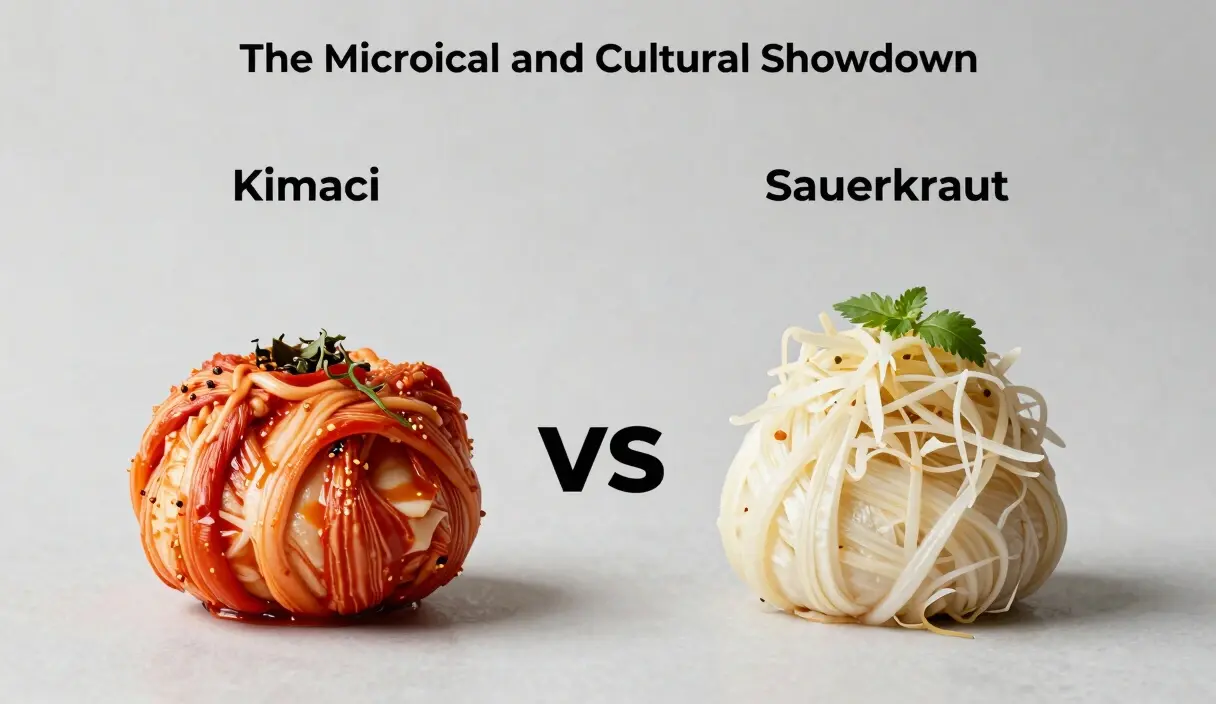
The Battle of the Cabbages: A Technical Comparison of Kimchi vs. Sauerkraut
Which fermented cabbage reigns supreme? We compare the microbiology, nutrition, and preparation physics of Kimchi and Sauerkraut.