The Sauerkraut Masterclass: Achieving the Perfect Crunch with Precision Ratios
Master the ancient art of sauerkraut. Learn the science and step-by-step techniques to create the perfect crunchy, probiotic-rich kraut at home.
Contents
Most homemade sauerkraut fails for one of two reasons: too little salt or too little time. Both are fixable in under 60 seconds with a kitchen scale. The salt ratio determines whether your cabbage produces a safe, crisp ferment or a soft, unreliable one. Time determines whether you get complex flavor or just sour shreds.
Store-bought sauerkraut from the shelf is pasteurized — the heat kills every Lactobacillus in the jar. What you’re paying for is vinegar-acidified cabbage, shelf-stable and dead. A tablespoon of properly made homemade sauerkraut contains more live bacteria than most probiotic supplement bottles. That gap is wide enough to matter.
Strasbourg hospital records from 1685 document sauerkraut being prescribed as a scurvy treatment for patients — 80 years before James Cook’s famous naval experiments. The Alsatian charcutiers knew fermented cabbage prevented the disease. They just didn’t know why.
This masterclass covers the cellular biology of plasmolysis, the specific salinity ratios that determine crunch vs. mush, and the professional techniques that separate repeatable, great kraut from lucky accidents.
The Essential Ingredients: Why Quality Matters
Honestly, this is where most people make their biggest mistake — grabbing whatever cabbage is on the shelf without feeling its weight. A limp, lightweight cabbage will not produce enough brine to cover itself, and you’ll be scrambling to add water at day two.
When a recipe has only three ingredients, there is nowhere for low-quality components to hide. To make world-class kraut, you must be meticulous about your selection.
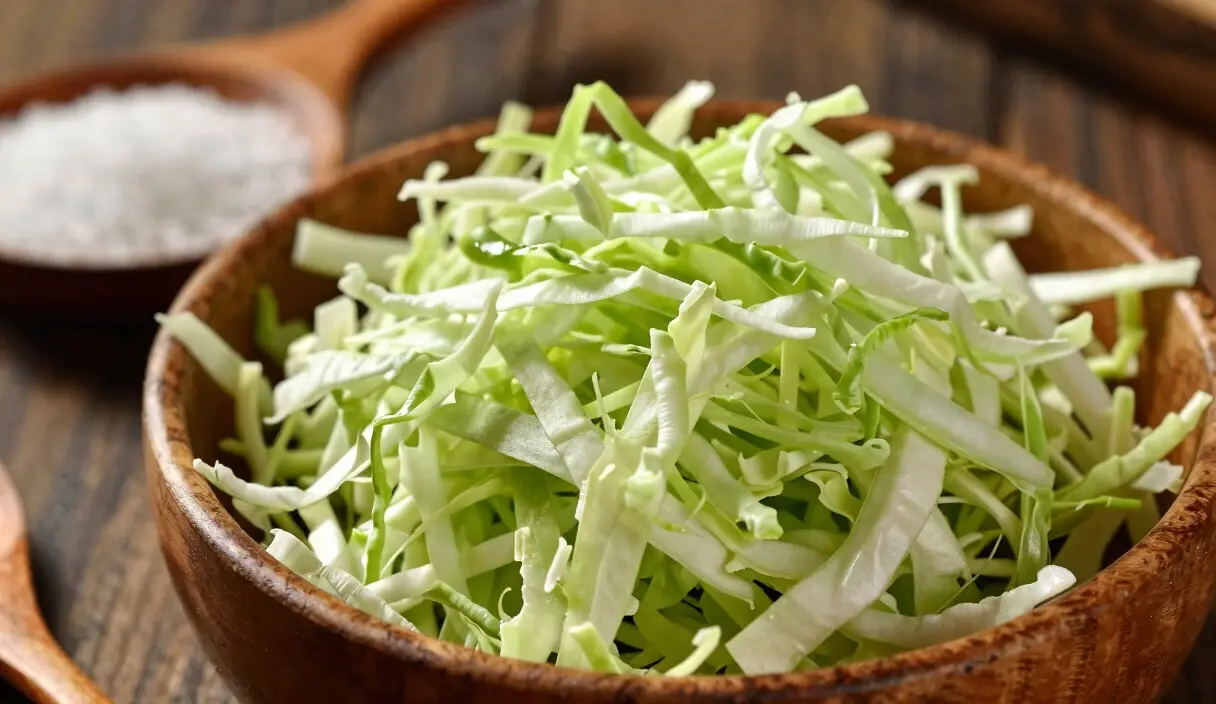
Ingredient #1: The Cabbage
Not all cabbages are created equal. The weight of the head in your hand tells you almost everything — a heavy, rock-hard cabbage means dense cells loaded with moisture. A light one means the opposite.
- Green Cabbage (Late Season): This is the gold standard. Late-harvest cabbages are denser and have a higher sugar content, which provides more fuel for the lactic acid bacteria. Look for heads that feel heavy for their size and are rock-hard when squeezed.
- Red Cabbage: Makes a beautiful, vibrant kraut but can sometimes have a slightly earthier, “tougher” texture.
- Freshness: If your cabbage is old and wilted, it has lost its moisture. This makes it much harder to create a natural brine. If the cabbage is dry, you’ll be forced to add water, which dilutes the flavor and the probiotic count.
Ingredient #2: The Salt
As we’ve discussed in our Brine Salinity Guide For a direct side-by-side of the two traditions, the kimchi vs sauerkraut comparison covers the microbiology and technique differences., salt is your primary safety tool.
- Best Choices: Sea salt, Himalayan pink salt, or pure stone salt.
- What to Avoid: Any salt with iodine or anti-caking agents (yellow prussiate of soda). These can inhibit the bacteria or turn your kraut a grey, unappetizing color.
Ingredient #3: Time
Fermentation is not a fast process. While you can eat kraut after 5 days, the true “magic” happens between week 3 and week 6. This is when the most complex flavors develop and the probiotic diversity reaches its peak.
The Science of the Crunch: Plasmolysis and Lactic Acid
Most guides get this wrong — they tell you “just use 2% salt” without explaining why that number matters or what happens below it. Below 1.5%, the pectin structure in cabbage cell walls doesn’t harden properly, and you get mush. Above 3%, you start inhibiting the Lactobacillus you need. The window is narrow.
Why does the cabbage get soft if you don’t use enough salt? The answer is Plasmolysis. When you rub salt into shredded cabbage, the salt draws the water out of the cabbage cells through osmosis. This creates the brine.
At the same time, the salt hardens the pectin in the cabbage’s cell walls. This is why properly salted kraut stays crunchy for months, while undersalted kraut turns into a mushy mess.
Once the cabbage is submerged in its own juice, the environment becomes anaerobic (oxygen-free). This is when the Lactobacillus bacteria—which naturally live on the leaves of the cabbage—begin their work. They consume the sugars and produce lactic acid, which drops the pH and preserves the food. (For more on the critical safety of pH, see our Guide to the Magic Number 4.6).
The Technique: Pounding vs. Massaging
There is a tactile joy to making sauerkraut. To draw out the juices, you must physically break the cell walls of the cabbage.
The Massage Method
You sprinkle the salt over the shredded cabbage in a large bowl and use your hands to squeeze it. This is intimate, and you can feel the cabbage soften as the brine begins to pool in the bottom of the bowl. It’s effective for smaller batches (1-2 heads).
The Pounding Method
If you’re making 10-20 lbs of kraut, your hands will get tired. The first large batch I made, I massaged by hand for 20 minutes and ended up with half the brine I needed. A tamper solves that problem immediately. This is where a wooden tamper (like the Pickle Packer) comes in. You pack the salted cabbage into a crock and pound it until the liquid rises above the vegetables. This “pounding” method is the traditional way to make large quantities and is often more efficient at releasing every drop of juice.
These are the tools that make the biggest difference:
Essential Sauerkraut Gear
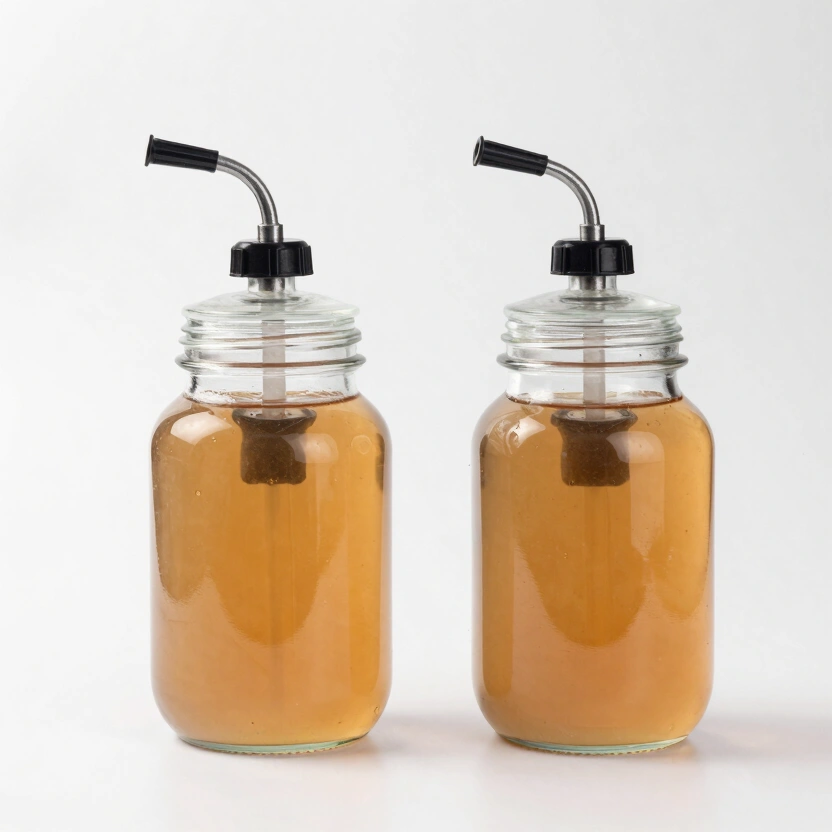
Green Wise Fermentation Jar Set (2 Pack)
Large 1.4L jars with integrated airlock valves. Perfect for sauerkraut, kimchi, or tomatoes.
Check Price on Amazon
Artcome 10-Pack Glass Weights
Bulk set of heavy glass weights with easy-grip handles for large mason jar setups.
Check Price on Amazon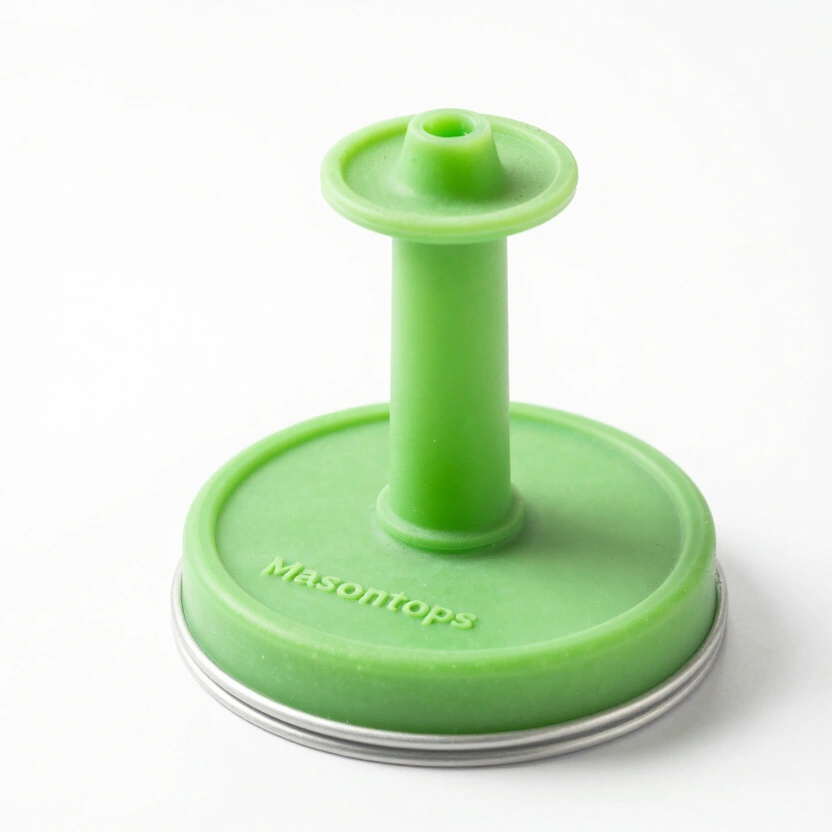
Masontops Pickle Pipe (Airlock Lids)
Waterless silicone airlock lids for easy, low-maintenance mason jar fermentation.
Check Price on Amazon* Affiliate links. Prices last updated March 3, 2026.
The Master Guide: Step-by-Step Perfection
Follow these steps precisely. Don’t skip the weighing—it’s the difference between safety and failure.
Step 1: Prep and Weigh
Remove the outer leaves of the cabbage (save two large ones). Core the cabbage and shred it thinly. Weigh the shredded cabbage.
- Target Salinity: 2% to 2.5%.
- The Math: If you have 1000g of cabbage, you need 20g to 25g of salt. (Use our Brine Salinity Calculator for accuracy).
Step 2: Salting and Working
Sprinkle the salt over the cabbage. Toss it well and let it sit for 15-20 minutes. This gives the salt a “head start.” Then, massage or pound the cabbage for 10 minutes until you have a significant amount of brine.
Step 3: Packing the Jar
Pack the cabbage into a clean wide-mouth jar or crock. Use your tamper to push it down firmly. You want to eliminate all air pockets. The brine should rise above the cabbage.
Step 4: Weighting it Down
Place the large outer leaves you saved on top of the shredded cabbage. Then, place a glass weight or a ceramic weight on top. This ensures no cabbage pieces float to the surface where they could grow Kahm yeast or mold.
Step 5: The Ferment
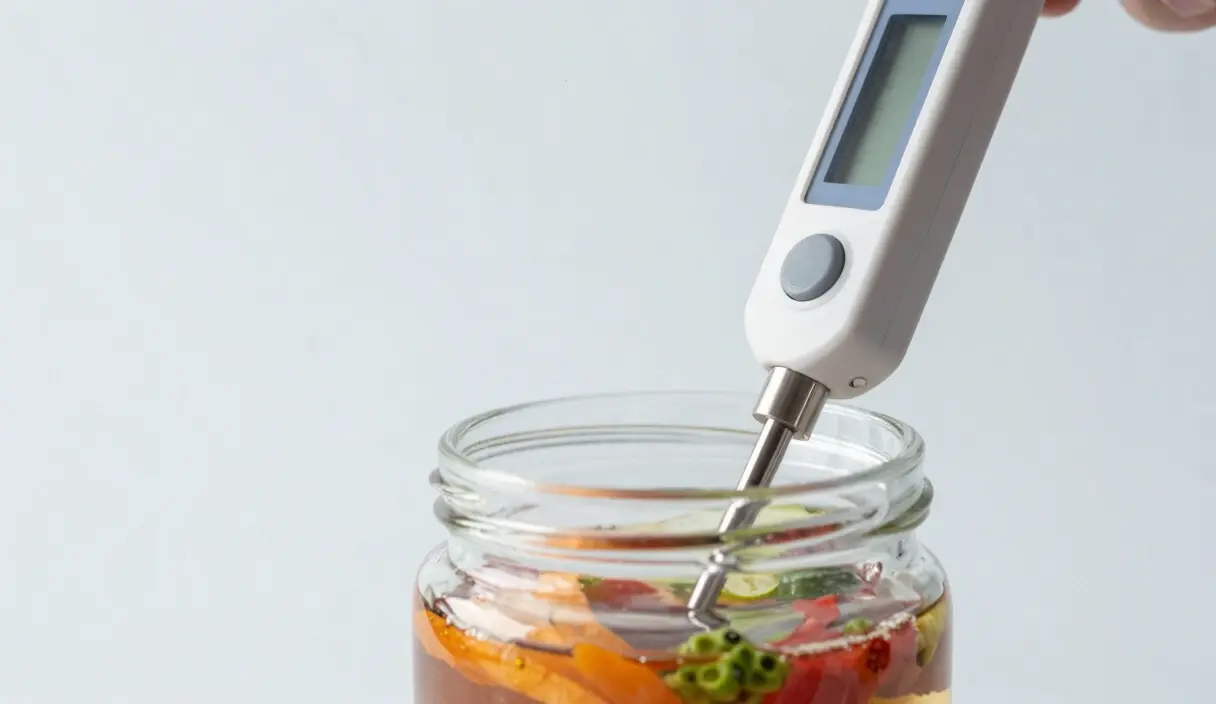
Attach an airlock and store the jar in a cool, dark place (65°F–70°F). After the first 48 hours, check the pH using a digital pH meter. You want to see it dropping toward that magic 4.6.
Beyond the Basics: Kraut Variations
Once you’ve mastered the 3-ingredient version, the possibilities are endless. Most people get there by week six and never go back to single-variety batches.
- Caraway Kraut: The classic Bavarian style. Add 1 tablespoon of caraway seeds per 2 heads of cabbage. It aids digestion and adds a beautiful earthy note.
- Apple and Juniper: My personal favorite. Shred 2 tart apples into the mix and add 5-6 crushed juniper berries. It creates a complex, “woodsy” flavor.
- Spicy Kim-Kraut: Add garlic, ginger, and red chili flakes (gochugaru). It’s a hybrid between traditional sauerkraut and Korean Kimchi.
- Garlic and Dill: Use plenty of fresh dill and 4-5 smashed garlic cloves. It tastes like a pickled cucumber but with the crunch of cabbage.
Probiotic Power: Why Your Gut Loves Kraut
Why go through all this effort when you can buy a tin of kraut for $2?
- Live Cultures: Most store-bought sauerkraut is pasteurized. This kills the very bacteria (Lactobacillus) that make it healthy. Homemade kraut is “alive.” One serving can contain more probiotics than an entire bottle of expensive supplements.
- Digestive Enzymes: Fermentation creates enzymes that help your body break down fats and proteins more efficiently.
- Vitamin Synthesis: Bacteria actually create new vitamins during fermentation, including B-vitamins and Vitamin K2, which is essential for bone and heart health.
Troubleshooting: Common Sauerkraut Mistakes
I wasted my third batch in a row before I realized the problem was my kitchen temperature, not my salt ratio. Summer ferments above 75°F move so fast that by the time the pH drops, the texture has already deteriorated. Temperature matters as much as salinity.
Even the most experienced makers run into issues. Here is how to diagnose and fix the most common kraut problems.
- Soft or Mushy Kraut: This is usually caused by too little salt or too high a fermentation temperature.
- Fix: You can’t un-mush kraut, but you can still eat it if the pH is below 4.6. Use it in stews or soups where texture matters less.
- Brown or Discolored Cabbage: This happens when cabbage pieces aren’t fully submerged and oxygen reaches them (oxidation).
- Fix: Skim off the brown parts. If the rest smells okay and the pH is low, it’s safe. Increase your weight next time.
- Bitter Taste: Often a result of using very fresh, young cabbage or not using enough salt. It can also happen if the kraut is fermented too quickly in a hot kitchen.
- Yeasty Smell: This is usually Kahm yeast. It occurs when oxygen is present. Skim it off, clean the rim, and ensure your airlock is working.
Long-Term Storage: Keeping Your Kraut Crisp
Once your kraut has reached its peak flavor (usually 4-6 weeks), you need to slow down the biological clock.
- Refrigeration: Move the jar to the fridge. The cold temperature (approx. 38°F) slows the bacteria by 90%, preserving the crunch and flavor for 6-12 months.
- Canning? (Think Twice): While you can water-bath can sauerkraut to make it shelf-stable, you will kill all the probiotics. If you’ve gone to the effort of making live kraut, refrigeration is the better choice.
- Darkness: Always store kraut in a dark spot. Light can cause the colors to fade and can negatively impact the nutrient density.
Move the jar to the refrigerator once you hit pH 3.5-4.0. The biology slows to a crawl at 38°F. Six to twelve months of safe, stable storage — provided the cabbage stays submerged and the jar rim gets wiped clean between uses. Some of the best kraut I’ve eaten came from a jar someone forgot about for four months. Slow is usually better.
The scale. The thermometer. The airlock. Three pieces of equipment that together cost less than $40 and eliminate 90% of the failure modes people attribute to bad luck.
Ready to invest in the right setup? The best fermentation starter kits for sauerkraut reviews complete bundles that include the tamper, airlock, and glass weight you need to run consistent, repeatable batches from the first head of cabbage.
For the science behind why brine pH is the single most important safety indicator in lacto-fermentation, see the pH Safety in Fermentation guide.
Frequently Asked Questions
My brine is cloudy with white sediment at the bottom. Is it ruined?
The opposite. That cloudiness is billions of active Lactobacillus in suspension; the sediment is dead cell matter settling out. Both are textbook signs of a healthy ferment. Clear brine in an early batch often means fermentation hasn’t started yet — check your salt measurement and water source.
I weighed my salt correctly, but the cabbage produced almost no brine after 24 hours. What happened?
Check the cabbage first. Old or dry cabbage has lost most of its moisture, so osmosis has less water to draw out. Pack the salted shreds more firmly and give it another 12 hours. If you’re still under-brined at 36 hours, mix a 2% top-up brine — 20g non-iodized salt dissolved in 1 liter of filtered water — and add just enough to cover by an inch. Plain water will dilute your salinity and compromise the anaerobic environment.
Can I make sauerkraut without salt?
Technically possible with a prepared starter culture, but not advisable for beginners. Salt does two things simultaneously: draws water out through osmosis to create the brine, and selectively inhibits pathogens while allowing Lactobacillus to dominate. Remove the salt and you’ve removed your primary safety mechanism.
Why does my sauerkraut taste bitter?
Three causes: very young cabbage without enough stored sugars, too little salt producing off-flavor bacterial byproducts, or fermentation above 75°F driving the process too fast. I lost a full 5-pound batch this way — rushed it in a warm kitchen in August, pH dropped fast but the flavor was sharp and wrong. Slow, cool fermentation at 65-70°F produces consistently better flavor than any warm-room attempt.
How do I know when it’s actually ready?
You can eat it at 5 days. But the flavor worth making sauerkraut for develops between weeks 3 and 6 — secondary fermentation stages produce acetic acid and a broader range of Lactobacillus strains. Week 4 is the sweet spot for most people. Taste it weekly starting at day 10 and trust your palate over any fixed timeline.
Related Articles
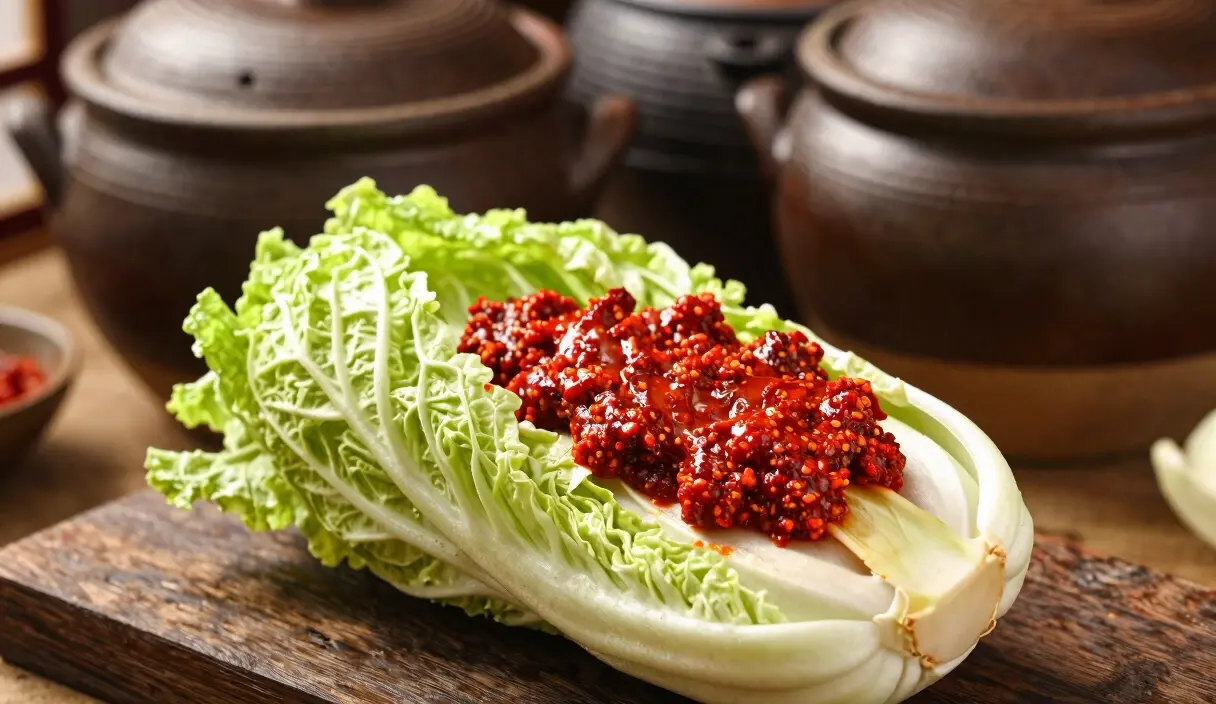
The Kimchi Masterclass: Authentic Baechu-Kimchi for Beginners
Learn how to make authentic Korean Baechu-Kimchi at home. From salting the Napa cabbage to mastering the fermentation cycle—your ultimate technical guide.
The Chemistry of Safety: Why pH 4.6 is the Critical Limit in Fermentation
A definitive guide to pH safety in home fermentation. Learn why 4.6 is the critical limit for preventing botulism and how to master acidity.