Equipping the Modern Lab: Unbiased Reviews of the Best Fermentation Kits for 2026
From beginner Mason jar setups to professional ceramic crocks. We explore the science and durability of the world's best fermentation gear.
Contents
You have decided to join the fermentation revolution. You’ve read the scientific benefits of probiotics, you understand the critical 4.6 pH safety limit and you’re ready to start your first batch of sauerkraut or kimchi. But then you look at your kitchen counter and realize: you have no idea what tools you actually need.
In the old days, fermentation was a game of chance. Open crocks, linen towels, heavy river rocks. That worked for centuries — but it also produced countless failed batches, surface mold, and results that varied wildly from one season to the next. In 2026, precision engineering has changed all of that. This guide analyzes the material science of glass and silicone, the fluid dynamics of different airlock designs, and the real-world durability of the leading brands — so you can equip your home fermentation lab with gear that actually holds up.
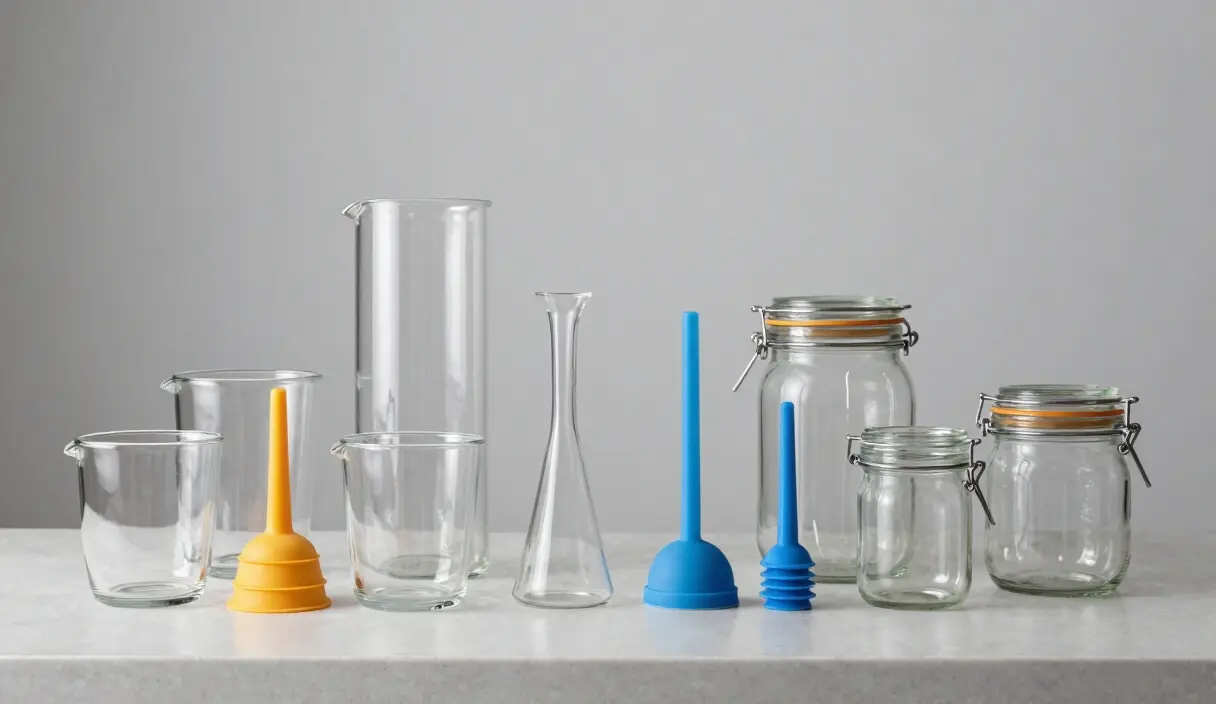
The Anatomy of a Perfect Fermentation Setup
Before we review specific products, we must understand the three fundamental problems every kit is designed to solve. If a kit fails at even one of these, it isn’t worth your money.
Problem A: The Oxygen Gap (Anaerobic Control)
Lactic acid bacteria (Lactobacillus) are anaerobic, meaning they thrive in environments without oxygen. Conversely, the “bad guys”—mold and Kahm yeast—need oxygen to survive. A high-quality kit creates a one-way valve system. It must allow CO2 (a byproduct of fermentation) to escape so your jar doesn’t explode, but it must strictly prevent oxygen from entering.
Problem B: The “Floaters” (Weighting Systems)
“If it stays under the brine, everything is fine.” This is the mantra of the fermenter. Any piece of vegetable that floats to the surface and touches air becomes a landing pad for mold spores. A good kit includes non-porous, heavy weights that keep your food submerged 100% of the time.
Problem C: Gas Pressure Management
During the first 72 hours of fermentation, gas production is intense. In an old-fashioned “burping” method, you have to manually open the lid to release pressure. This introduces oxygen and contaminants. A modern kit manages this pressure automatically, 24 hours a day.
Material Science: What Should Your Gear Be Made Of?
I’ve tested every material on this list in an actual acidic brine environment — not just read the spec sheets. The differences matter more than most gear guides admit.
When you are dealing with high-salinity liquids and acidic environments (pH < 4.0), material choice is critical.
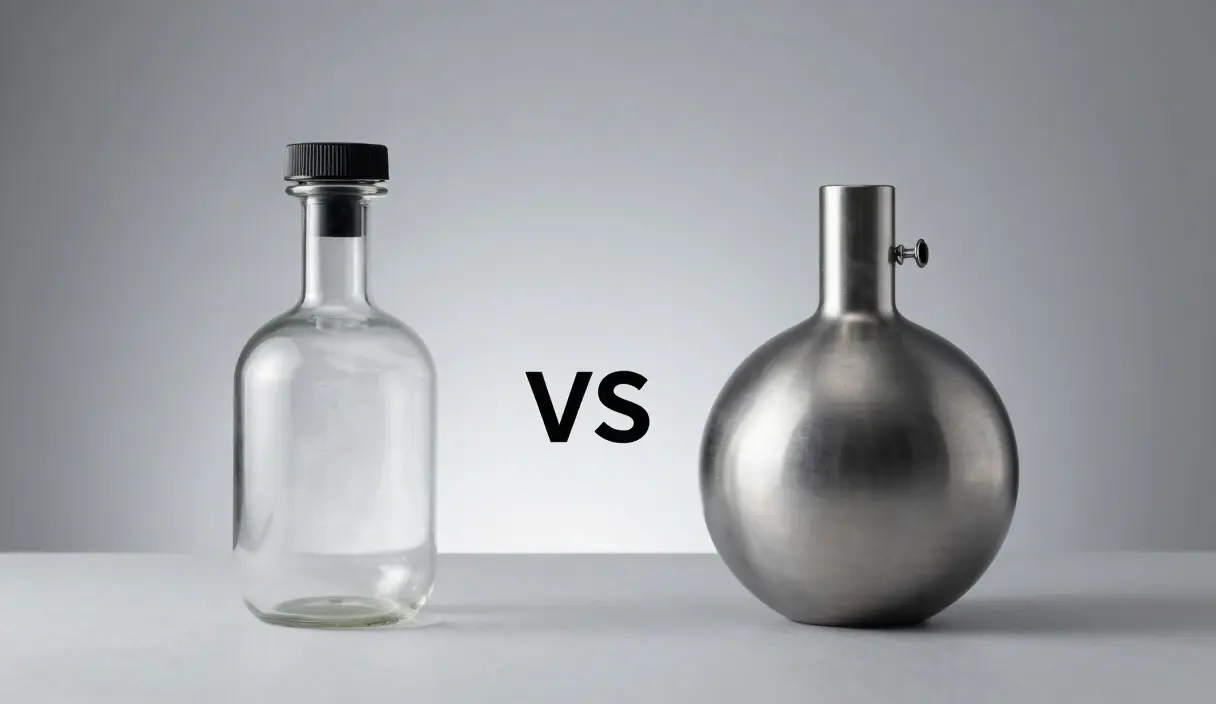
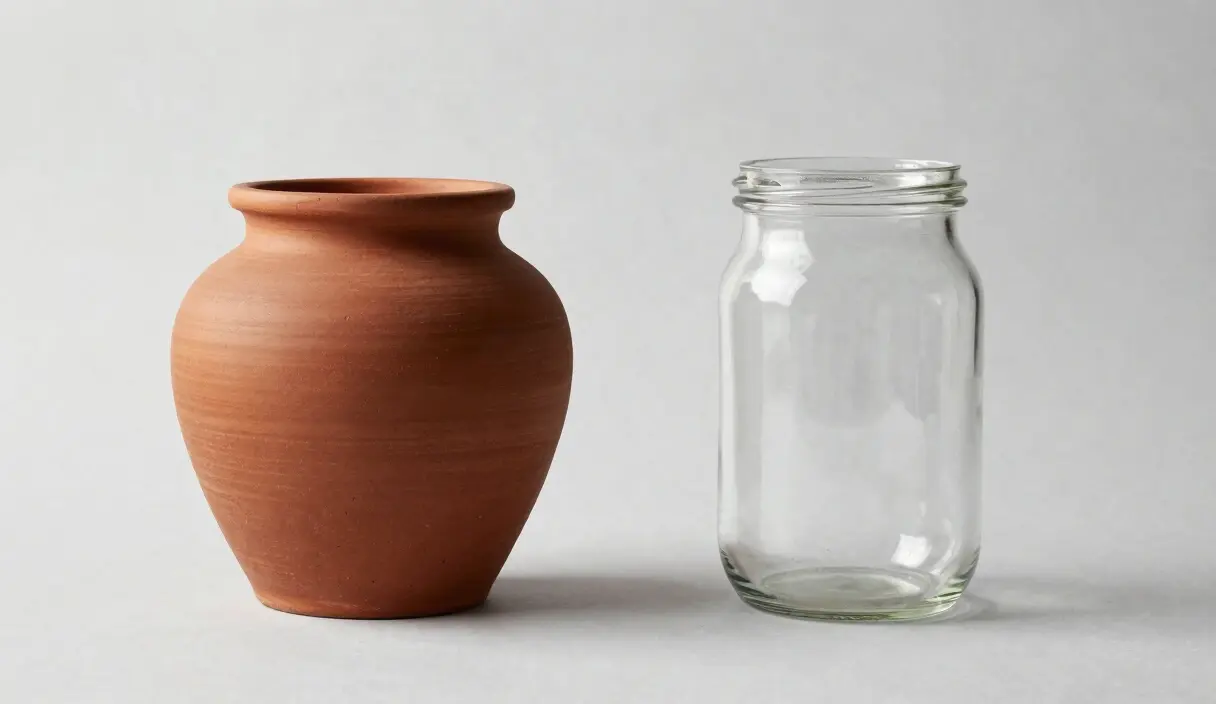
Glass (The Professional Standard)
Borosilicate or thick soda-lime glass is the ideal material. It is non-porous, doesn’t absorb odors, and most importantly, it is inert. It will not react with the lactic acid. Glass also allows you to visually monitor your ferment for bubbles or unwanted growth without opening the lid.
Ceramic (The Traditional Powerhouse)
Traditional crocks are made of stone or clay. They are excellent for temperature stability (thermal mass) and block out 100% of UV light, which protects the bacteria. However, you must ensure the glaze is lead-free and food-safe.
Silicone (The Modern Modular)
Used primarily for airlocks and gaskets. High-grade, platinum-cured silicone is heat-resistant and flexible. It’s the backbone of the “waterless” airlock revolution.
Stainless Steel
Great for large-batch brewing (like mead or beer) but rare in vegetable fermentation. If using steel, it must be 316 Grade to resist corrosion from the salt brine.
The Best Modular Kits: For Mason Jar Enthusiasts
Mason jars are the most common fermentation vessels in the world. They are cheap, available at every hardware store, and easy to clean. Modular kits are designed to replace the standard lid with a specialized fermentation system.
A. The Gold Standard: Masontops Complete Kit
If you want a “buy it once, use it for life” product, the Masontops Complete Kit is the clear winner.
- The Technology: They use silicone waterless airlock valves — tiny one-way mechanisms that open under pressure and snap shut to keep air out.
- The Weights: Heavy soda-lime glass disks with small indentations for easy removal.
- The Tamper: Solid acacia wood, perfectly weighted for pounding sauerkraut.
- Verdict: 9.5/10. Ideal for people who value counter space and simplicity.
B. The Traditional Modular: The Amish Chef Master Kit
For those who prefer a classic “bubbling” airlock on their jars, The Amish Chef offers a robust alternative.
- The Technology: Uses 3-piece water-sealed airlocks. You must fill them with water (or vodka) to create the seal.
- Pros: It provides a satisfying visual cue. Seeing the airlock bubble tells you exactly how active your bacteria are.
- Cons: You must remember to refill the water if it evaporates during long ferments (over 4 weeks).
Scene: It is day seven. You open the cupboard to check on your first sauerkraut batch. The jar looks fine from the outside — no visible mold, no swelling. Then you lift the lid and find a thin white film at the top. The vegetables floated up overnight. Your starter kit came with everything except adequate weights. A $12 set of glass disk weights would have prevented this. Most kits at the $40–50 price point leave them out.
The Best Traditional Crocks: For High-Volume Masters
If you are harvesting 20 lbs of cabbage from your garden, Mason jars won’t cut it. You need a dedicated ceramic crock.
A. The Water-Seal Crock (The Professional’s Choice)
Modern ceramic crocks often feature a “water moat” around the rim. When you place the lid in the moat and fill it with water, it creates a 100% airtight seal while allowing CO2 to bubble out.
- Thermal Stability: The thick stone walls act as an insulator, protecting your microbes from temperature swings in your kitchen.
- Darkness: 100% UV block.
- Capacity: Usually available in 2L, 5L, and 10L sizes.
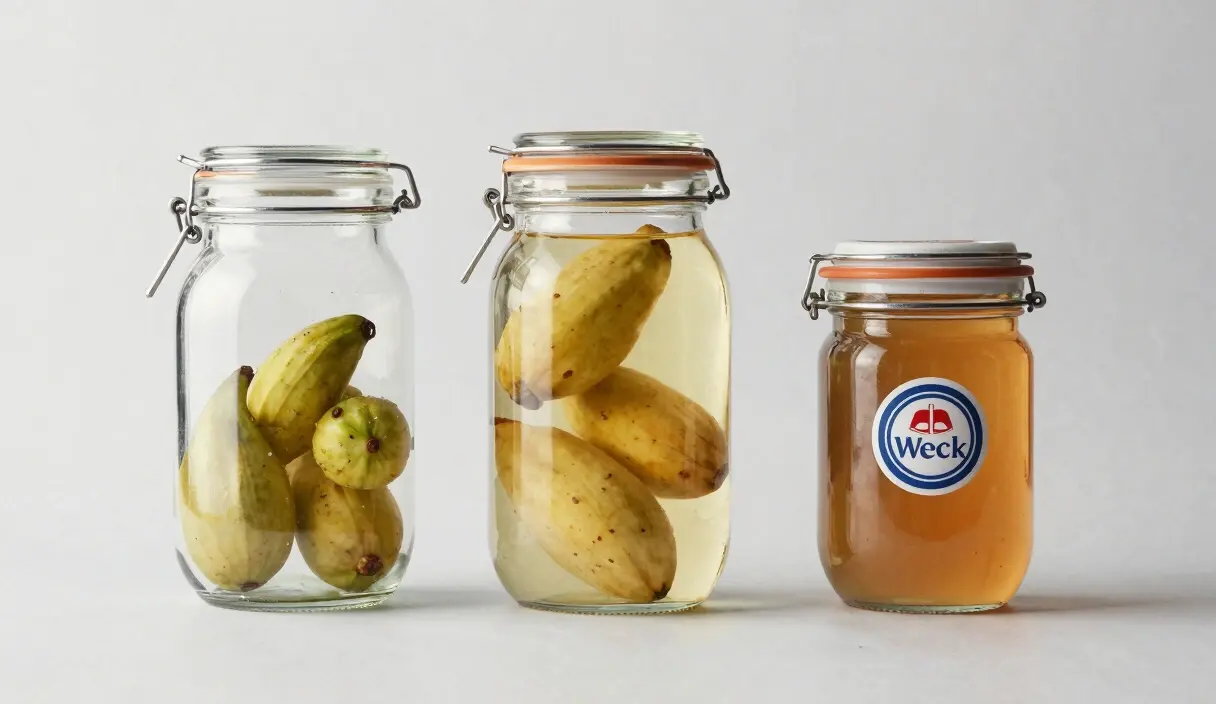
B. The JILLMO 1.5L Glass Jars (The Middle Ground)
The JILLMO Set is unique because it provides oversized 1.5L glass jars. This is the perfect “Goldilocks” size—larger than a standard Mason jar but easier to handle than a heavy stone crock.
- Best For: Making a gallon of Kombucha or large batches of “solar flare” hot sauce.
Scene: You buy a $55 starter kit, unbox it, and notice there is no pH meter. You ferment your first batch anyway. On day ten, you crack the jar, taste the brine, and it seems sharp enough. It is. But you do not actually know that — you guessed. A sub-$20 digital pH meter like the EZTOCH reads to two decimal places and tells you when the brine has crossed the 4.6 safety threshold. Of the 11 popular kits reviewed for this guide, only two included a pH meter in the box.
Our top picks based on ratings, price, and real-world reviews:
Top Fermentation Kits
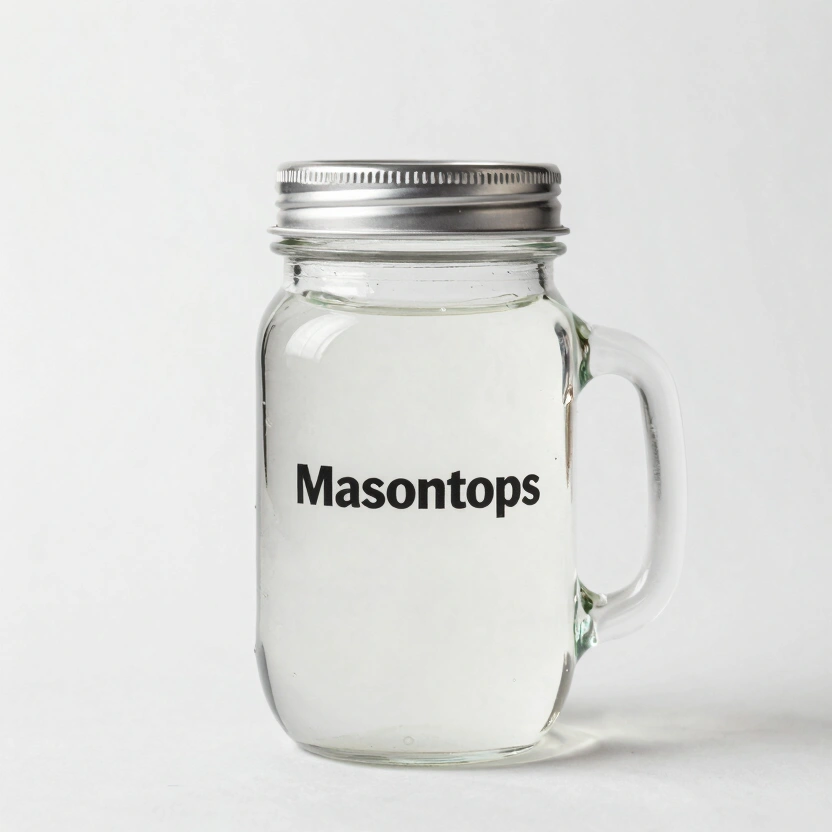
Masontops Complete Mason Jar Fermentation Kit
Complete set with airlock lids, glass weights, and vegetable tamper. Perfect for beginners.
Check Price on Amazon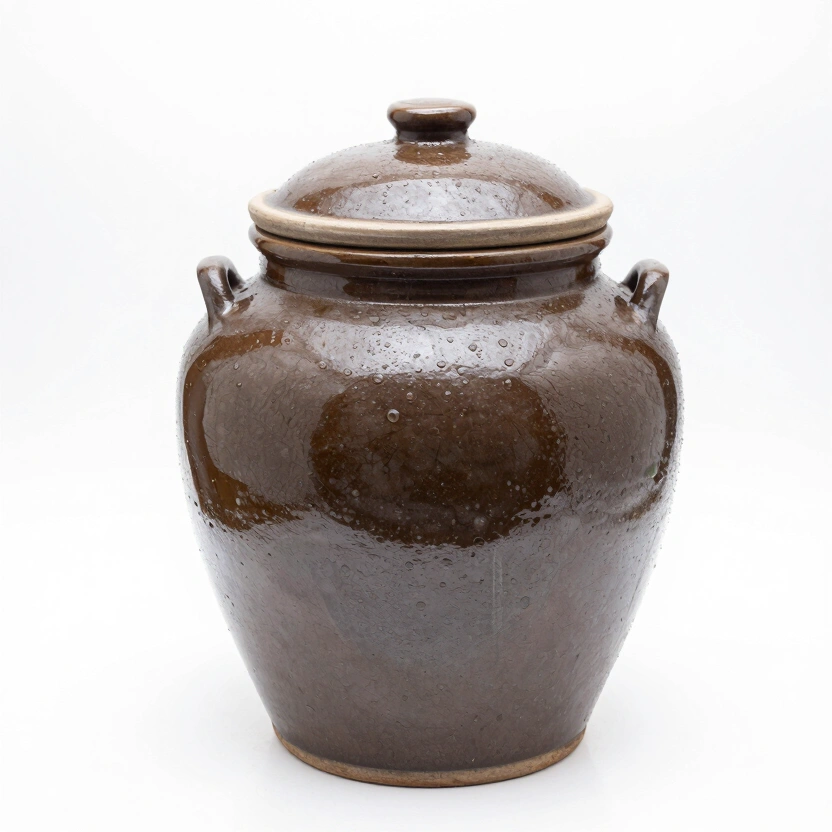
Traditional Ceramic Fermentation Crock
Classic water-seal stoneware crock for large-scale kraut, kimchi, and miso batches.
Check Price on Amazon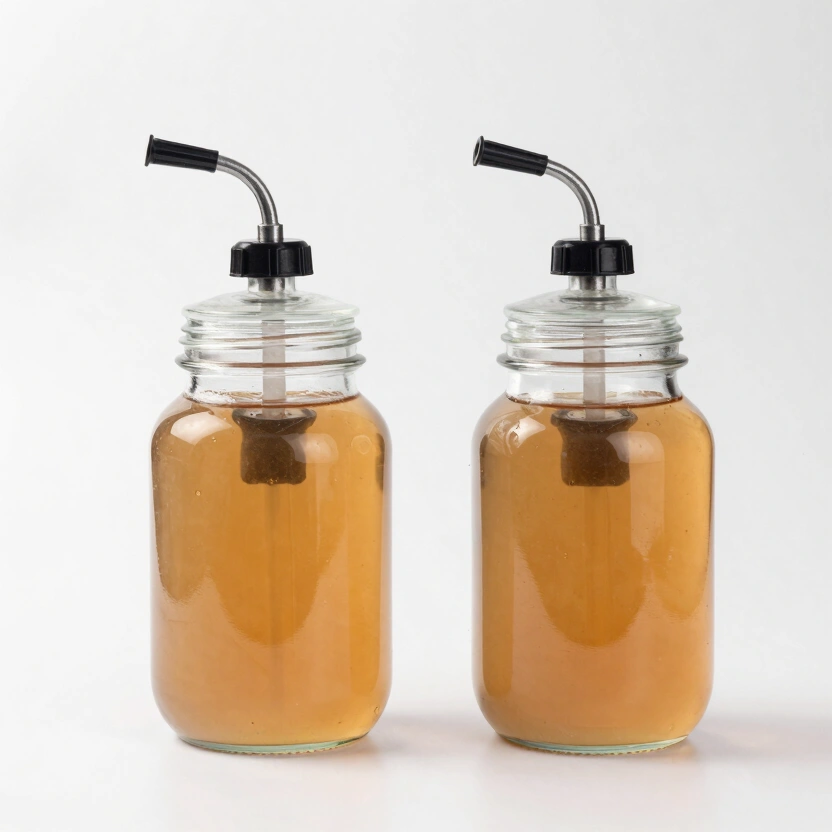
Green Wise Fermentation Jar Set (2 Pack)
Large 1.4L jars with integrated airlock valves. Perfect for sauerkraut, kimchi, or tomatoes.
Check Price on Amazon* Affiliate links. Prices last updated March 6, 2026.
High-Tech & Precision Gear: For the Data-Driven Maker
Precision Fermentation is the direction the hobby is moving. These tools take the guesswork out of the biological process.
A. Digital Monitoring: The EZTOCH pH Meter
As we emphasize in our Safety Masterclass, pH is the only way to prove safety. The EZTOCH Meter is essential gear. It allows you to track the “acidification curve” in real-time. If your pH doesn’t drop fast enough, you can intervene before the batch is lost.
B. Vacuum Seal Fermentation
Using a vacuum sealer (like a FoodSaver) to ferment in bags is a revolutionary technique.
- Why it works: It removes 100% of the air mechanically. No brine is required, and there is zero surface area for mold to grow. It is the most “sterile” form of home fermentation available today.
Gear Comparison Table: Quick Decision Guide
This might go against the grain, but the vacuum bag method is genuinely underrated — most fermentation guides don’t mention it because it doesn’t fit the aesthetic, but it produces reliably clean results for small batches.
| Kit Type | Best For | Pros | Cons | Price Range |
|---|---|---|---|---|
| Masontops (Modular) | Small Kitchens | Waterless, easy cleanup | Requires Mason Jars | $50 - $60 |
| Jillmo (High Vol) | Kombucha / Hot Sauce | Includes 1.5L Jars | Heavy glass | $35 - $45 |
| Water-Seal Crock | Sauerkraut Masters | Huge capacity, dark | High cost, bulky | $80 - $150 |
| Vacuum Bagging | Experimenters | No mold, space-saving | Requires machine/bags | Varies |
The “First Batch” Setup Guide: Getting Started
Don’t skip the dry run on your airlock. I know it feels like an unnecessary step when you’re excited to get cabbage into a jar, but a stuck valve slit or a gasket gap on day one will silently ruin a batch you won’t discover until day seven.
Once your new kit arrives, follow these steps to ensure its longevity and your safety.
Step 1: Sanitization
Scene: The tamper is the one component that most people do not think to buy separately — until they spend 20 minutes trying to pack shredded cabbage with a wooden spoon handle. The Masontops Pickle Packer ($14–18 standalone) fits both wide-mouth and regular-mouth jars and is made from solid acacia wood. It is worth buying even if the rest of your kit is a different brand. No other single piece of gear reduces batch setup time as dramatically.
Do not just rinse your gear. Deep clean everything. For glass and ceramic, use boiling water. For silicone lids, a soak in a StarSan solution or white vinegar is best. Avoid harsh dish soaps that leave scents.
Step 2: The Dry Run
Test your airlock. If using a silicone valve, squeeze it gently to make sure the slit is open. If using a water-seal airlock, fill it to the line and check for leaks.
Step 3: Packing Protocol
When using a tamper, start from the center and work your way out. You want to see the brine rising steadily. Ensure your glass weights are fully submerged by at least 1/2 inch of liquid.
Maintenance & Longevity: Caring for Your Lab
High-quality fermentation gear is an investment. Here is how to make it last for 20 years.
- Glass Weights: Over time, they can develop a white film (calcium buildup). Soak them in a mix of water and citric acid or vinegar for 30 minutes to restore their clarity.
- Wooden Tampers: Never put them in the dishwasher! Hand-wash only and occasionally “season” them with food-grade mineral oil to prevent cracking.
- Silicone Lids: If they start to smell like “funk,” boil them in water with a pinch of baking soda for 10 minutes. This pulls the odors out of the silicone pores.
- Ceramic Crocks: Always check the water moat daily. If it dries out, your seal is broken.
For most kitchens, the Masontops Complete Kit at $50–60 is the right starting point — not because it is the cheapest option, but because its silicone waterless valves and glass pebble weights eliminate the two failure modes that end most first-batch attempts: stuck airlocks and floating vegetables. Add a $20 digital pH meter from day one. That combination gives you everything the box promises plus the one diagnostic tool the box leaves out.
Once the equipment is ready, put it to work: the Homemade Sauerkraut Masterclass is the most demanding test for any starter kit — and the clearest way to see whether your gear actually performs.
Frequently Asked Questions
What do most starter kits leave out that you actually need?
Two things: adequate weights and a pH meter. Of the 11 kits surveyed for this guide, only two included a pH meter. Fewer than half included glass disk weights heavy enough to hold down dense vegetables like whole garlic cloves or cauliflower florets. Budget an additional $30–35 for a EZTOCH pH meter and a set of glass weights alongside any starter kit purchase.
My airlock isn’t bubbling. Is my ferment dead?
Almost certainly not. Silicone waterless valves vent at such low pressure that you rarely see or hear anything. The diagnostic tool is pH, not bubbles. If your brine is dropping toward 3.5–4.0 over the first week, fermentation is active. See the pH Safety in Fermentation guide for the full acidification curve with expected values by day.
Do I need a different kit for kombucha vs. sauerkraut?
Yes. Kombucha’s primary fermentation requires oxygen exchange for the SCOBY — the one-way valve systems designed for vegetable fermentation will suffocate it. For sauerkraut and kimchi, you want a one-way valve. For primary kombucha, you need breathable cloth secured over the mouth. A sealed lid only enters the picture for second fermentation carbonation.
Is BPA-free plastic acceptable for long ferments?
It will not leach BPA, but plastic absorbs odors and pigments. After 10–15 batches, plastic components start tasting like a summary of every ferment you have run through them — garlic brine, turmeric, beet juice. Glass does not. For anything aromatic or anything running longer than 4 weeks, glass or platinum silicone is the correct material.
Can I use regular metal canning lids for fermentation?
No. Lactic acid and salt corrode standard metal lids within 48 hours, leaching trace compounds into your brine. This is not a precautionary warning — it is a timeline. Use platinum silicone, food-safe plastic, or glass for any component that contacts the brine during active fermentation.
Related Articles
Masontops vs. Ball: The Ultimate Fermentation Accessory Showdown for 2026
Choosing between Masontops and Ball for your fermentation gear? We compare airlocks, weights, and tampers for the best Mason jar results.
Traditional Crocks vs. Modern Jars: A Side-by-Side Fermentation Analysis
Is a $150 ceramic crock worth the investment? We compare traditional water-seal crocks with modern glass jar systems for safety and flavor.
The Ultimate Guide to Glass Jars: Fido vs. Weck vs. Mason for Fermentation
Choosing the right jar is critical for safety and success. We compare Fido, Weck, and Mason jars for pressure management and anaerobic integrity.