The Signature Burn: Advanced Techniques for Professional-Grade Fermented Hot Sauce
From pepper selection to professional finishing. Learn the science and art of creating high-end fermented hot sauces at home.
Contents
Most fermented hot sauce recipes you’ll find online skip fermentation entirely and add vinegar for sourness. That’s not fermented hot sauce — it’s quick-pickled sauce with a misleading label. The difference isn’t just technique; it’s flavor depth you can’t fake. A proper fermented hot sauce recipe runs on a 3% brine for 4 weeks minimum, during which Lactobacillus converts sugars into lactic acid while breaking down capsaicin into less harsh but more persistent heat compounds. The result lasts longer on the palate. It has layered umami that no vinegar shortcut replicates. This guide covers pepper selection, the three fermentation methods, the chemistry of salinity and pH, and the finishing steps that separate a grainy home product from a shelf-stable, emulsified signature sauce.
The Anatomy of Heat: Why Fermentation Wins
Most hot sauce guides get this wrong — they frame fermentation as a flavor addition. It’s actually a flavor transformation. The fresh pepper taste you started with won’t exist in the finished sauce. Something more interesting replaces it.
Why does a fermented hot sauce taste better than a fresh one? The answer lies in the metabolic activities of Lactobacillus. During a 4-week fermentation, these bacteria break down the natural sugars in your peppers. In the process, they create complex esters and organic acids that create the “umami” mouthfeel we crave.
Capsaicin—the molecule responsible for heat—is perceived differently in a low-pH environment. In a fermented sauce, the acidity rounds the edges of the capsaicin, making the heat feel more “enveloping” and integrated with the other flavors. For the full science on how Scoville ratings shift with pH and fermentation time, the Scoville scale and fermentation heat guide explains why some peppers mellow while others intensify through the process.
Imagine opening a jar at Week 4 and the smell alone makes you step back. That’s the ferment working exactly as intended — and that funk is going into your sauce.
The Pepper Selection: Building Your Flavor Foundation
Not every pepper is suitable for every sauce. To create a masterpiece, you must understand your raw materials.
The “Aromatics” (High Heat, High Flavor)
- Habanero / Scotch Bonnet: The gold standard for fruity, tropical sauces. They have natural notes of apricot and peach that are amplified during fermentation.
- Aji Amarillo: A Peruvian classic with a bright, sunny flavor profile.
The “Workhorses” (Moderate Heat)
- Jalapeño / Serrano: Perfect for green sauces. When fermented, they lose their “grassy” raw flavor and develop a deep, pickled tang.
- Fresno: Like a Jalapeño but with thinner walls and a slightly sweeter profile.
The “Nukes” (Superhots)
- Carolina Reaper / Ghost Pepper: Use these sparingly. They are best when blended with milder peppers to add heat without overwhelming the palate.
The Three Methods of Hot Sauce Fermentation
There is more than one way to ferment a pepper. Your chosen method will dictate the final texture and flavor profile of your sauce.
Method A: The Brine Ferment (Whole/Chopped)
In this method, you submerge chopped peppers in a 3% salt brine.
- The Goal: Extremely safe and easy for beginners. The brine acts as a biological shield.
Method B: The Chili Mash (Pulp)
You pulse the peppers in a food processor with salt (3% by weight) until they reach a salsa-like consistency.
- The Goal: Maximum flavor extraction. This is how commercial giants like Tabasco achieve their intensity.
Method C: Vacuum Bag Fermentation
A favorite in modern professional kitchens. You seal peppers and salt in a vacuum bag.
- The Goal: Zero oxygen, zero chance of mold, and space efficiency.
The Chemistry of Salinity and pH
To ensure your hot sauce is shelf-stable and safe, you must respect the science of the brine.
The Salt Formula
For peppers, I recommend a 3% salinity. Peppers are high in water and sugar, making them more prone to spoilage than hearty vegetables. Get this wrong and you’ll know by smell at Day 10 — sharp, rotten, nothing like the funk you want.
- Calculated by weight: Use a digital scale. (Total weight of peppers + water) x 0.03 = Grams of salt required.
The pH Milestone
Your target pH for hot sauce is 3.4 to 3.8. While 4.6 is the safety limit, a lower pH provides a sharper flavor profile and better preservation. (See our pH Safety Masterclass).
The Master Recipe: “The Solar Flare Habanero”
Fair warning on the Habanero mash at peak fermentation around Week 3: don’t open the jar without ventilation. The CO2 release carries concentrated capsaicin vapor. I’ve cleared a kitchen at 10 feet. Keep a window open.
This is my go-to recipe for a balanced, high-end fermented sauce.
Ingredients:
- 500g Fresh Habaneros (destemmed)
- 2 Red Bell Peppers (for color and body)
- 4 Cloves of Garlic (smashed)
- 1 Small White Onion (sliced)
- The Brine: 3% Salinity.
The Protocol:
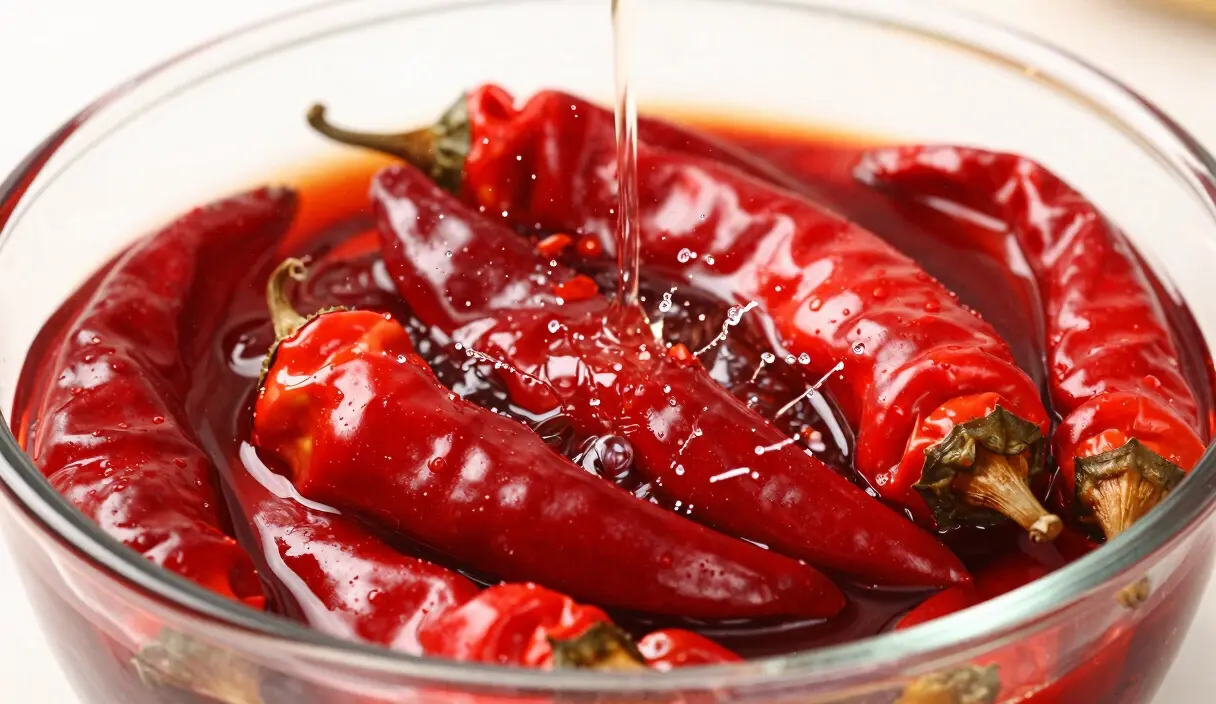
- Prep: Wash all vegetables. Roughly chop the habaneros and peppers.
- Weight: Place a clean jar on your scale, tare it. Add the vegetables and fill with filtered water until covered.
- Salt: Dissolve the calculated 3% salt into the water and pour it back over the peppers.
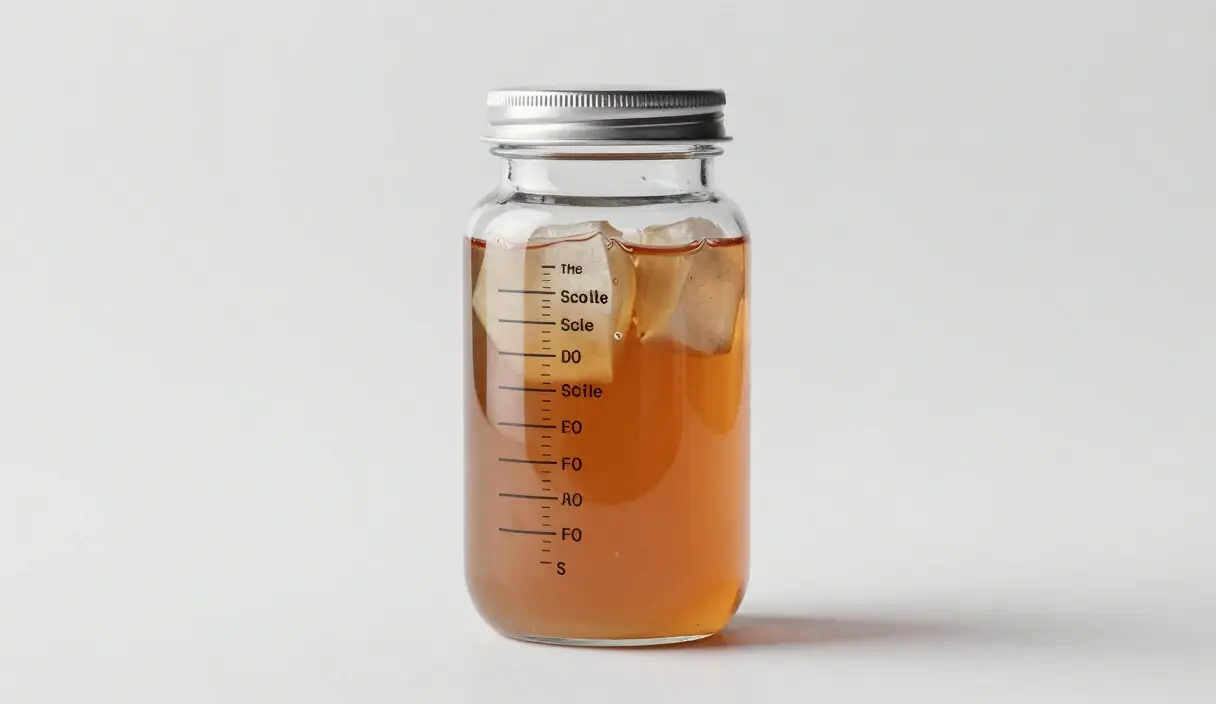
- Seal: Use a glass weight to keep everything submerged. Attach your airlock.
- Ferment: Store in a dark place for 4 to 6 weeks.
The Art of Blending: Turning Mash into Sauce
After 4-6 weeks, the fermentation is complete. The brine should be cloudy, and the peppers will have a softened, translucent appearance.
Step 1: Straining
Strain the solids from the brine, but save the liquid. This brine is “liquid gold,” packed with probiotics.
Step 2: High-Speed Blending
Place the solids in a high-speed blender. Blend on high for at least 3 minutes. The goal is a perfectly smooth emulsion.
Step 3: Balancing the Flavor
Now, slowly add liquid back into the blender. This is where most people rush and ruin a four-week ferment in sixty seconds — add small amounts and taste constantly.
- Reserved Brine: For more “funk” and salt.
- Apple Cider Vinegar: For a bright, zesty acidity.
- Lime Juice: For a fresh, citrusy pop.
Professional Finishing: Xanthan Gum and Texture
What separates a grainy home-made sauce from a silky commercial product?
The Xanthan Secret
Xanthan gum is a natural stabilizer. Without it, your sauce will eventually “split,” with the pulp sinking to the bottom.
- Dosage: Use only 1/8th of a teaspoon per quart of sauce.
- Method: Add it while the blender is running on a low speed to ensure even distribution.
Fine Straining
If you want a sauce that flows like silk, pass the blended mixture through a fine-mesh chinois. This removes any tiny bits of skin or seeds that survived the blender.
Our top picks for professional hot sauce results:
Professional Hot Sauce Gear
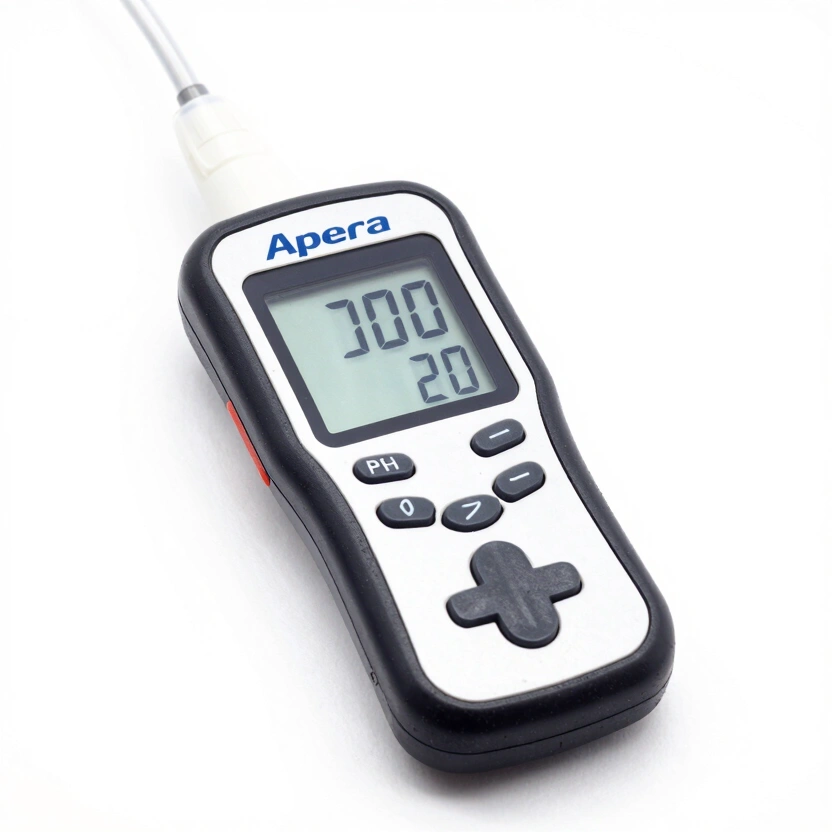
Apera Instruments PH20 pH Meter
Professional-grade digital pH tester, essential for verifying safety in low-acid ferments.
Check Price on Amazon
Bonsenkitchen Silver Vacuum Sealer
Affordable and powerful vacuum sealer, perfect for Noma-style bag fermentation and tempeh.
Check Price on Amazon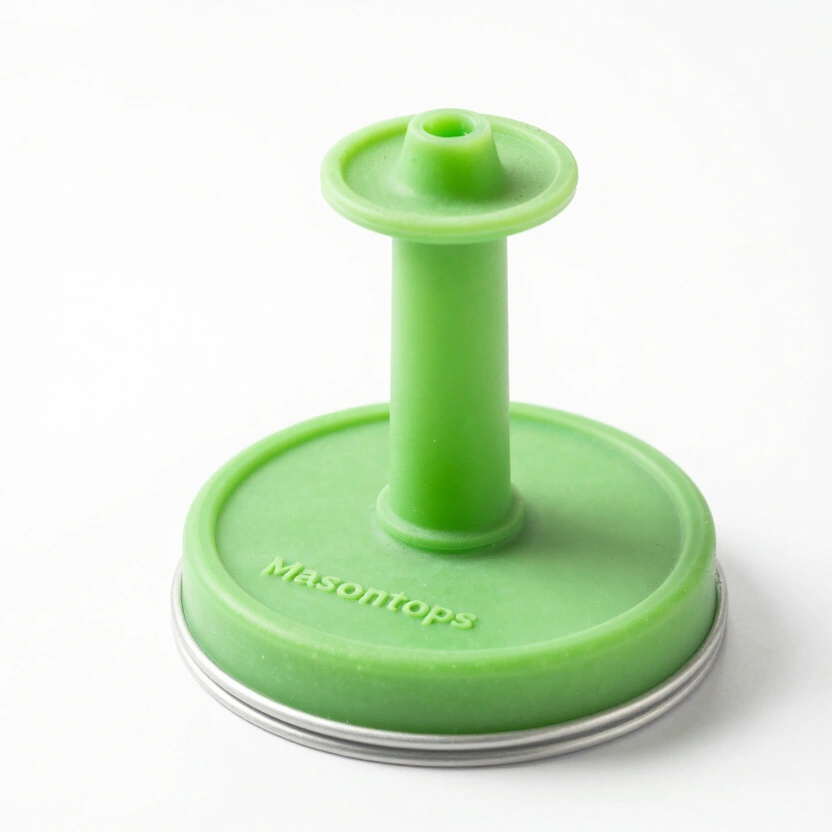
Masontops Pickle Pipe (Airlock Lids)
Waterless silicone airlock lids for easy, low-maintenance mason jar fermentation.
Check Price on Amazon* Affiliate links. Prices last updated March 3, 2026.
Shelf-Life and Stability: Keeping the “Kick” Alive
How you store your sauce determines its longevity and safety.
A. Raw Storage (Refrigerated)
If you want to keep the healthy probiotics alive, keep the sauce raw.
- Requirement: The pH MUST be below 3.8 to prevent fermentation from continuing in the bottle.
- Shelf-life: 12+ months in the fridge.
B. Pasteurization (Shelf-Stable)
If you want to store your sauce in a pantry, you must kill the bacteria.
- Method: Heat the sauce to 185°F (85°C) and hold for 10 minutes. Bottle while hot into sanitized containers.
Troubleshooting: Common Hot Sauce Failures
- “My sauce is too hot!”
- Fix: Ferment a batch of bell peppers or onions and blend it in to dilute the heat.
- “The sauce is foaming in the bottle.”
- Fix: Fermentation wasn’t finished. Keep it in the back of the fridge to slow down the microbes.
- “There is white film on the jar.”
- Fix: This is Kahm Yeast. Skim it off and ensure your airlock is airtight.
Five different salt types tested on identical Habanero batches. Diamond Crystal kosher and Maldon sea salt both work clean. Avoid iodized table salt — the iodine suppresses LAB growth and you’ll see the difference in acidification speed by Day 5. By Day 10, you’ll taste it. A 4-week fermented habanero sauce built on a proper 3% brine with a non-iodized salt and a consistent temperature is not a difficult project. But it demands patience at every step where patience feels hardest — the first week when nothing seems to be happening, and the blending stage when you want to just dump everything in and be done.
Before you commit to a jar and airlock setup for a 4-to-6-week pepper mash, the Masontops vs Ball fermentation review compares the two most popular wide-mouth systems for exactly this kind of long hot sauce ferment.
At the blending stage, the Xanthan Gum and Consistency Guide covers exactly how to add 2g per liter for a professional, non-separating emulsion.
Frequently Asked Questions
Can I use frozen peppers for fermented hot sauce?
Yes. But add a starter. Frozen peppers have lost most of their wild surface microbes — add a piece of fresh green cabbage or a tablespoon of live unpasteurized brine from a previous batch. The fermentation will proceed from there, typically within 48 hours. Don’t skip this step; without viable LAB, a frozen-pepper brine can stall for days before anything happens, and the window for spoilage is real.
Why did my green jalapeño sauce turn brown?
Oxidation. Green chlorophyll pigments are unstable and degrade fast when exposed to oxygen. Use an airtight glass vessel with an airlock. Store the finished sauce away from light. A small amount of surface browning during the mash phase is normal — complete color change means your seal failed somewhere during fermentation.
What’s the best salt for this?
Non-iodized sea salt or kosher salt. Iodine in standard table salt acts as an antimicrobial — the same property that makes it useful for purifying water also kills the Lactobacillus strains you’re trying to cultivate. Diamond Crystal kosher and non-iodized sea salt both perform identically. Pick whichever is easier to source.
Is fruit safe to add during fermentation?
Safe — and the results are worth it. But the first 48-72 hours with mango or pineapple in the jar will be aggressive. Fruit sugars give LAB a massive fuel load. Use a loosely seated lid rather than a tight airlock during the active phase to handle pressure. Pineapple enzymes also soften peppers faster, so cut your window to 2-3 weeks instead of 4-6.
Should seeds stay in or come out before fermenting?
Ferment with seeds in. Strip them out at the blending stage. Seeds don’t contain capsaicin — that comes from the white placental tissue — but they carry tannins and bitter oils that intensify after 6+ weeks. Leaving them in during fermentation preserves wild microbes on the seed surface. Straining them during blending gives you the cleanest final texture.
Related Articles

Xanthan Gum and Consistency: The Technical Secret of Hot Sauce
Why does your hot sauce separate? We explore the science of emulsification and how to use xanthan gum for professional, stable results.
The Scoville Scale and Fermentation: Does Heat Level Change Over Time?
Does fermentation make hot sauce hotter or milder? We explore the stability of capsaicin, pH impact on heat perception, and the Scoville scale.
Fermentation vs. Pickling: The Definitive Scientific Comparison
Is every pickle fermented? We break down the biological and culinary differences between these two ancient techniques.