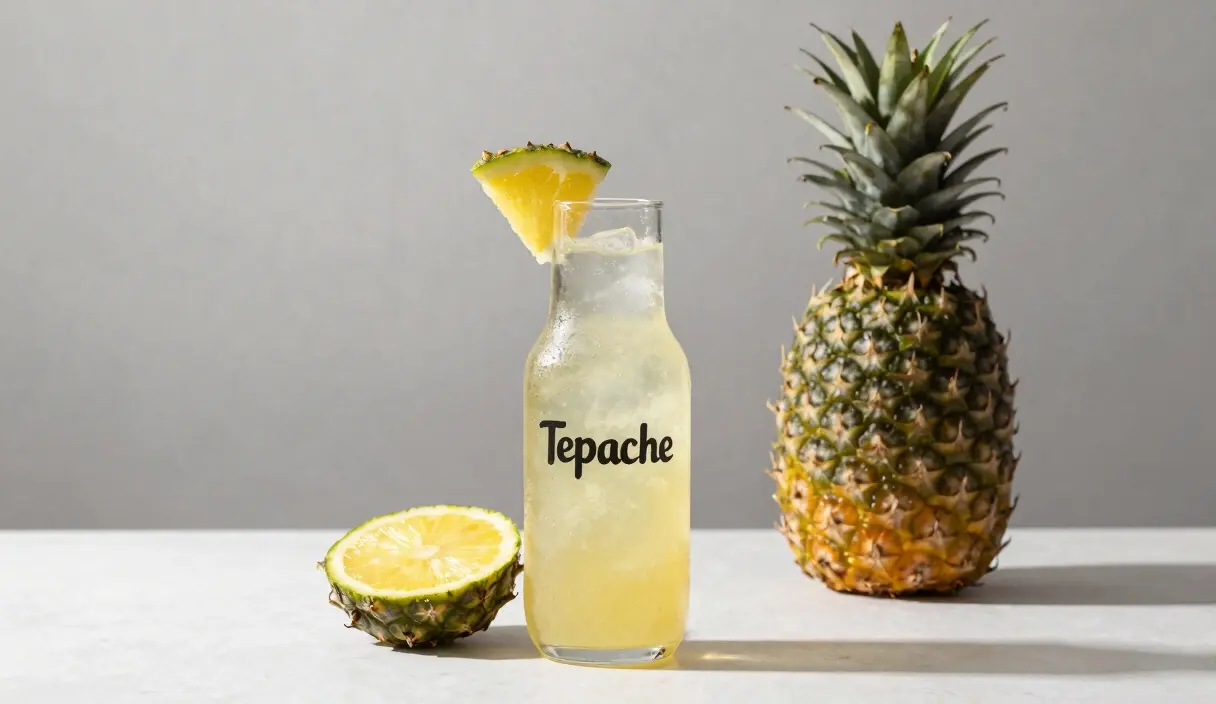
Tepache Recipe: The Mexican Pineapple Soda Masterclass
Turn waste into gold! We explore the history and science of Tepache, the Mexican fermented pineapple drink that is sweeping the world.
Contents
Tepache takes 2–3 days from raw pineapple to a carbonated, probiotic-rich drink — faster than almost any other fruit ferment you can run at home. That speed comes from the wild yeasts naturally present on pineapple skin. Specifically Saccharomyces and Hanseniaspora strains that activate within 18–24 hours of contact with sugar water at 75°F.
Most people throw away the part of the pineapple that does all the fermentation work: the rind. The flesh is mostly sucrose and water with no meaningful microbial population. The rind’s rough, hexagonal surface harbors the yeast. Strip it off, discard it, and you’ve discarded your starter culture.
One important data point before you start: organic pineapple and conventional pineapple are not interchangeable for this ferment. Conventional pineapple is typically treated with fungicides that sterilize the rind surface. A conventional pineapple bought from a standard supermarket may produce little or no fermentation in the first 48 hours — not because of anything you did wrong, but because the microbial population was killed in the supply chain. Organic is not optional here.
Pre-Columbian Origins: From Corn to Pineapple
The word “tepache” comes from the Nahuatl word tepiatl, which means “drink made from corn.”
The Evolution of Flavor
In ancient Mexico, the Aztecs and other indigenous groups fermented maize to create a mildly alcoholic ritual beverage. As the regions evolved and the pineapple was introduced and cultivated, the recipe shifted. The natural yeasts on the pineapple rind were so aggressive and flavorful that they eventually replaced corn as the primary fermentable base. Today, pineapple-based tepache is the undisputed king of the Mexican street.
A Drink of the People
Tepache has always been a humble drink. It was designed to be made quickly (2-3 days) and consumed while still low in alcohol (typically 1-2% ABV). It is the drink of the market, the plaza, and the home kitchen — a testament to the ingenuity of using every part of the fruit.
The Microbiome of the Rind: Nature’s Starter Culture
Why does tepache ferment so fast? The secret lies in the physical structure of the pineapple skin.
The Crypts of Yeast
The rough, hexagonal scales of the rind act as a sprawling city for microbes. These “crypts” protect wild yeasts and lactic acid bacteria from environmental stressors.
- Wild Yeasts: Primarily Saccharomyces and Hanseniaspora strains that provide the “fizz.”
- Bacteria: Beneficial Lactobacillus and Gluconobacter that provide the acidic “pop” and probiotic benefits.
The Danger of Washing
This is the only ferment where I tell you: Do not scrub your fruit with soap! While you should rinse off visible dirt with filtered water, a harsh scrubbing will remove the very “workers” you need to start the fermentation. This is also why using Organic Pineapples is non-negotiable — conventional fruit is often treated with fungicides that sterilize the rind.
Counter to what most fermentation guides suggest, I don’t even rinse with filtered water for more than a few seconds. A quick splash is enough to remove surface dirt. The microbial population on the rind is your starter culture. Treat it that way.
Studies on pineapple surface microflora have found between 10⁴ and 10⁶ CFUs per square centimeter on unwashed organic rind — a population density comparable to the surface of fresh ginger or grapes used for wild fermentation. That’s not trace contamination. That’s a functioning starter.
Piloncillo: The Traditional Fuel
You can make tepache with white sugar, but it won’t be authentic. The soul of tepache’s flavor comes from Piloncillo.
What is Piloncillo?
Piloncillo is raw, unrefined cane sugar. It is produced by boiling cane juice until it thickens and then pouring it into molds.
- Flavor Profile: It tastes like a combination of molasses, burnt sugar, and earth.
- The Mineral Factor: Because it is unrefined, it is rich in minerals that feed the wild yeast, leading to a much more robust and “explosive” carbonation than refined white sugar. (For more on sugar chemistry, see our Sugar Types Guide).
The Master Recipe: Authentic Mexican Tepache
Ingredients:
- The Fruit: 1 Large Organic Pineapple (Skins and core only).
- The Sugar: 250g Piloncillo (or dark brown sugar).
- The Water: 2 Liters Filtered Water (Chlorine-free).
- The Spices: 1 Stick of Ceylon Cinnamon, 3-4 Whole Cloves.
- Optional: 1 Habanero pepper (split) for a “spicy” kick.
The Preparation:
- Dissolve: Heat 1 cup of the water and add the piloncillo. Stir until completely melted.
- Chop: Roughly chop the pineapple rind and the core into 2-inch chunks.
- Combine: Place the skins, core, spices, and piloncillo syrup into a clean 3-liter glass jar. Add the remaining water.
- Submerge: Like Sauerkraut, anything floating can grow mold. Use a heavy weight to keep the skins underwater.
These are the tools that ensure a bubbly and safe Mexican soda:
Essential Tepache Gear
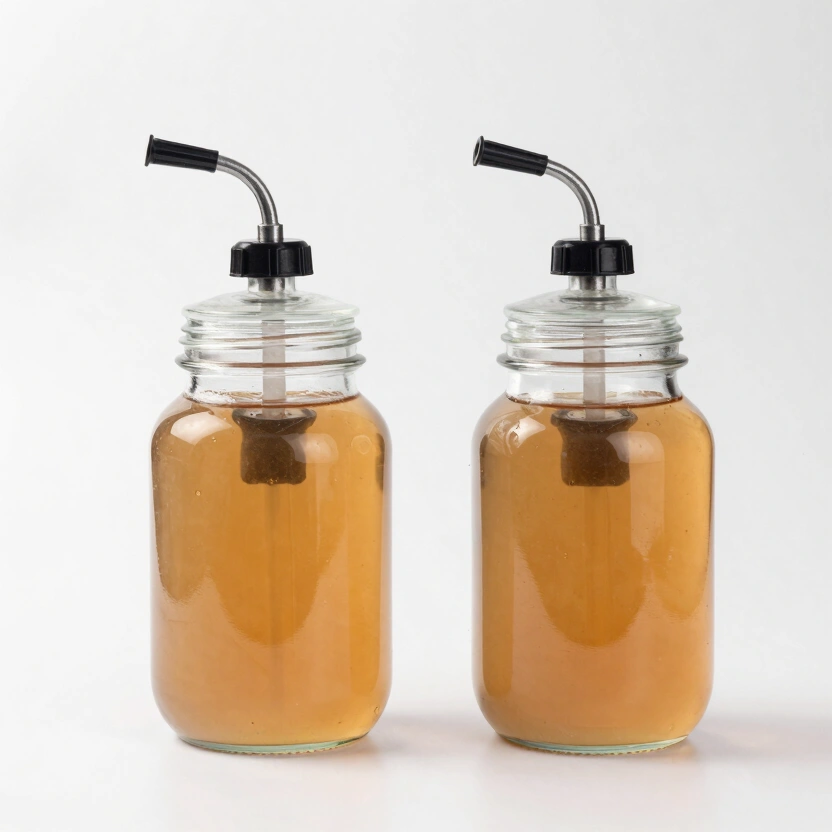
Green Wise Fermentation Jar Set (2 Pack)
Large 1.4L jars with integrated airlock valves. Perfect for sauerkraut, kimchi, or tomatoes.
Check Price on Amazon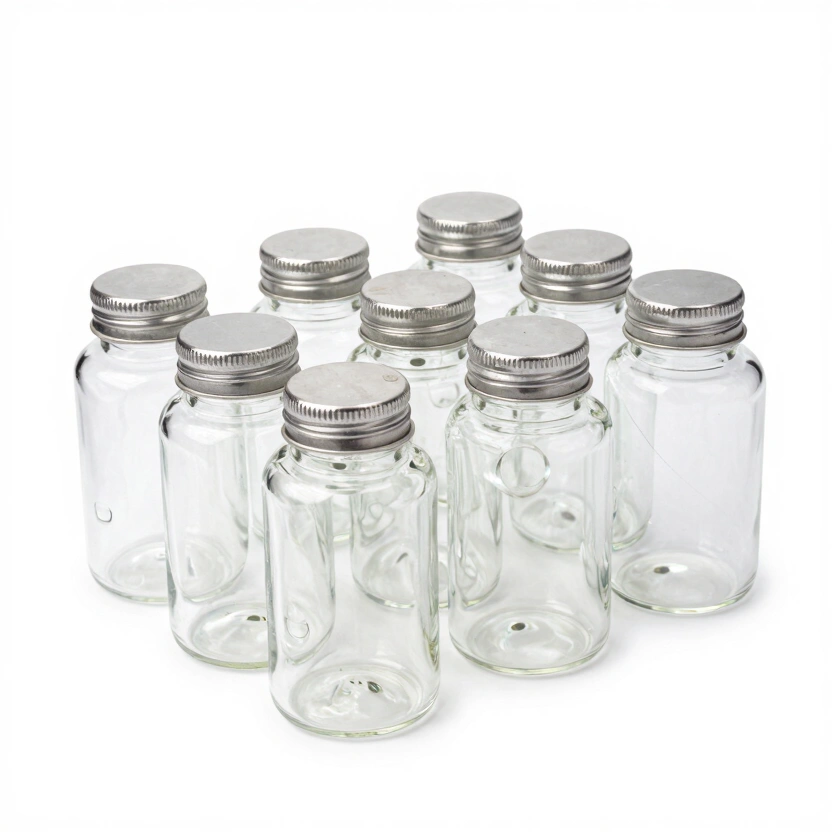
Artcome 10-Pack Glass Weights
Bulk set of heavy glass weights with easy-grip handles for large mason jar setups.
Check Price on Amazon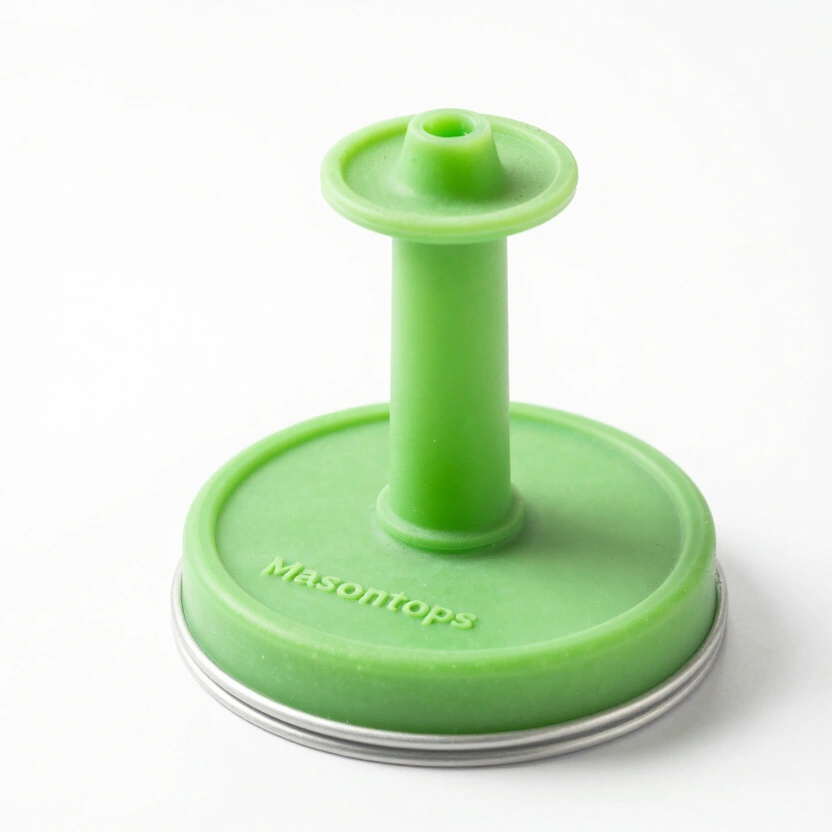
Masontops Pickle Pipe (Airlock Lids)
Waterless silicone airlock lids for easy, low-maintenance mason jar fermentation.
Check Price on Amazon* Affiliate links. Prices last updated March 3, 2026.
Primary Fermentation: The 72-Hour Window
- Day 1: Nothing much happens. The spices begin to infuse.
- Day 2: You will see a white, frothy foam forming on the surface. This is a sign of a healthy, active wild yeast population. Do not scrape this off!
- Day 3: Taste it. It should be sweet, slightly tangy, and have a mild “bite.”
The first time you taste an active tepache on day two — slightly sweet, faintly sour, with that specific yeasty-pineapple signature — it’s one of the more satisfying moments in home fermentation. It materialized from fruit skins you were going to throw away, in under 48 hours, with no starter culture you had to buy or maintain.
I wasted my first batch by leaving it at 65°F in a cold basement. At that temperature, the wild yeast barely activate. Tepache needs warmth — keep it at 75°F–82°F and it will reward you.
The Temperature Factor
- Ideal Temp: 75°F to 82°F (24°C-28°C).
- Warning: If your kitchen is over 85°F, the tepache can over-ferment in as little as 36 hours. Start tasting early!
Stage 2 (F2): Capturing the Lightning
- Strain: Remove the pineapple skins and spices using a fine-mesh sieve.
- Bottle: Pour into high-pressure swing-top bottles. Leave 1 inch of headspace.
- Carbonate: Leave at room temperature for 12 to 24 hours. Warning: Check one bottle every 6 hours by gently “burping” it. If it gives a loud “pop,” it is ready.
- Chill: Move to the back of the fridge immediately.
The Alcohol Content: Respecting the Limit
Homebrew tepache typically sits between 0.5% and 2.0% ABV.
- For Kids: Stop at 48 hours and don’t perform a second fermentation.
- For Adults: Add an extra 50g of sugar and let it go for 5 days for more “kick.”
At 75°F, tepache doubles its microbial population roughly every 3–4 hours during active fermentation. At 85°F that cycle compresses significantly — which is why an overnight tepache left on a hot kitchen counter can go from pleasantly tart to aggressively alcoholic in a window that feels shorter than expected.
Troubleshooting: Is My Tepache Safe?
- “White film on top!”
- Diagnosis: Likely Kahm Yeast.
- Fix: If non-fuzzy, skim it off. If fuzzy, it’s mold — discard.
- “The liquid is thick and slimy.”
- Diagnosis: Pediococcus infection.
- Fix: Bottle it and wait. The acidity often breaks down the slime over time.
- “My tepache tastes like vinegar.”
- Fix: Use it as a vibrant pineapple vinegar for salad dressings.
Advanced Variations: The Global Shrub
- The “Beer-Pache”: Mix 50% tepache with 50% Mexican lager.
- The Tropical Blend: Add mango skins or passion fruit pulp.
- The Smokey Patch: Use smoked salt or charred cinnamon sticks.
Tepache is the clearest argument for zero-waste fermentation: the part of the pineapple you were going to discard is the part with all the biological activity. The flesh is sugar. The rind is the culture. That inversion — where the “waste” is the ingredient — is what makes tepache genuinely interesting as a fermentation project rather than just a drink recipe.
At pH 3.2–4.0, finished tepache sits well below the 4.6 safety threshold. The acidity does the protective work automatically. Your job is to keep the rind submerged, hold temperature in the 75–82°F range, and taste on Day 3 before committing to F2. Those three variables are the whole protocol. Everything else is preference.
Ready to equip your setup? The best jars for tepache and fruit ferments reviews every wide-mouth option that handles CO2 pressure and fruit solids without compromising your seal.
For the biology of wild yeast capture from other plant surfaces — ginger, fruit skins, flowers — the Wild Yeast Harvesting Guide covers how the same microbial ecology shows up across dozens of different ferments.
Frequently Asked Questions
Should I use pineapple flesh or just the skins?
Skins and core only. The rind is where the wild yeast population lives — it’s your starter culture. Flesh adds sugar but contributes very few microbes to the ferment. If you want maximum fermentation activity and the most complex flavor, keep the flesh out of the jar and eat it fresh. The core and rind give you everything you need.
How many times can I reuse the same pineapple skins?
Twice, reliably. The first batch uses a fresh microbial population and produces the most active, complex tepache. The second batch requires an extra 50g of piloncillo and an additional 12–24 hours because the yeast population on the skins has partially exhausted. By the third run, fermentation is sluggish and the flavor is noticeably thinner — the microbes simply don’t have the numbers to drive a strong ferment. Start fresh with a new pineapple at that point.
Is there a real botulism risk with tepache?
Near zero. Tepache reaches pH 3.2–4.0 during primary fermentation — well below the 4.6 threshold at which Clostridium botulinum cannot survive. The acidification happens quickly enough (within 24–36 hours at 75°F) that the window for pathogen establishment is extremely narrow. Keep the skins submerged and maintain temperature, and the chemistry handles the safety question automatically.
My tepache hasn’t shown any fermentation activity after 48 hours. What’s wrong?
Three causes, in order of likelihood: the pineapple was conventionally grown and treated with fungicides that sterilized the rind; the water contained chlorine; or the temperature is below 70°F. Conventional pineapple from a standard supermarket has often had its surface microbial population largely destroyed in the supply chain. Buy organic from a farmers’ market or natural grocery, use filtered or spring water, and keep the jar in the warmest part of your kitchen — ideally 75–82°F. An organic pineapple at 78°F should show visible foam within 18–24 hours.
Can I add hops, spices, or other fruit to tepache?
Yes, and the variations work well. Ceylon cinnamon and whole cloves are traditional; they infuse during primary fermentation without inhibiting yeast activity. A split habanero adds heat that balances the sweetness. Avoid adding citrus oils or bergamot-based ingredients — they have antimicrobial properties that can slow or stop the ferment. Mango skins, passion fruit pulp, and tamarind all work as additions in secondary fermentation after the skins have been removed.
Related Articles
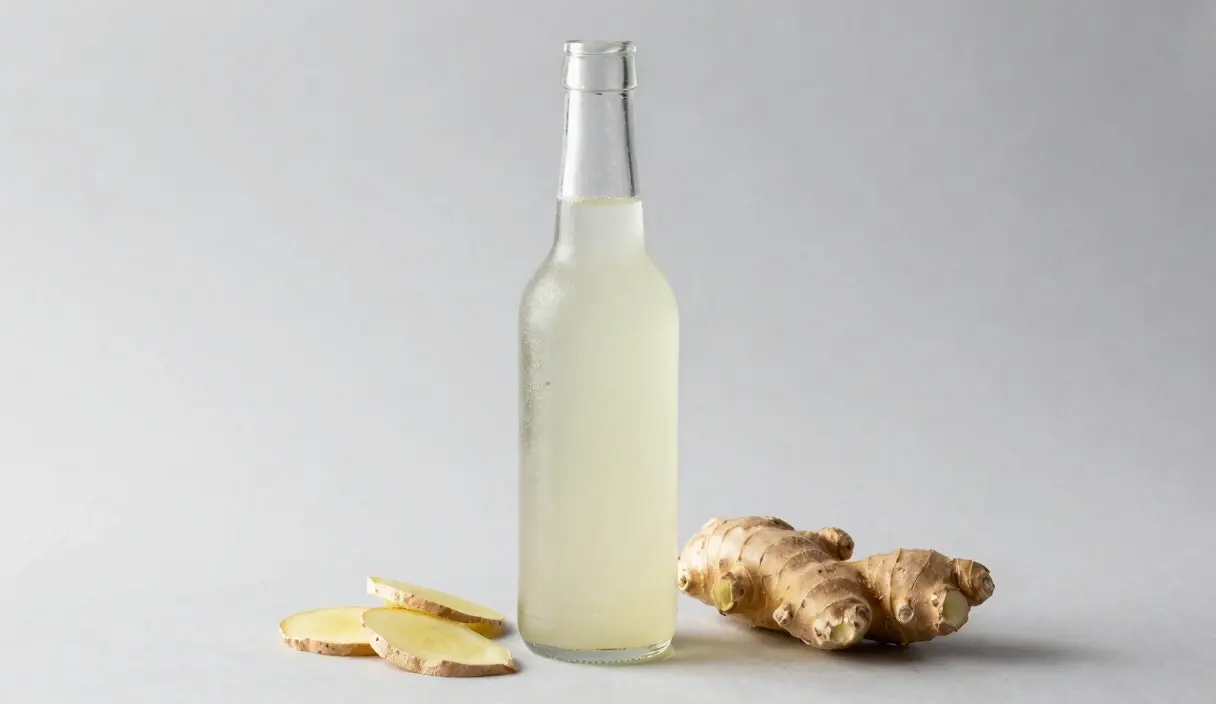
Homemade Ginger Ale: Master Natural Carbonation with a Ginger Bug
Ditch the store-bought soda! We explore the science of natural carbonation, ginger extraction, and how to brew the perfect probiotic ginger ale.
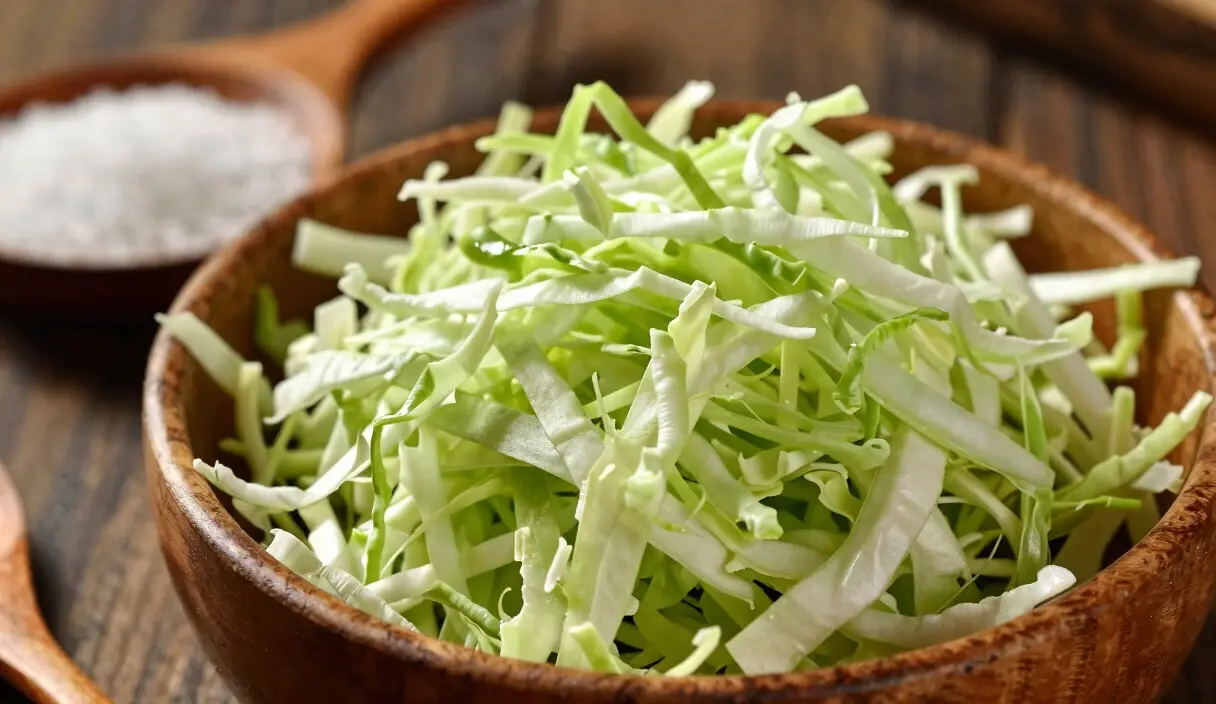
The Sauerkraut Masterclass: Achieving the Perfect Crunch with Precision Ratios
Master the ancient art of sauerkraut. Learn the science and step-by-step techniques to create the perfect crunchy, probiotic-rich kraut at home.
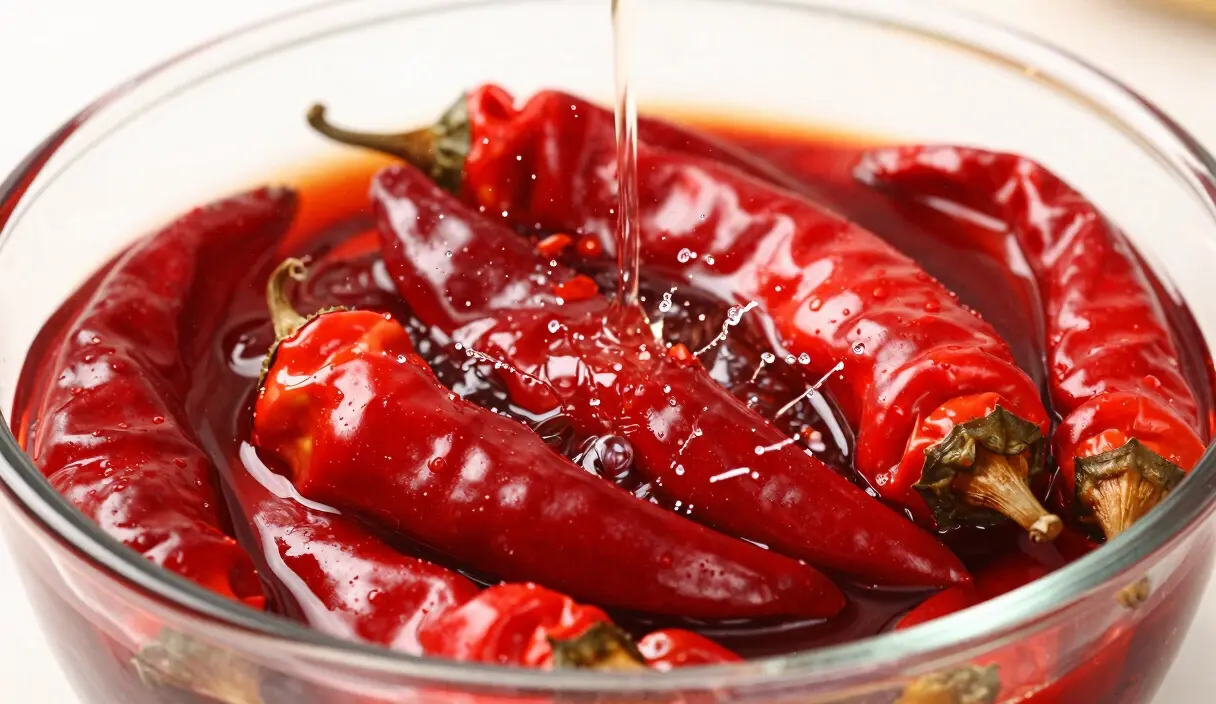
The Signature Burn: Advanced Techniques for Professional-Grade Fermented Hot Sauce
From pepper selection to professional finishing. Learn the science and art of creating high-end fermented hot sauces at home.