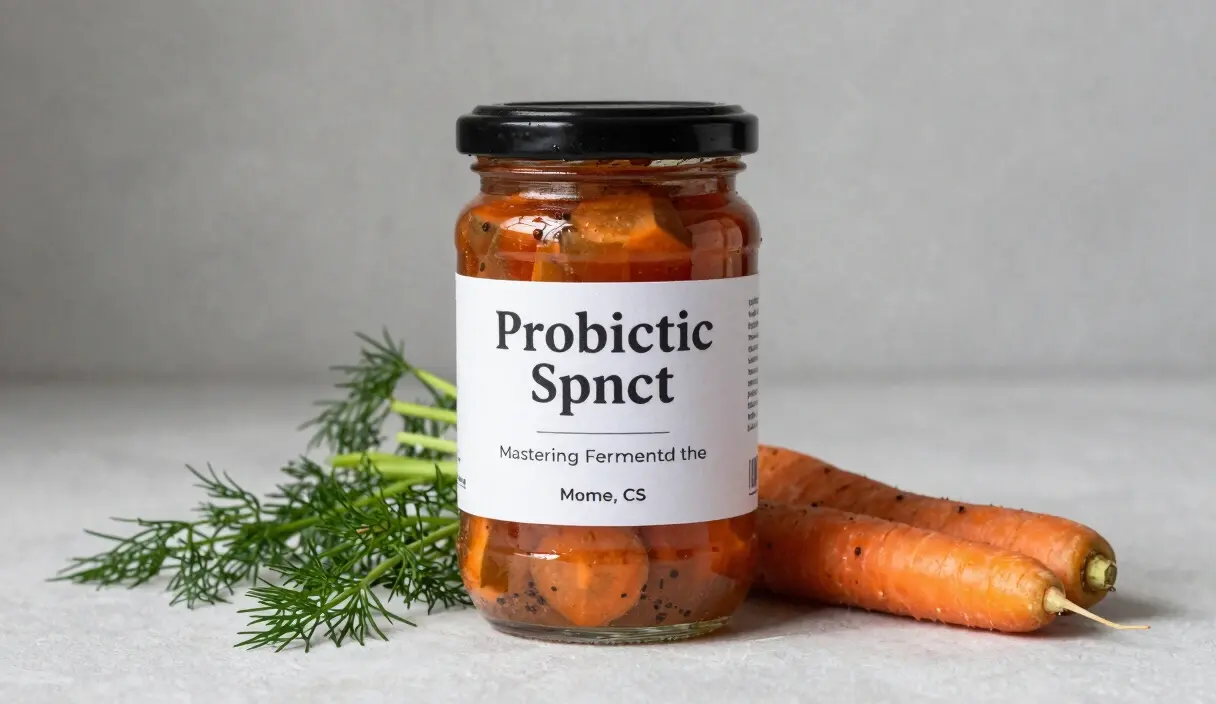
The Probiotic Snap: Mastering Fermented Carrots with Dill
Achieve the perfect crunch! We explore the science of fermenting root vegetables, tannin-based crispness, and the best dill-carrot ratios.
Contents
Carrots are the ideal first ferment. High sugar content means rapid acidification. Dense cell walls mean they stay crunchy for weeks. Natural sweetness means even an aggressive 3% brine doesn’t make them taste purely salty. They forgive almost every beginner mistake. The one thing that will ruin them is the one thing most recipes don’t mention: the wrong water.
Chlorinated tap water at typical municipal concentrations inhibits Lactobacillus activity enough to stall fermentation in the first 48 hours. The bacteria are still present on the carrot surface — the chlorine just suppresses them long enough for the wrong organisms to establish first. Use filtered water, or leave tap water uncovered overnight to off-gas the chlorine. That’s it. One variable.
This guide covers the specific salinity and tannin techniques that lock in the snap, the three flavor elements that make dilly carrots worth eating straight from the jar, and the cut styles that control fermentation speed and final texture.
Why Carrots are the Perfect Entry Point
Carrots are a “microbial playground” for a few specific reasons.
High Natural Sugar
Carrots are among the sweetest vegetables in the garden. This high sugar content provides immediate fuel for Lactic Acid Bacteria (LAB). While this leads to a very fast fermentation (often ready in 7-10 days), it also means you must be more vigilant about Temperature Control to prevent over-fermentation.
Minimal Preparation
Unlike cabbage, which requires intensive shredding and pounding, carrots can be fermented whole, sliced into coins, or cut into sticks (“batons”). This makes the preparation time significantly shorter, perfect for busy home cooks.
The Science of the “Snap”: Pectin and Tannins
I skipped the grape leaf on my first six batches because it seemed like an optional “herb thing.” Every one of those batches went soft by day 7. Adding the leaf on batch seven produced a carrot that snapped clean at day 10. Same brine, same temperature, same carrots. One leaf.
The biggest complaint about fermented carrots is that they lose their crunch. To prevent this, we have to look at the “glue” that holds the carrot together: Pectin.
The Enzymatic Threat
During fermentation, certain enzymes (polygalacturonases) can begin to break down the pectin in the vegetable cell walls. If these enzymes work faster than the bacteria can acidify the jar, the carrots turn soft.
The Tannin Defense
Master fermenters use a secret weapon to protect the pectin: Tannins. Tannins are chemical compounds found in various leaves that naturally inhibit pectin-destroying enzymes.
- The Sources: Adding a grape leaf, an oak leaf, a bay leaf, or even a bag of black tea to your carrot jar provides a flood of tannins that “lock in” the structure of the carrot, ensuring a perfect snap every time.
The Trinity of Flavor: Dill, Garlic, and Salinity
While a plain fermented carrot is good, the “Dilly Carrot” is legendary. The interaction between these three elements is a study in culinary balance.
Dill (The Aromatic)
Dill contains Carvone, a compound that has mild antimicrobial properties. In fermentation, dill doesn’t just add flavor; it helps regulate the early-stage microbial population, allowing the Lactobacillus to establish dominance.
Garlic (The Allicin Shield)
Garlic adds a savory depth, and its high sulfur content acts as a secondary preservative. Garlic can turn blue or green in the acidic environment of a carrot ferment — this is a chemical reaction between sulfur compounds and trace copper in the brine, not spoilage. I spent a full week convinced I’d ruined a batch before I understood what was happening. The garlic is completely safe. (See our Honey Garlic Guide for more on garlic chemistry).
Salinity (The Bouncer)
For carrots, we aim for a 2.5% to 3.0% Brine. Because carrots have a high surface area and sugar content, a slightly higher salt concentration than sauerkraut (2.0%) is needed to keep the texture firm and prevent Kahm Yeast.
The Master Protocol: Step-by-Step Dilly Carrots
Follow this precise timeline to ensure a consistent, crunchy outcome.
Ingredients:
- 1 lb (500g) Fresh Organic Carrots
- 2 Cloves of Garlic (smashed)
- 1 Bunch of Fresh Dill (or 1 tbsp dill seeds)
- 1 Grape Leaf or Bay Leaf (for tannins)
- The Brine: 3% Salinity (30g salt per liter of water).
The Preparation:
- Wash and Prep: Scrub the carrots well. You can leave the skin on for maximum wild yeast, but many prefer the look of peeled carrots.
- The Cut: Slice the carrots into sticks that fit vertically in your jar, leaving 1.5 inches of headspace.
- Pack the Jar: Place the garlic, tannin leaf, and dill at the bottom. Pack the carrot sticks in tightly. They should be so tight that you can turn the jar upside down and they won’t fall out.
- Brine: Pour the 3% brine over the carrots until they are fully submerged.
- Weight: Place a glass weight on top. Ensure no carrot tips are poking above the liquid.
These are the tools that make the biggest difference:
Essential Root Fermentation Gear
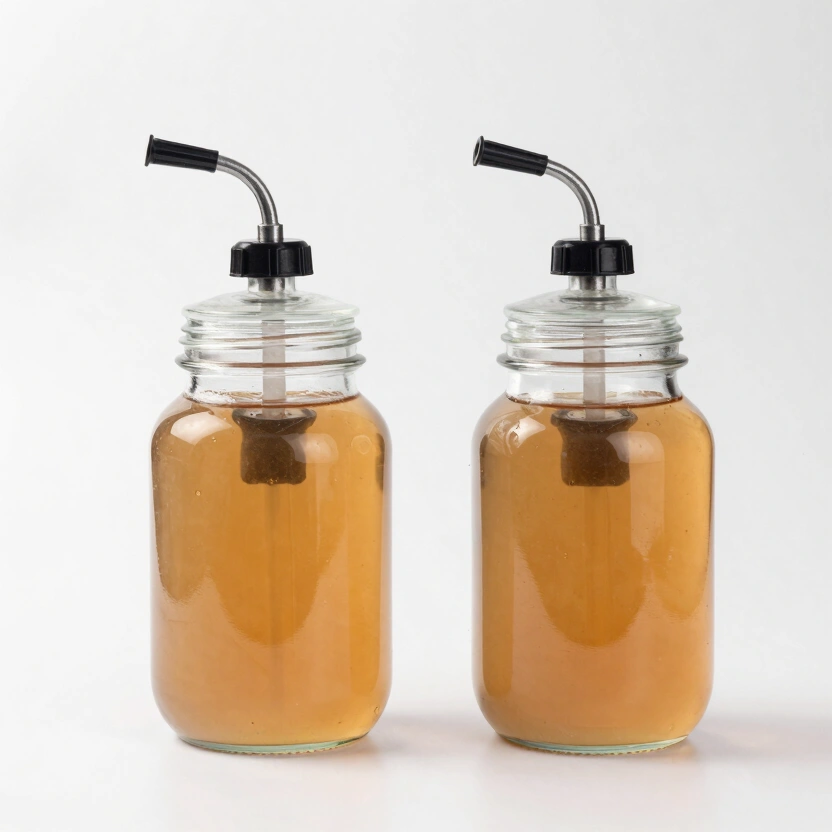
Green Wise Fermentation Jar Set (2 Pack)
Large 1.4L jars with integrated airlock valves. Perfect for sauerkraut, kimchi, or tomatoes.
Check Price on Amazon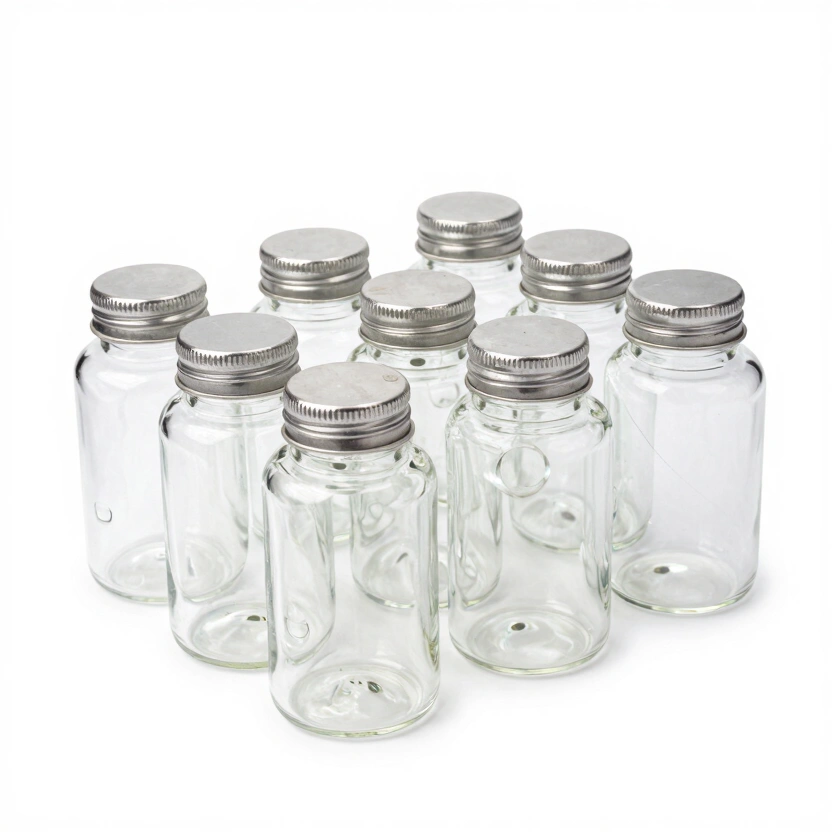
Artcome 10-Pack Glass Weights
Bulk set of heavy glass weights with easy-grip handles for large mason jar setups.
Check Price on Amazon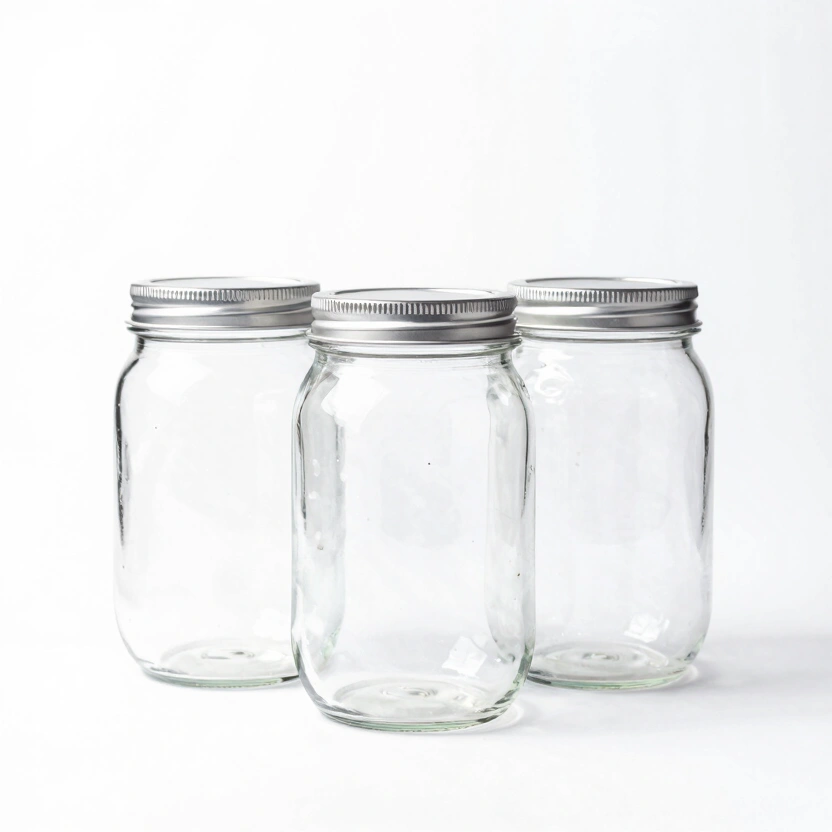
Tebery Wide Mouth Mason Jars (1.9L)
High-capacity glass jars perfect for bulk vegetable fermentation or continuous brew kombucha.
Check Price on Amazon* Affiliate links. Prices last updated March 6, 2026.
Cut Styles: Sticks, Coins, or Whole?
How you cut your carrots determines the speed and texture of the ferment.
- Sticks (Batons): The classic choice. They provide a high ratio of “crunchy core” to “soft surface.” Perfect for snacking.
- Coins: These ferment much faster (4-5 days). They are excellent for adding to salads or as a topping for tacos.
- Whole Baby Carrots: These take the longest (14+ days) but result in the most uniform texture. Ensure you choose small, tender carrots for this method.
The Rainbow Spectrum: Orange vs. Purple vs. Yellow
This is going to sound alarming the first time it happens: your entire brine turns deep ink-purple within 48 hours of adding purple carrots. The carrots themselves go white inside. I photographed mine and showed it to three people who all said to throw it out. I ate it anyway. Perfect flavor, strange to look at, completely fine.
Fermenting different carrot varieties can result in stunning visual displays—but be prepared for color bleed.
- Orange (Standard): The most reliable and highest in Beta-carotene.
- Purple Carrots: These contain high levels of Anthocyanins (antioxidants). Warning: The purple pigment is water-soluble. Within 48 hours, your entire brine will turn a deep, dark ink-purple. The interior of the carrot will turn white.
- Yellow/White Carrots: These have a milder, more delicate flavor and stay very bright throughout the fermentation.
The Tannin Trick: Locking in the Pectin
As we mentioned, tannins are essential for the “snap.” If you don’t have access to fresh grape leaves, here are the alternatives:
- Oak Leaves: Very high in tannins. Ensure they are harvested from a clean, unsprayed area.
- Black Tea Bag: A single bag of organic black tea tucked into the jar works wonders. Don’t worry, your carrots won’t taste like tea!
- Bay Leaves: Adds flavor and a moderate amount of tannins. Use at least 2-3 per quart jar.
Safety and pH: Verifying Your “Snack”
Carrots grow in soil, which means they carry more potential pathogens on their surfaces than above-ground vegetables. Don’t skip the pH check here — it matters more than it does for sauerkraut.
Because carrots are a root vegetable and grow in the soil, safety is a priority.
The Acidification Curve
Carrots are high in sugar, which means they acidify quickly.
- The Check: Use your digital pH meter. Your goal is to reach a pH below 4.6 within 5 days.
- The Result: Most carrot ferments will settle around 3.8 to 4.2. This level of acidity ensures that pathogens like C. botulinum cannot germinate.
Signs of Spoilage
If your carrots smell like “dirt,” moldy socks, or have fuzzy growth on top, discard them. A healthy fermented carrot should smell sharp, spicy, and invitingly tangy.
Culinary Pairings: How to Use Fermented Carrots
Don’t just eat them out of the jar!
- Hummus Dippers: The tang of the carrot perfectly cuts through the creaminess of tahini and chickpeas.
- Bloody Mary Garnish: Replace the boring celery stick with a fermented dill carrot for a probiotic kick to your cocktail.
- Salad Crunch: Dice fermented carrot coins and toss them into a grain salad (quinoa or farro) for hits of acidity and crunch.
- Vietnamese Banh Mi: While traditionally quick-pickled, using real lacto-fermented carrots adds a deeper layer of “umami” to the sandwich.
Carrot sticks in a 3% brine, one grape leaf, filtered water. That’s the whole system. The pH hits 3.8-4.2 by day 7-10 and the texture holds for weeks in the refrigerator. No advanced equipment required. No obscure ingredients. The setup takes 15 minutes the first time and 8 minutes every time after.
The grape leaf isn’t garnish. The filtered water isn’t precious. Both are load-bearing. Get those two things right and carrots are nearly impossible to fail.
For the hardware that makes submerging carrot sticks reliable, see the best fermentation weights Parsnips and turnips ferment differently from carrots due to their higher starch content — the fermenting parsnips and turnips guide covers the brine adjustments and timeline changes. — reviewed for mass, diameter, and whether they actually hold vertical-cut batons below the brine line.
For the full technical breakdown of why salinity matters so much for root vegetable texture, the Science of Fermentation Brine Ratios guide covers the osmosis and pectin chemistry in detail.
Frequently Asked Questions
Why did my fermented carrots turn out soft and rubbery?
Three causes: fermentation temperature above 22°C (accelerates enzymatic activity faster than acidification can protect texture), brine salinity below 2.5%, or no tannin source in the jar. The tannins from a grape leaf, bay leaf, or a bag of black tea inhibit the polygalacturonase enzymes that break down pectin. Without them, even a well-salted carrot can go soft by day 5. I identified this the hard way after losing 6 consecutive batches — all well-salted, all soft. The leaf fixed it immediately.
Is cloudy brine with white sediment at the bottom a problem?
No. The sediment is dead Lactobacillus cells settling out of suspension — a textbook sign of a healthy, completed fermentation cycle. Cloudy brine means billions of live bacteria are present. Clear brine in an early batch often means the opposite.
Can I use pre-washed baby carrots from a bag?
You can, but rinse them with filtered water first. Pre-washed commercial carrots are often treated with a dilute chlorine solution, which inhibits Lactobacillus activity. The same logic applies to your brine water — see the Water Quality guide on why chlorine is the primary fermentation killer most beginner guides don’t mention.
My carrot ferment has been sitting for 4 days with no visible bubbling. Is it working?
Check the pH before assuming it’s stalled. If the pH is dropping — even slowly — fermentation is happening. Bubbling is more visible in warm kitchens and during peak CO2 production in the first 72 hours. A quiet jar at day 4 that reads pH 4.2 is a successful ferment, not a failed one.
What happens if I add honey or sugar to the carrot ferment?
Don’t. Carrots are already high in natural sugars — enough to drive a very active ferment. Adding more creates a sugar imbalance that favors Pediococcus over Lactobacillus in the early stages, often resulting in a slimy, ropy texture that’s safe but deeply unpleasant.
Related Articles
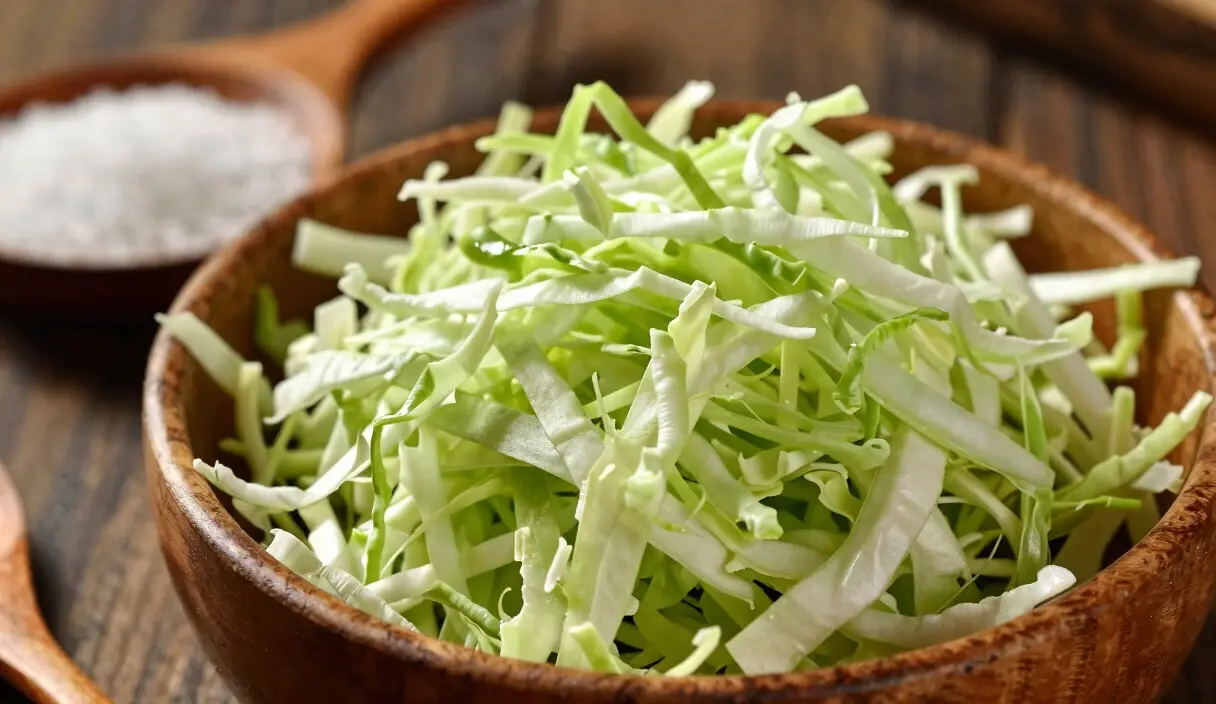
The Sauerkraut Masterclass: Achieving the Perfect Crunch with Precision Ratios
Master the ancient art of sauerkraut. Learn the science and step-by-step techniques to create the perfect crunchy, probiotic-rich kraut at home.
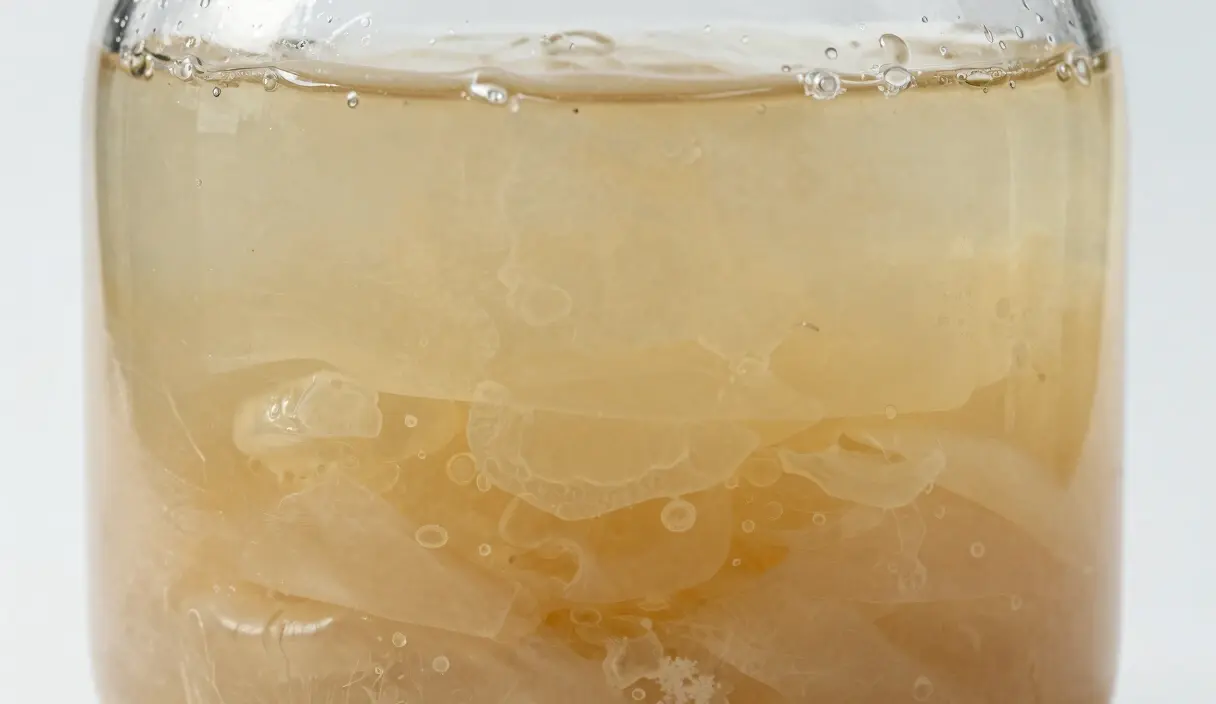
The Symbiotic Engine: A Comprehensive Guide to SCOBY Health and Maintenance
Master the art of kombucha brewing. Learn how to care for your SCOBY and create the perfect fizzy probiotic drink.
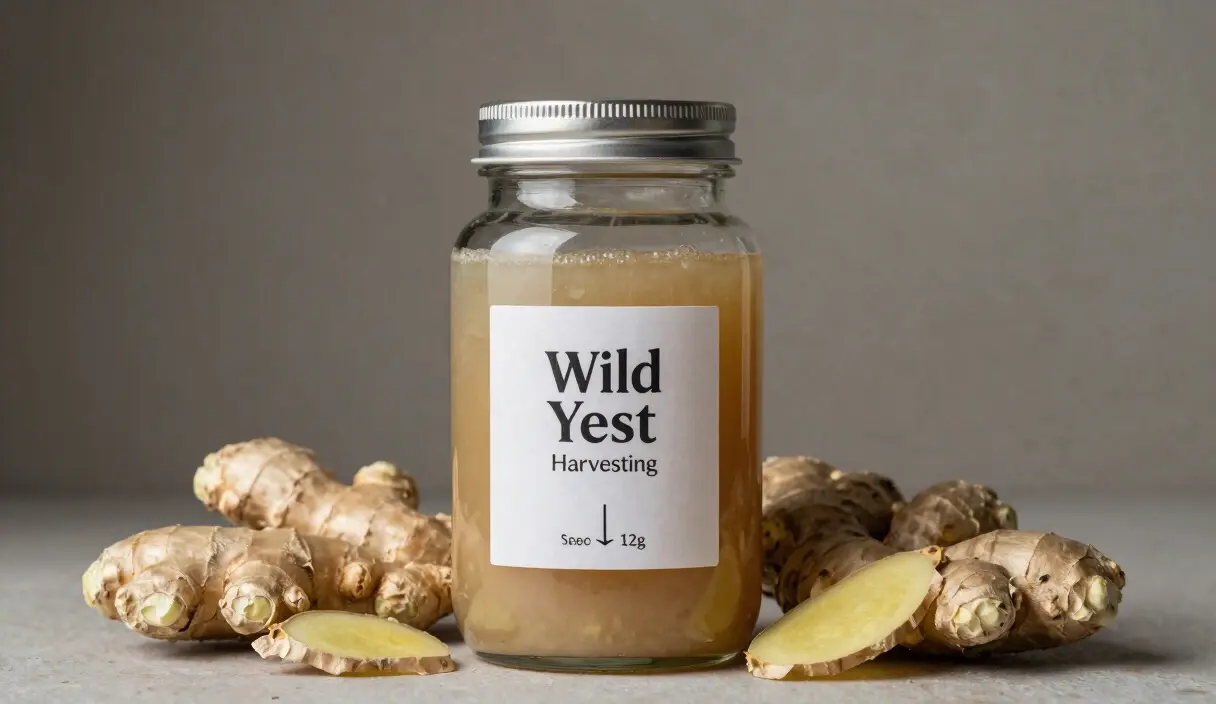
Wild Yeast Harvesting: How to Start a Ginger Bug for Natural Sodas
Ditch the commercial yeast! Learn how to capture wild yeast from ginger to create naturally fizzy, probiotic sodas at home.